
Guide briefing
Complete 39-Target Campaign Walkthrough
Language: en Surprise, surprise, skulls are back in Halo Campaign Evolved, but they've been expanded upon and standardized. So, now you'll be looking for three skulls in each of the 13 maps in the campaign for 39 in total. You also unlock three bonus skulls in the campaign remix mode after finding any three skulls in any of the levels for total of 42 skulls. On top of that, the locations of the skulls in the old CE campaign have been moved around, so you can't go off old knowledge either to find some of these skulls. We'll be going through how to find every skull in the campaign, but I first want to tell you how to look for skulls on your own if you're only looking for that advice. The skulls in Campaign Evolved have an audio cue that tells you when you're near them. It's like an eerie high-pitched sound, almost like an evil ghost might make. You can listen to it here. And the sound is proximity based, so if it's close to you on your right-hand side, you'll hear it in your right speaker and vice versa. So, if you go to your audio settings in game, then look under the gameplay section, you're going to want to lower everything that's not gameplay effects to zero. If you do that, you'll better be able to hear the skulls in game. That said, if you want to know how to find every skull starting with the new prologue bonus missions, well, here we go. Malfunction is the first skull you should find in boarding action, which is the first of the three new bonus prologue missions. The best visual indicator for how to find the skull is just go up from where you kill the very first two hunters in the level. From there, you'll just go down a slope and you'll go down through through some doors in a bit of a winding path, but eventually you'll find this skull on a walkway. And just a heads-up, with the exception of one skull, which we'll get to later on in the Keys mission, every other skull can be captured on any difficulty. So, for this video, basically, I captured every single skull on easy, but feel free to play the campaign on whatever difficulty you want to capture all but one The second skull in boarding action is Johnny Ammo Seed. This is a new skull for Campaign Evolved. You're going to be in a room filled with sand and there's also going to be a ghost in here, a whole bunch of elites and other enemies. But, you're going to want to clear out everyone and then eventually make your way up to the second level of this room and that is where you will find the second skull. Mythic is another new skull for Campaign Evolved and this one is near the end of the level. Your objective marker is going to take you up the gravity beam, but before you take that beam, you're going to want to head off to the left side and find this skull in an adjacent room. Get a good look at this enemy type that is in purple and gold. He may or may not be a Lakers fan, but this is the enemy type you have to hunt three different times in three different parts of the map on the most dangerous game in order to grab this first skull. How this works is you're just trying to break that enemy type shield three times. First spot's going to be when you get into the area where there's a bunch of Jackals in the trees. It's in an open area pretty early on in the mission. Just take a wide angle here and look out into the distance up into the top right and you'll see him right here. And again, you just want to shoot him until his shields pop. You cannot kill him. So, here you bang, bang, bang, bang, bang and then you see that little splash coming up right here and that is how you know the shield's popped. And the big thing to understand is do not let him get away without popping his shield. If he gets away, then you have to quickly reset the checkpoint. If you don't do that and you get a new checkpoint, then you're going to have to restart the mission because you need to hit that enemy type three times in three specific spots all in one go in in the mission. As you leave the section where you shot that enemy for the first time, there's two ways you can go. I prefer taking the upper route because you can kill the Jackal and grab his beam rifle, which just makes it easier to snipe that enemy when you see it here in a couple seconds. Just clear out some of the enemies. I don't think the enemy uh gets aggroed until you shoot them. Maybe if you get close enough, it's proximity-based and he'll also start running, but you have a good amount of time here to just clear out some of the enemies enemies before hopping down. So, we'll shoot guys here. Can't really see him from up on the top region here, so you do have to jump down and take him head-on from the straight angle here on the elevated walkway. So, we'll run up. And now we'll look down sights and there he is on the left side. Two shots should do it. His shields have popped and that's the second time you have hit him and you have one to go, but that will be later on in the level when we get to that one. So, skipping ahead, you'll fight through the underground facility, you'll free the prisoners. And as you're coming out of the underground facility, the first thing you should see is this little tower here and that is your indicator that you want to look up to the top left and shoot this enemy one last time, break his shields. He does not die, but a whole bunch of his friends will jump down and you'll need to fight through all these enemies and once you've defeated everyone and if you have the audio settings how I set them or the gameplay effects are the only thing you'll hear, you should start to hear the skull once the last enemy is down. So, as I use the extremely OP needler rifle to clear out the rest of the enemies, you should now hear that skull making a sound which means all the enemies are down, you've done everything correctly and now all you need to do is take this route and head on up to that little tower and you will see the skull inside it and that takes care of Temperamental. Backing up now to the Recession Skull. This is back on that walkway where you shot that one enemy for the second time. You'll see here there's a wraith, and that's your indicator that you're in the right area. You can do you can go plant a grenade on the wraith or or not, it doesn't really matter, but it does clean things up a little bit. Turn around and you're actually going to want to shoot these two objects up above this door and shoot them so they both blow up. Bang. There's the other canister, bang, and that unlocks the door, and the skull will be inside. Once you've emerged from the underground prison facility, you'll come to this big door, and you're going to want to go through it, and the skull is up there in the purple fire. You can practice your grenade jumping here if you want to get up that way, but you don't need to do it this way. Uh I just I just think it's the fastest way to get out. But, there is another angle I'll show you for how you can get up there if you don't want to grenade jump. It's a little tricky here. You do want to crouch down to get into the right spot to then jump over onto the purple flames and grab the skull. But, here's also the other way to get up there if you don't want to grenade jump. Heavy Burden is the third prologue mission, and the first skull you should find in this level is Eyepatch, which is a legacy skull. You'll come across a suspended walkway, but there will be another a walkway just a little higher up on the left side. Just go through the unlocked door and walk down the walkway to get this skull. Grunt Birthday Party is the second skull in Heavy Burden. This is another legacy skull. You'll be in this giant open white and gold room with three levels. You actually come in on the third level, but you'll fight off a bunch of enemies in here and eventually make your way to the second level and look for the circular platform. You can do a little sprint jump to get into the first purple fire here and then you'll do another sprint jump to get onto the little teeny spire and then just make a little jump up and you can grab the skull. The third skull on Heavy Burden is called Efficient. This is a new skull. This is a bit of a tricky one because you actually need to go out of bounds to grab it. You'll be on this floating transport and you'll need to reset the power on this thing twice. The second time you get off to reset the power and get back on, you'll ride for a bit again before needing to sprint jump off the transport to the left side, run through the enemies, grab the skull in the out of bounds area and then jump back onto the transporter. And it's basically at the end of this part of the level as well. In fact, I'm going to let this run just so you can tell how little time left you have riding on the transporter after you grab this skull. It's really at the very tail end of this part of the mission, so you'll know pretty quickly if you've gone too far because you'll be getting off the transporter right after you should have grabbed the skull. >> Security! Intruder! >> Now into the proper Halo campaign. This is a good example of how the devs are trying to play with our old muscle memory. This skull used to be behind two canisters in this opening room. It is now moved. It is up on the catwalks in the first room where you come out of cryosleep as Master Chief. You do a little sprint jump off a control panel to the canister, then jump up onto the catwalks to grab it. Magnified is the second skull on Pillar of Autumn. This is another new skull. You'll come into a room filled with a bunch of lockers and racks shortly after the Covenant attack begins. You actually still don't even have a weapon yet. So, you'll come to the near side of the room and jump up to grab the skull on top of one of these empty racks. The third skull on Pillar of Autumn is called Perspective. This is another new skull. Right after receiving Cortana from Keys in the cutscene, you'll turn back around and go back onto the bridge of the ship and drop down beneath where the two pilots are seated to find the skull. And this is a big skull to get because this is the one that that will allow you to play in third person as Master Chief, which will help you find other skulls if you want to use it for that purpose or just to play the game a different way. Now, jumping to the Halo mission, I want to say off rip, the developers have broken the unwritten rule of waterfall etiquette in video games as there is no longer a skull near the waterfall at the start of the Halo mission. So, shame on them. Instead, all three skulls are now found while securing each individual crash site. If you're playing by yourself, you'll also need to grenade jump during this first section. So, let me give you a quick tutorial on grenade jumping. It's all about timing, whether you use a plasma grenade or a regular frag grenade, you want to throw the grenade at your feet and then wait a moment and then jump as the grenade explodes. And if you jump at the right time, the grenade will blow you up a little higher and that will get you to places you couldn't otherwise reach. The added tech with this is you can also crouch while in midair to get even higher up, but you don't need to do the crouching part for this particular grenade jump. Starting from the leftmost crash site up on the hill, you'll clear out the enemies and then you'll either need to have a co-op partner to jump off of or you'll need to grenade jump to reach this skull. And again, you do not need to crouch after grenade jumping to get to this skull, but it's still a little tricky as you need to turn away from where you need to jump to so you can throw a grenade at your feet while using the wall as a little bit of a backboard. And just so you can see, it's even a little tricky getting onto the lip here because it's at an angle. But once you do get situated on the lip, it's probably better to use a regular frag grenade rather than the plasma grenade. I do use a plasma grenade to do this, but you could accidentally stick yourself and have a bad day. So, it's probably smarter to use a frag grenade. After that grenade jump, just walk a little higher up to nab the skull, and then you can move on to the next crash site. After securing the middle crash site, jump back in your Warthog and ride it back down the hill. You'll pass a waterfall on your left side with no secrets inside it, SMH. And then you can either drive your Warthog into the tunnel on the far side, or get out like I will here in order to snag the Give and Take skull, which is another new skull. When you arrive at the rightmost crash site, you can fight your way through the enemies and run up a hill to get to the backside of this area. You'll want to look for a signal flare, and when you find that flare, you'll want to jump up on the rocky formation, then do a little sprint jump action to get to the other rocky formation, and that is where you will find the skull, which if you've been following this guide means it's the final skull on the Halo mission. On Truth and Reconciliation, the first skull is where the big old grav lift is, but you don't want to get on the gravel lift just yet. You'll clear out all the Covenant in the in the space and then you'll go to the back end of the area and you should be able to hear the skull. But you're just going to want to get down on the ledge here. Be careful. Fall gently and skull is right there. And I actually do not remember if you can get back up from here. I assume you can. But even if you die, you should have the skull and be good to go. Endurance Spec is the next skull and this one you're going to come into a room with a whole bunch of Covenant, but the real indicator is you'll see a bunch of Covenant vehicles on the first floor. You're going to come around to the back corner of the room and this canister will be what you're jumping off of. To start things off, this is a hard one. This is probably the hardest platforming skull in the whole game. You need to very carefully sprint jump to each of these pillars. You can also crouch jump in midair to help you land a little more carefully on each pillar. I don't think I do crouch jump on this very much, but crouch jumping definitely can help. So you'll jump across all three to get to this skull. If you do fall, it's not a big deal. Once you Assuming you've cleared out all the enemies, you can just drop down like I'll show you here and it's just a a quick run back up to the top top of the area to the second floor and then you can try again as many times as you need to to grab this skull. We'll be doing wind sprints through this hangar bay area in Truth and Reconciliation, but the indicator that you're in the right spot of the level to grab this skull is when you see that Covenant dropship leaving as you enter. You're going to want to sprint your metal butt to the back right corner and you're going to wait for these doors to open on the left side here. And you have to wait because the as the enemies come through, you're going to need to sprint through before the doors close again because they will lock and that will mean you can't get to the skull. So, we're just going to hang around, hang around, and here they come. And just make sure you get through before the doors close. Doesn't really matter at this point. You can shoot the Covenant or not, but the door will close and then you'll be free to chill for a second and grab this skull. On Silent Cartographer, the first skull is going to be right near the beach side facility where those doors lock on the lower level and they require you to override the security in another spot. You just find this little cave tunnel right adjacent to it. Just go down into it and the skull will be right there. On your way to find the security system override substation, you'll face up against two Hunters in this big circular arena. Clear them out and then after you've cleared them out, you're going to carefully walk up this sloped edge of this metallic structure in the middle of the area. It can be a little finicky. You can crouch jump a little bit if you need to wedge yourself into the little crevice, but just get yourself in there and then walk up to find the skull. After disabling the security system and returning to the first underground facility, you'll go down a level and enter a room with several Covenant and two Hunters. Defeat them all and then look for a wide open sloped walkway staircase type dealio leading down. You'll carefully look over the edge and you'll see the skull far below. Just carefully drop off the ledge from slightly further down the slope to land safely and nab the skull. >> As you progress through this substructure in the Scorpion tank, you'll enter into an open-air space with a narrow bridge over a chasm. Defeat the numerous Covenant turrets and hunters and assert your dominance with authority. After you clear out all the scrubs, cross the bridge and go left to the large snowbank in the corner. You'll get out of the Scorpion tank and jump on top of it and sprint jump from the tank into a small divot in the ice to find the skull in the alcove. And if you mess up the jump one time, it's cool, it's fine. That's actually the speedrun strat. Yeah, I know, that's true. So, just jump back up on the tank one more time and then grab it the second time. After leaving the Scorpion behind and pushing on towards the control center, you'll enter a valley with three metallic arches to the left of the doors you need to go through to proceed. Top the furthest arch is the skull. When you reach the bridge where Cortana tells you to commandeer one of the Banshees, look off the right side of of bridge and carefully drop down onto the narrow slanted strut below. Tucked underneath the bridge in this tight squeeze is the skull. Early in 343 Guilty Spark, when you see the destroyed Covenant drop ship in the tree, head up the slope to the left of the ship and jump onto the rocks to the right just past the larger tree and you'll find the skull on the ground nearby. It's time for a little dose of friendly fire as you enter this underground facility and you come across this first Marine who is losing his ever loving mind and well, you got to put him down to find the next skull. As you lead Marines to the evac point towards the end of the level, you'll exit back outside and face this never ending swarm of flood enemies. As you approach the large metal structure with the flying drones near it, avoid it and instead head right or left as both spots lead to the same general area. You'll go past that big metal structure into the darkened forest and eventually you'll walk underneath a large collapsed tree. Jump onto the rock by the base of that tree and then carefully walk across it to reach the higher rocky ledge at the other end of the log where you'll find the skull. >> Early in the library after emerging into the room with multiple flying drones fighting the flood, turn immediately right and go up the slope at the top of the steps to find the skull. After riding the first elevator down, you'll be able to either go left or right and fight your way through flood enemies as you follow Guilty Spark. Regardless of which path you take, they both reconnect at the far end of the room. From here, you'll go up one of the metal slopes and sprint jump across onto the egg-shaped landing and then onto a narrow ledge where the skull sits. After your final elevator ride down, you're going to hop off and you're just going to immediately start sprinting out to the left and you'll take this path and wrap around eventually taking a right here down into a little alcove and then we'll get down here and turn right again and one more right and we are here at the next skull. On to Betrayals now, you'll commandeer the Banshee as prompted, but before flying to the walkway above to get to your next part of your objective, you'll want to fly even higher up to the top of the spire sticking out of the facility just in front of the blue beam. A top that spire is the skull which you'll need to carefully, and I and I do mean carefully, get out of the Banshee while midair to reach. You do not want the Banshee to fall back down because you could get a checkpoint that strands your metal butt at the top of the spire and then you'll need to do some serious guesswork to get back down like I did here. >> After riding the elevator from the two bridges down as you make your way toward the second pulse generator, you'll reach the base of the valley where there's three metallic arches. Cross directly over the arch ahead of you as you exit the lift and in the small area between the flood biomass, you'll find the skull resting on the ground. After flying the Banshee up to the second generator location, you'll land on this central platform and interact with the panel in the center of this area to unlock a door leading to an area that is not part of your main mission. You'll fly over to that now unlocked door which is on the opposite side from the actual objective door. I'm going to skip ahead to the end of all this fighting and running, but you will fight your way through multiple rooms of flood infected enemies and in that final dead end room, you'll find the skull sitting in the center of the room on a pedestal. We have arrived at the one skull that has a catch to it. You need to do this skull on heroic or above difficulty, and this is also a speed run skull, so you're on a time limit. I'm not actually sure what the overall time limit is. I'll do this in under 3 minutes and get the skull. So, at least under 3 minutes is the way to get this. It also doesn't seem to matter if you die uh assuming you get a checkpoint. We're not going to be killing many things here, so that's going to be the one problem. You want to grab this invis or the one that's going to be at the bottom of the first big drop here cuz the invis is going to be super important for helping you to avoid enemies as you're running towards this skull. So, you'll drop down, and I think I have routed this out pretty much as perfectly as it can be routed out to avoid most of the enemies, so really stick to this route as closely as possible. We'll run through here. Again, going right here is better to avoid some of the enemies. We're still holding on to the invis. We're not going to pop it yet. Get through another tunnel here. And right here is where you want to pop your invis cuz this whole area and through the next little bit here is just chaos. So, just pop the invis, try to hug the wall. Get through all of this nonsense and all the flood as quickly as possible. And as we're coming up through another path, your invis is starting to get low, and that's fine because we're actually going to pick up the overshield in a second. You also want to stay here. Let that rocket go off. Don't run into that rocket. That'll end your run and push you back to a checkpoint. So, now the invis is about to drop, and that's fine because we actually want to head over to the the green area, grab the overshield cuz this is now the next important thing to have for the final portion here as we go towards the skull. You don't need to kill all these enemies here. For the most part, it's just going to be the enemies up on the gravlift that really need to go, but you can clear out some guys here, maybe pick up a sword or another weapon if you really need it. Again, cuz you are playing on at least heroic difficulty when doing this one. Come up now to the gravshield and enemies will be marked like this. You just need to kill these marked enemies to make sure that the gravlift gets activated. So, do your thing, try to stay alive, kill what needs to be killed, and as you get sucked up by the gravlift, just hold the grab skull button. Just hold it down because you might not be able to see the skull as you go up here, but it's fine as as long as you're holding the grab skull button, you should still get the skull as you go by. If you don't get it, quickly try to pause and restart from checkpoint because there is a checkpoint you'll hit right after landing, and then at that point you can't go back. You'll have to restart the mission and try it again. After entering the ship via that same gravity lift, drop down into the first major room with the destroyed wraith, head into the side passage through the archway, jump by some additional junk and another destroyed wraith, and then head up the slope to find the skull in the corner by the large locked doors. The last skull on the Keys mission is Piñata and it's called Piñata for a very obvious reason. Captain Keys died as he lived, which in this case means being manhandled by a Master Chief at the end of the cutscene where Keys spoilers meets his final end. We'll come out of the cutscene and immediately desecrate his body by turning around and meleeing him until he drops the next skull. Yeah, I see you judging me there, Cortana. Don't Don't even start. Don't Don't you dare. Now, on the final level of the mall, you'll eventually end up in the cryo pod room from the very beginning of the game. After defeating the drones and all the flood enemies in here, head to the back left corner of the room and jump from the collapsed walkway onto the beam against the back wall where the skull sits. In the large open room where you must destroy the four cores, it's absolute chaos, but you need to head up to the back right corner on the second level. There you'll find a small ledge with some debris that you can use to reach the corridor above, but instead of climbing that debris, go to the left of it and carefully drop onto the narrow ledge below. The skull can be found just a little deeper into that area after dropping down. Early in the final warthog run at the end of the mall, you'll start out driving through a winding set of tunnels. There will be little shortcuts from time to time on the right side. The first shortcut tunnel you can go through contains nothing, but the second tunnel has the skull on the ground right near the halfway point within that tunnel. And if you've been following along with this guide, that means you now have all 39 skulls, and that's a wrap. You're good to go. That's every single skull in Halo campaign of all.
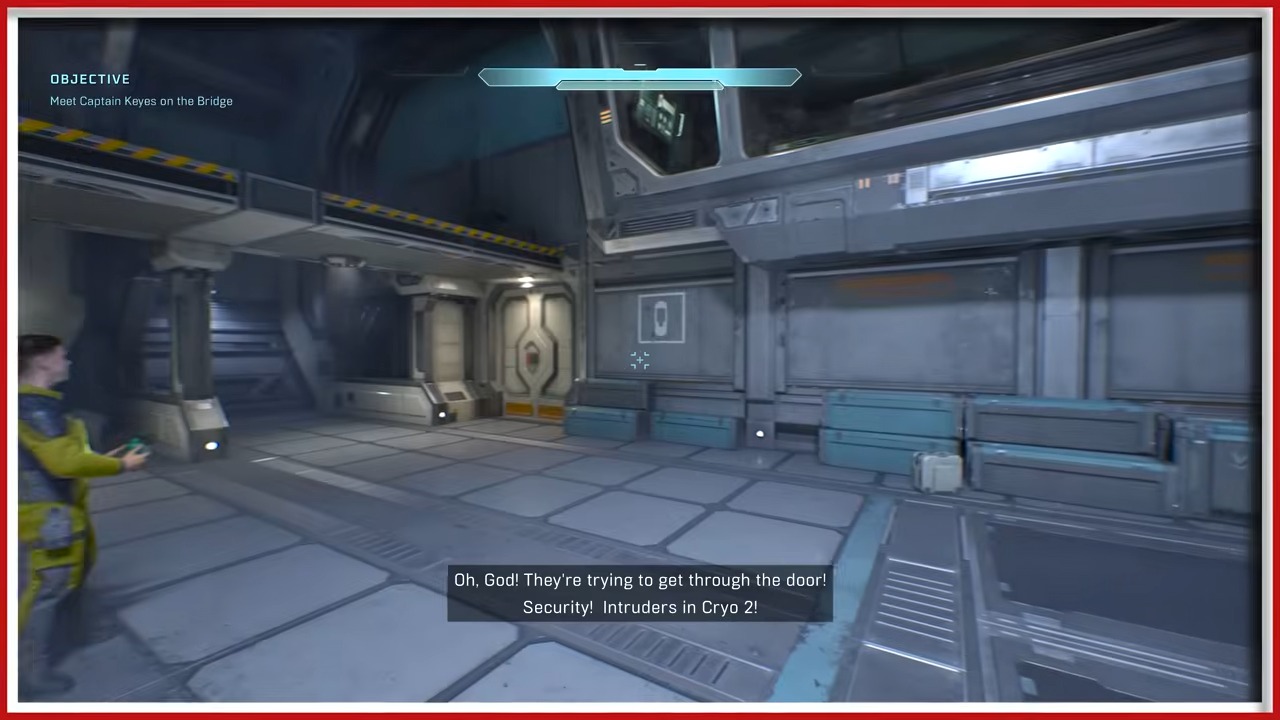
Target
Speed Limit
- Checkpoint
- Cryo chamber — mission start
- Landmark
- The two cylindrical tanks and the overhead catwalk behind the cryo bay.
Do this
- 1Turn toward the rear-left corner as soon as Master Chief is released.
- 2Use the tanks or nearby console to climb onto the catwalk, then follow it to the far end.
Confirmation
Speed Limit is recorded after the final step is completed.
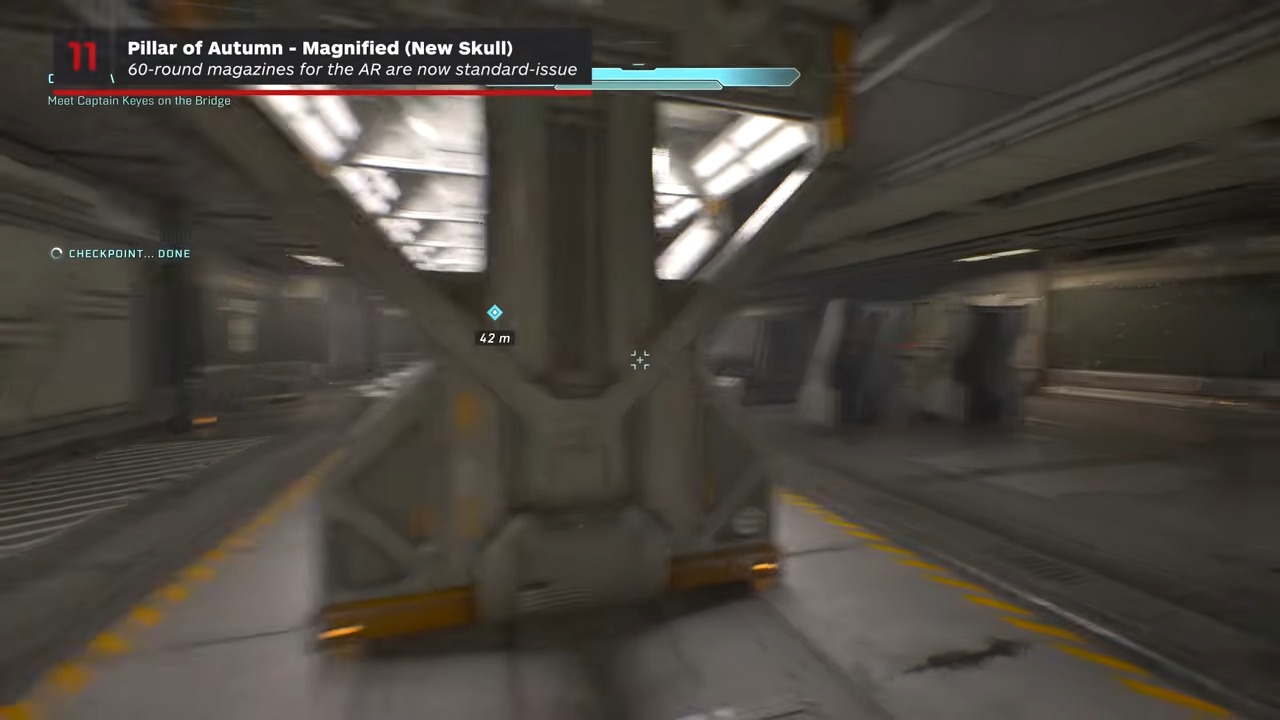
Target
Magnified
- Checkpoint
- Weapons locker approach
- Landmark
- The central locker bank immediately after the blue-Elite sequence.
Do this
- 1Enter the side room opposite the Marines before collecting your first weapon.
- 2Look above the center locker console and jump up to collect the Skull.
Confirmation
Magnified is recorded after the final step is completed.
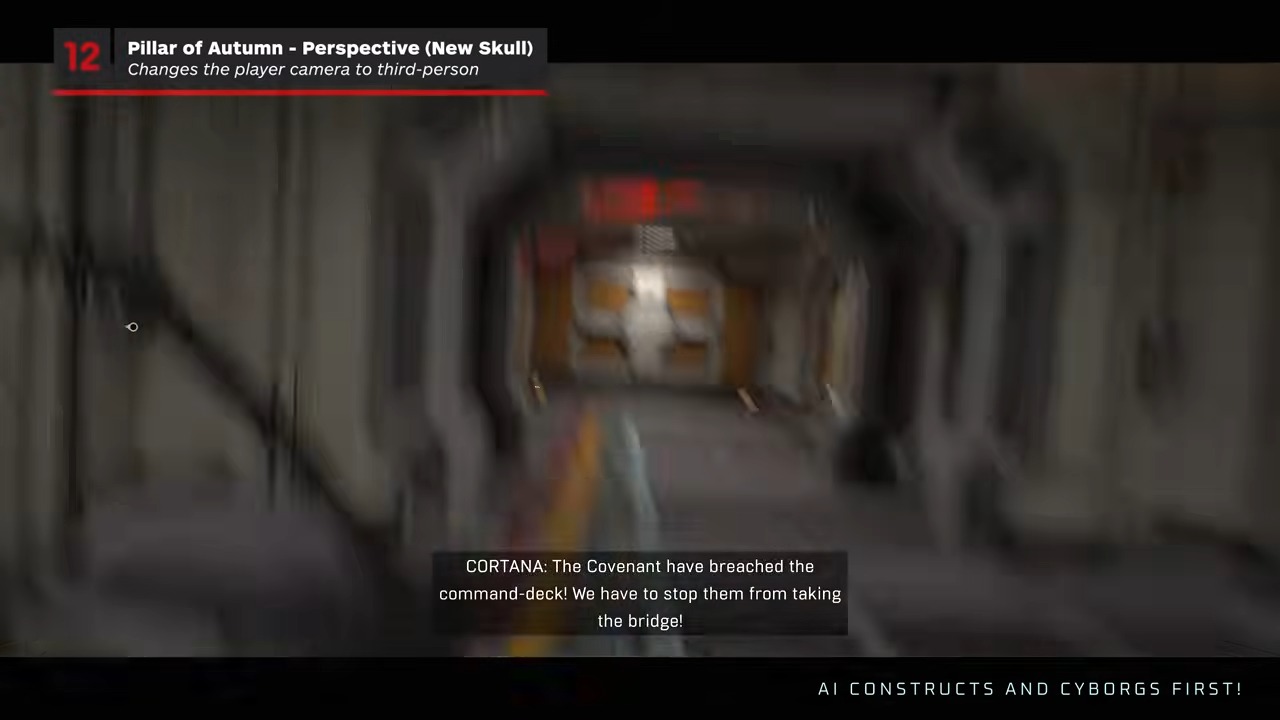
Target
Perspective
- Checkpoint
- Bridge — after meeting Captain Keyes
- Landmark
- The lower cockpit level beneath the two forward pilot stations.
Do this
- 1After the Keyes scene, turn back toward the front of the bridge.
- 2Drop to the lower cockpit deck and check beside the ladder under the pilot seats.
Confirmation
Perspective is recorded after the final step is completed.
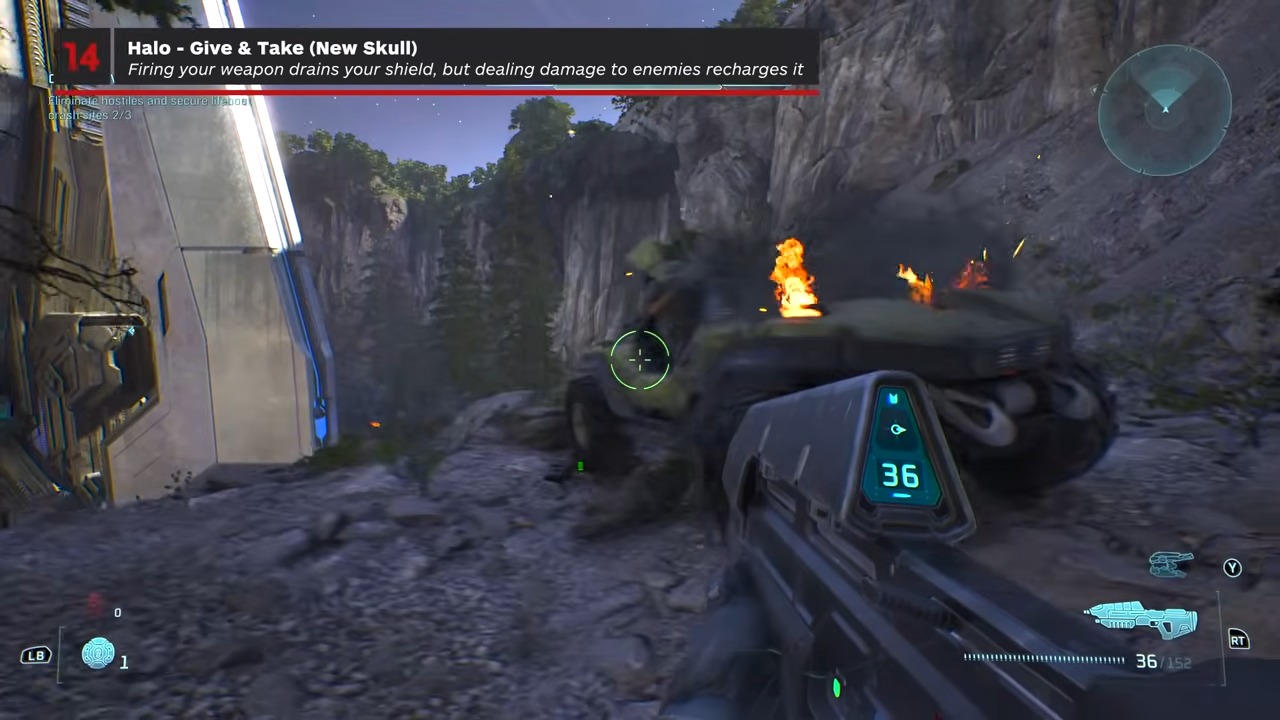
Target
Give & Take
- Checkpoint
- Lifeboat rescue valley
- Landmark
- The river cave in the central valley between the three rescue areas.
Do this
- 1Follow the river away from the central grassy rise until it enters a shallow cave.
- 2Search the large rocks beside the water inside the cave.
Confirmation
Give & Take is recorded after the final step is completed.
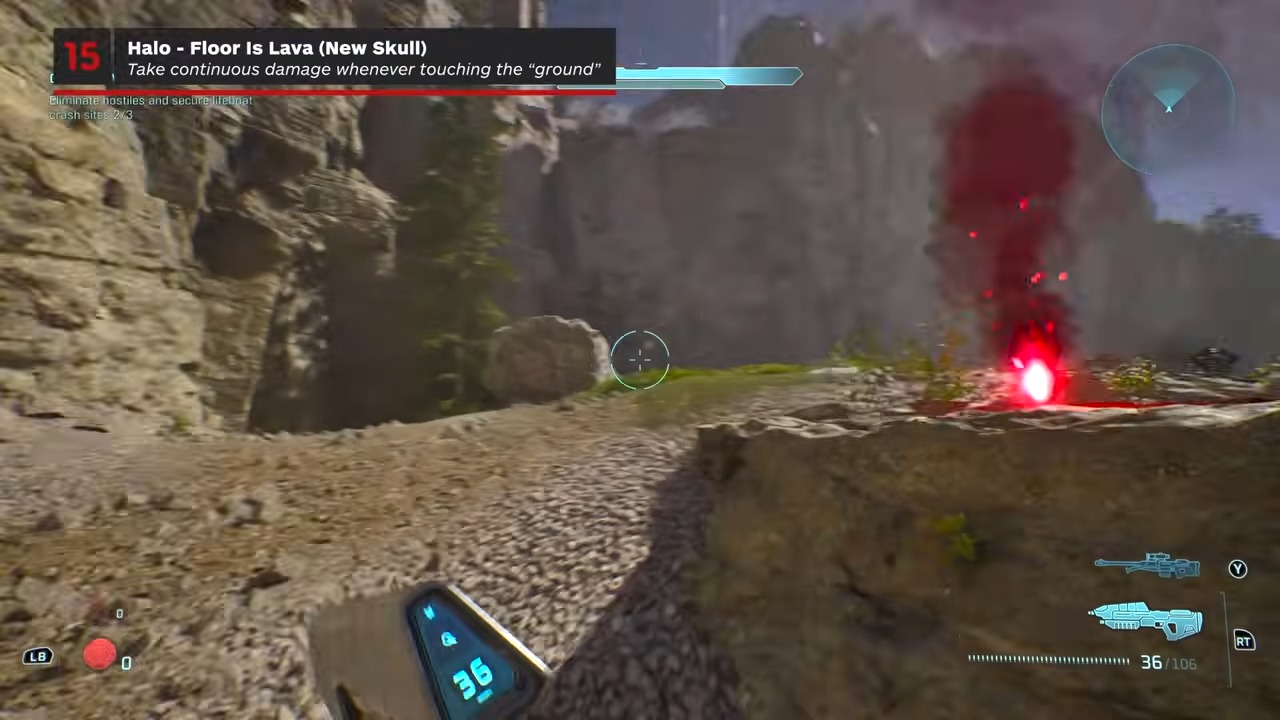
Target
Floor is Lava
- Checkpoint
- Rock-spire lifeboat site
- Landmark
- The smaller rock shelf below the tall formation overlooking the crashed pod.
Do this
- 1Climb the grassy center of the rescue area and face the lifeboat.
- 2Drop onto the lower rock shelf beneath the main formation to reach the Skull.
Confirmation
Floor is Lava is recorded after the final step is completed.
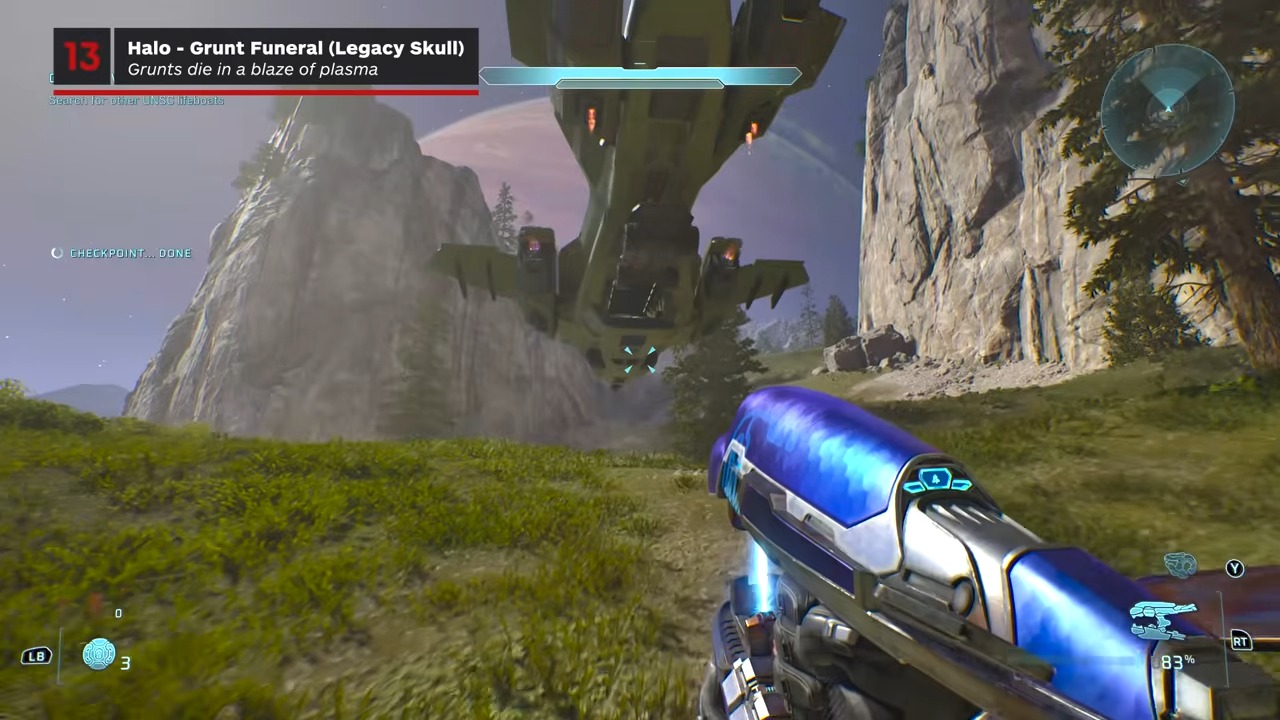
Target
Grunt Funeral
- Checkpoint
- Cliff-side lifeboat site
- Landmark
- The segmented metallic spire beside the underground rescue structure.
Do this
- 1Climb the near side of the metal spire until normal jumps stop gaining height.
- 2Use a grenade jump and turn in the air to land on the next segment where the Skull rests.
Confirmation
Grunt Funeral is recorded after the final step is completed.
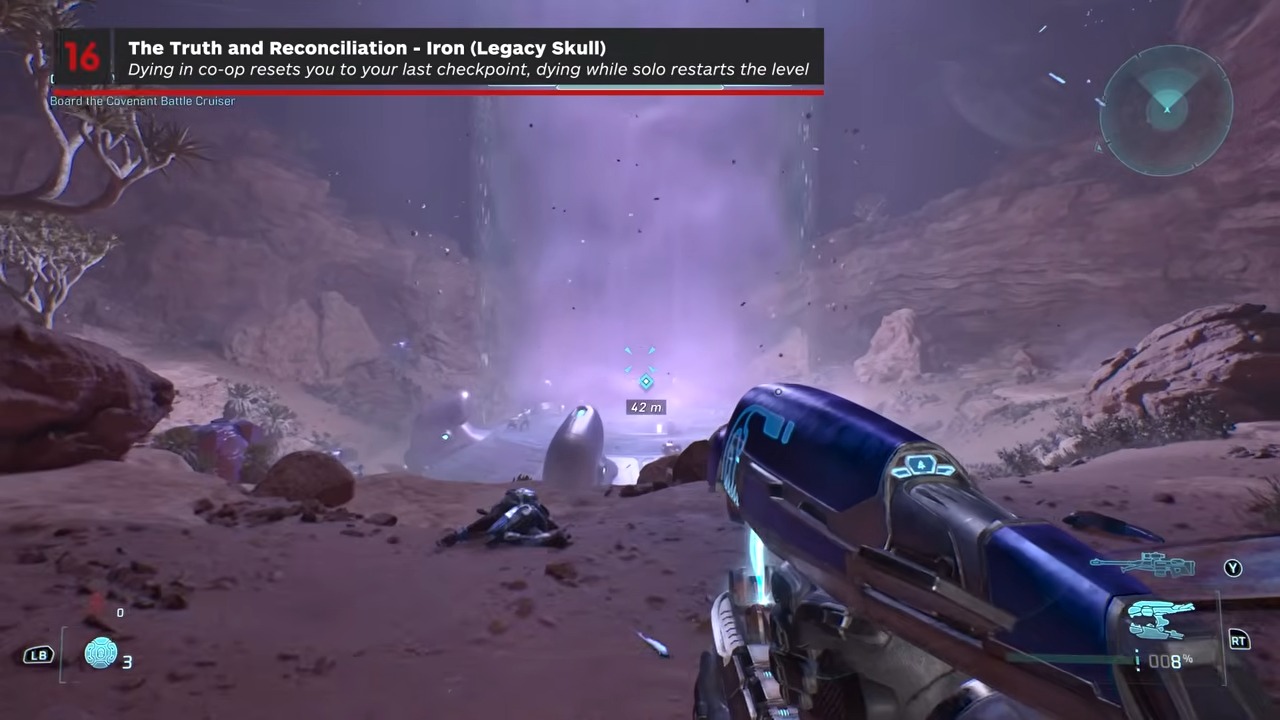
Target
Iron
- Checkpoint
- Gravity lift staging ground
- Landmark
- The cliff edge beyond the lift, marked by a small white ground light.
Do this
- 1Before entering the Covenant gravity lift, cross to the far side of the clearing.
- 2Stand at the white light, look over the edge, and step down to the narrow Skull ledge.
Confirmation
Iron is recorded after the final step is completed.
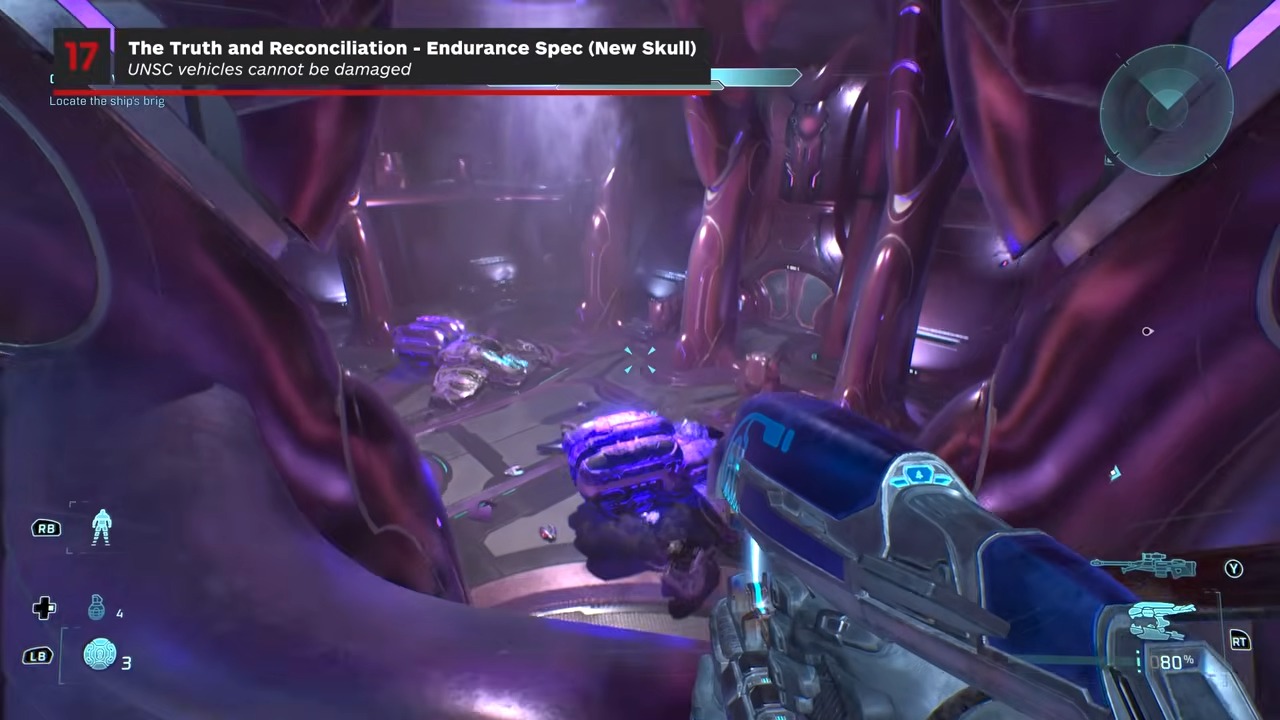
Target
Endurance Spec
- Checkpoint
- Upper Wraith room walkway
- Landmark
- Three narrow pillars above the room containing two Wraiths.
Do this
- 1On the upper floor, continue to the corner with the purple equipment box.
- 2Use the box to reach the pillars, then cross to the third pillar.
Confirmation
Endurance Spec is recorded after the final step is completed.
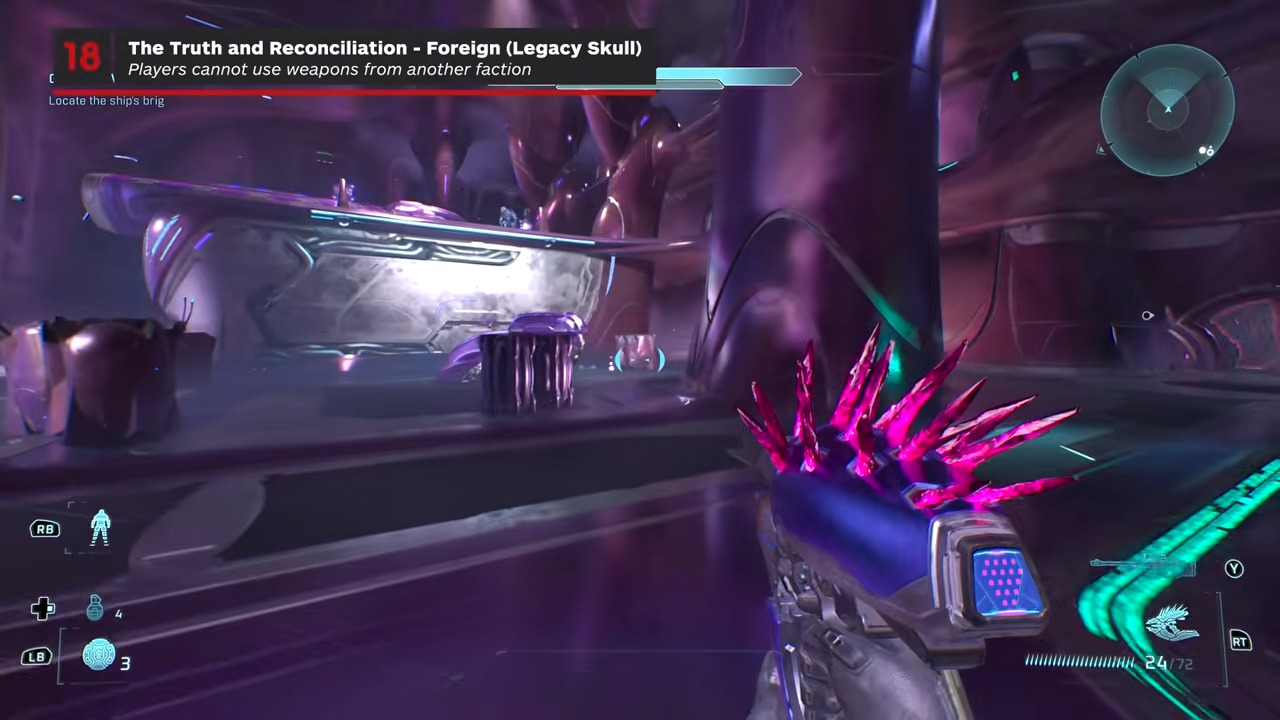
Target
Foreign
- Checkpoint
- First-floor hangar
- Landmark
- The locked door in the far-right corner of the large hangar bay.
Do this
- 1Move to the sealed corner door before finishing the encounter.
- 2When Covenant reinforcements open it, pass through before it closes and collect the Skull inside.
Confirmation
Foreign is recorded after the final step is completed.
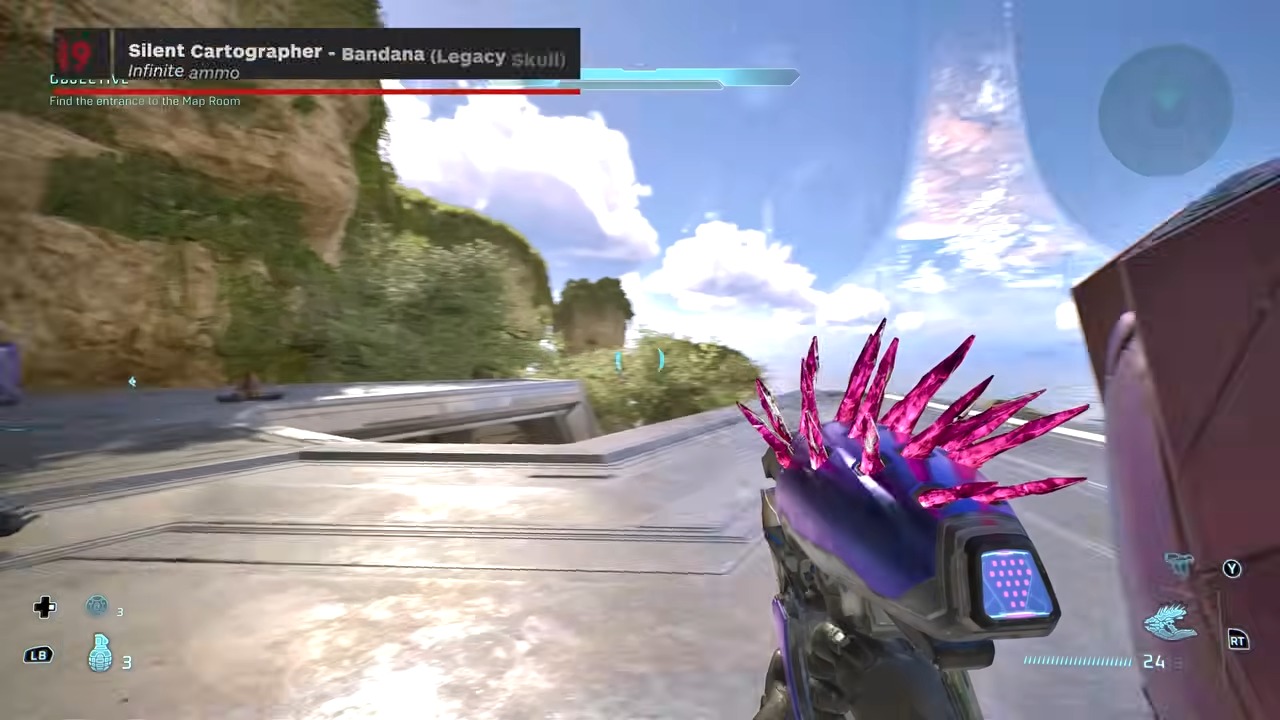
Target
Bandana
- Checkpoint
- First island facility
- Landmark
- The small cave just beyond the exterior wall of the first Warthog-accessible building.
Do this
- 1Drive past the side entrance instead of entering the facility.
- 2Continue into the nearby cave and follow it to the Skull at the back.
Confirmation
Bandana is recorded after the final step is completed.
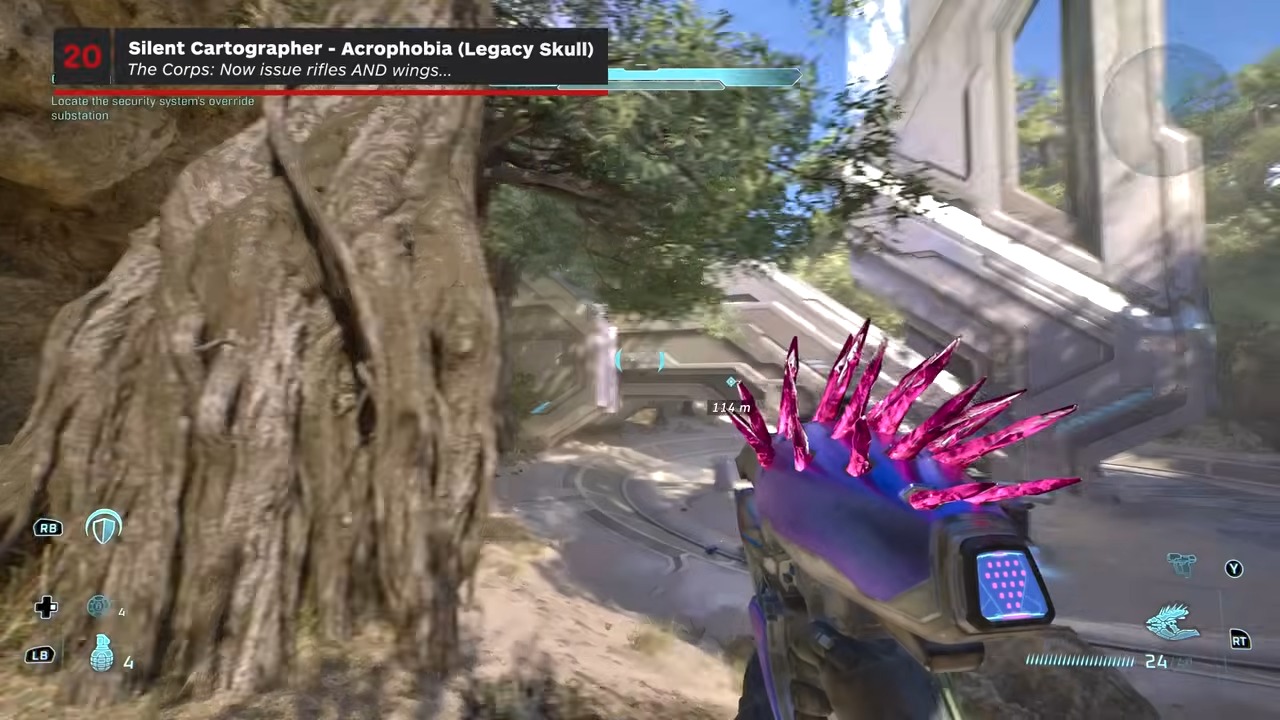
Target
Acrophobia
- Checkpoint
- Hunter arena
- Landmark
- The top of the central structure in the small outdoor Hunter encounter.
Do this
- 1Clear the Hunters so the arena is safe to climb.
- 2Use the sloped geometry around the center structure to reach its roof.
Confirmation
Acrophobia is recorded after the final step is completed.
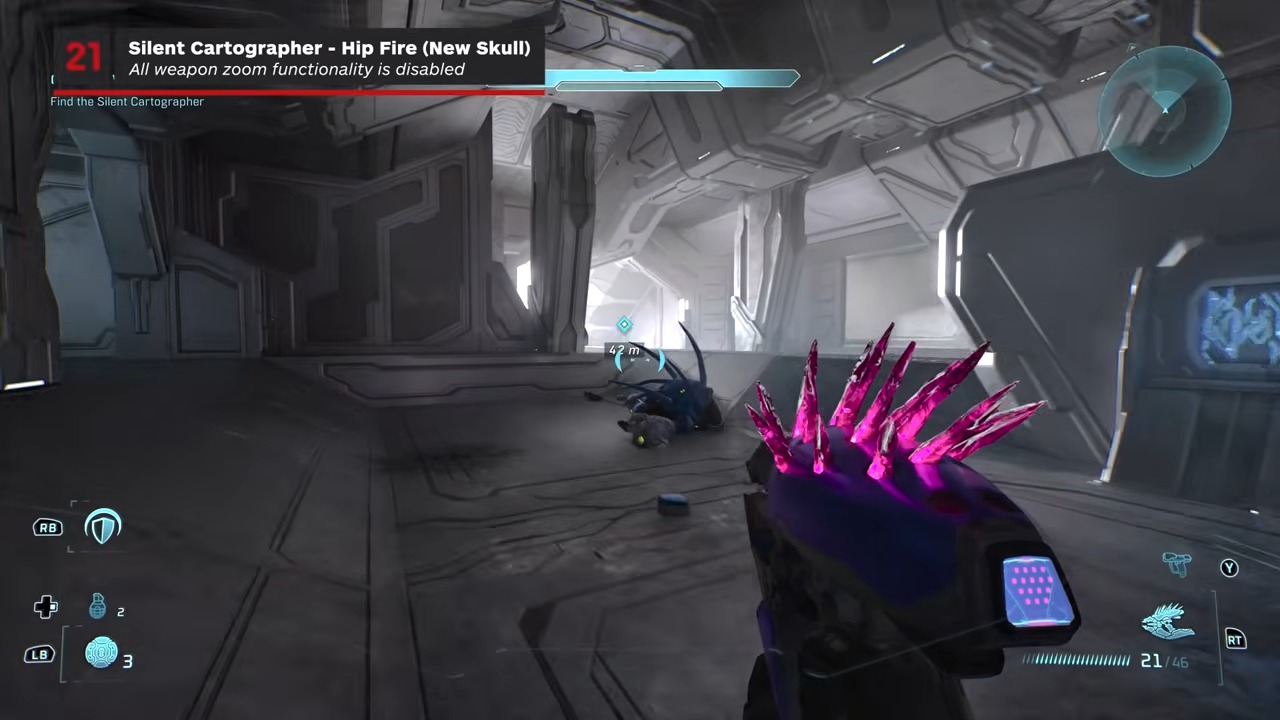
Target
Hip Fire
- Checkpoint
- Map-room ramp
- Landmark
- A narrow shelf inside the tall circular ramp, roughly one and a half floors above the bottom.
Do this
- 1Climb to the top of the spiral ramp and look down through its open center.
- 2Align with the lit shelf below, then make a controlled drop onto the Skull.
Confirmation
Hip Fire is recorded after the final step is completed.
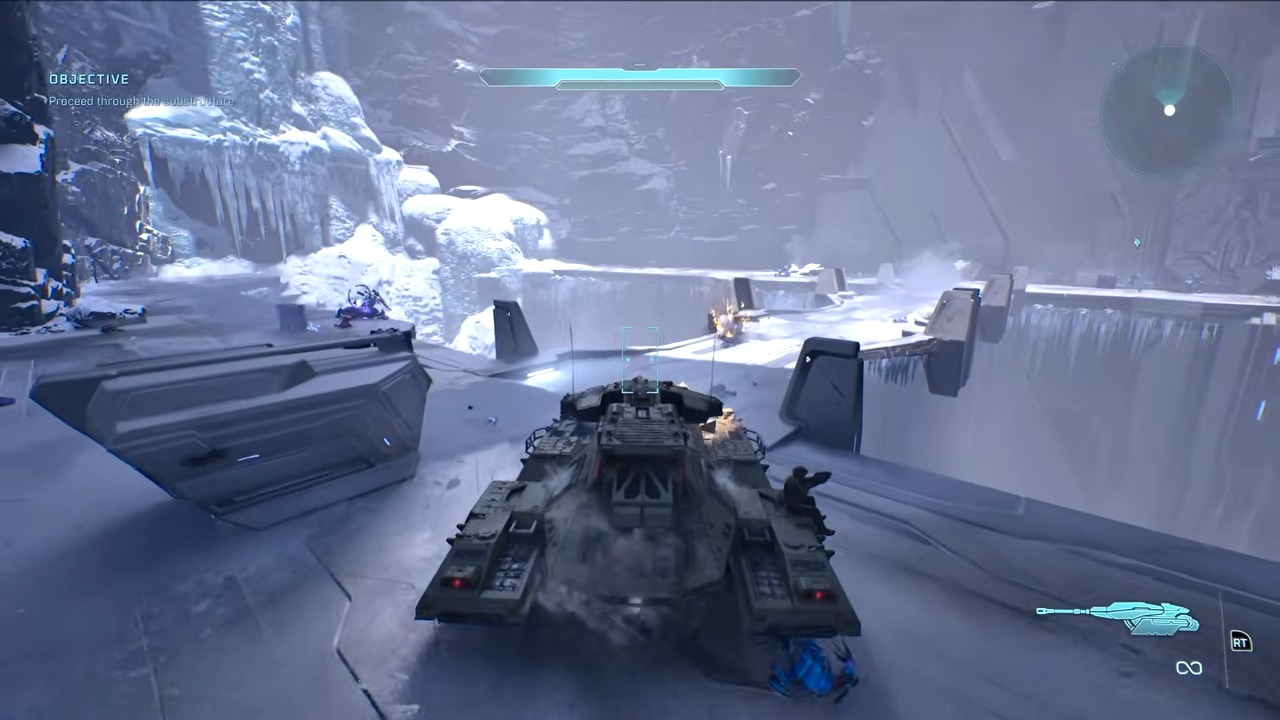
Target
IWHBYD
- Checkpoint
- Scorpion bridge section
- Landmark
- A small opening in the left snowbank after the first thin bridge.
Do this
- 1Cross the bridge with the Scorpion and turn toward the snow wall on the left.
- 2Use the tank hull as a step to reach the opening and collect the Skull inside.
Confirmation
IWHBYD is recorded after the final step is completed.
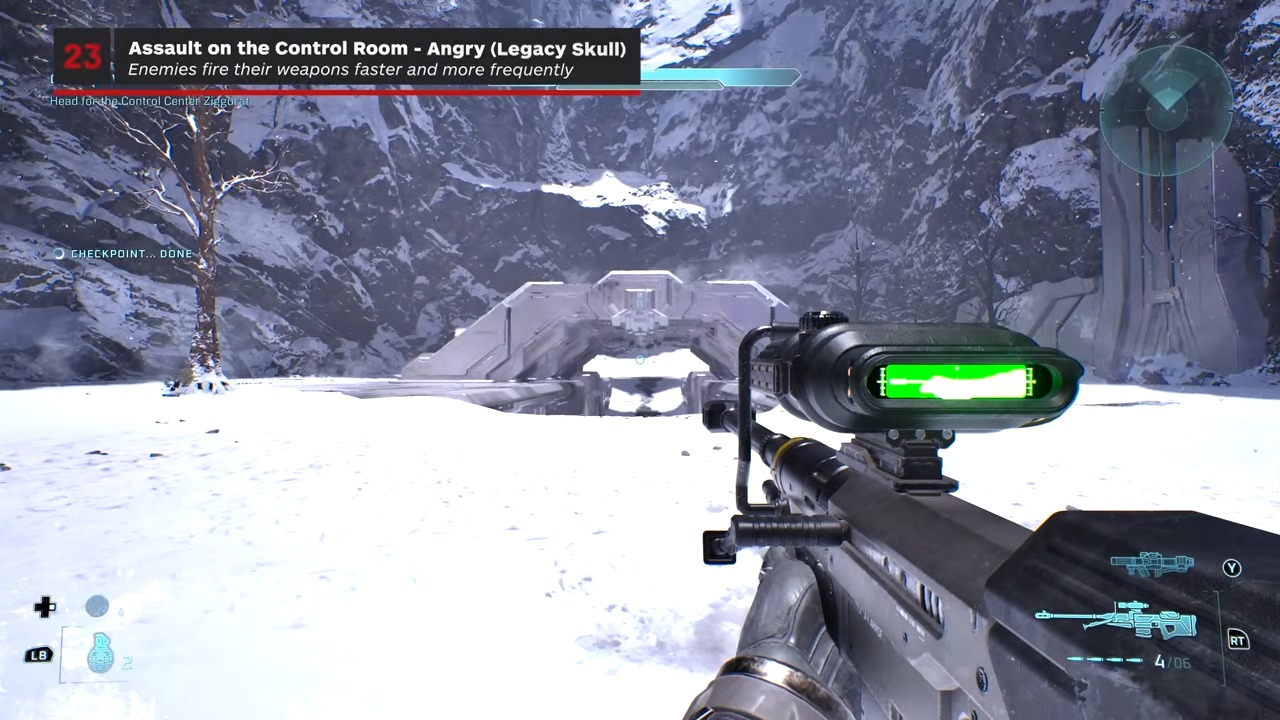
Target
Angry
- Checkpoint
- Post-tank canyon door
- Landmark
- The top of the metal arch closest to the canyon wall.
Do this
- 1At the doorway framed by three exterior arches, move to the wall-side arch.
- 2Climb the adjacent terrain and step onto the arch to reach the Skull.
Confirmation
Angry is recorded after the final step is completed.
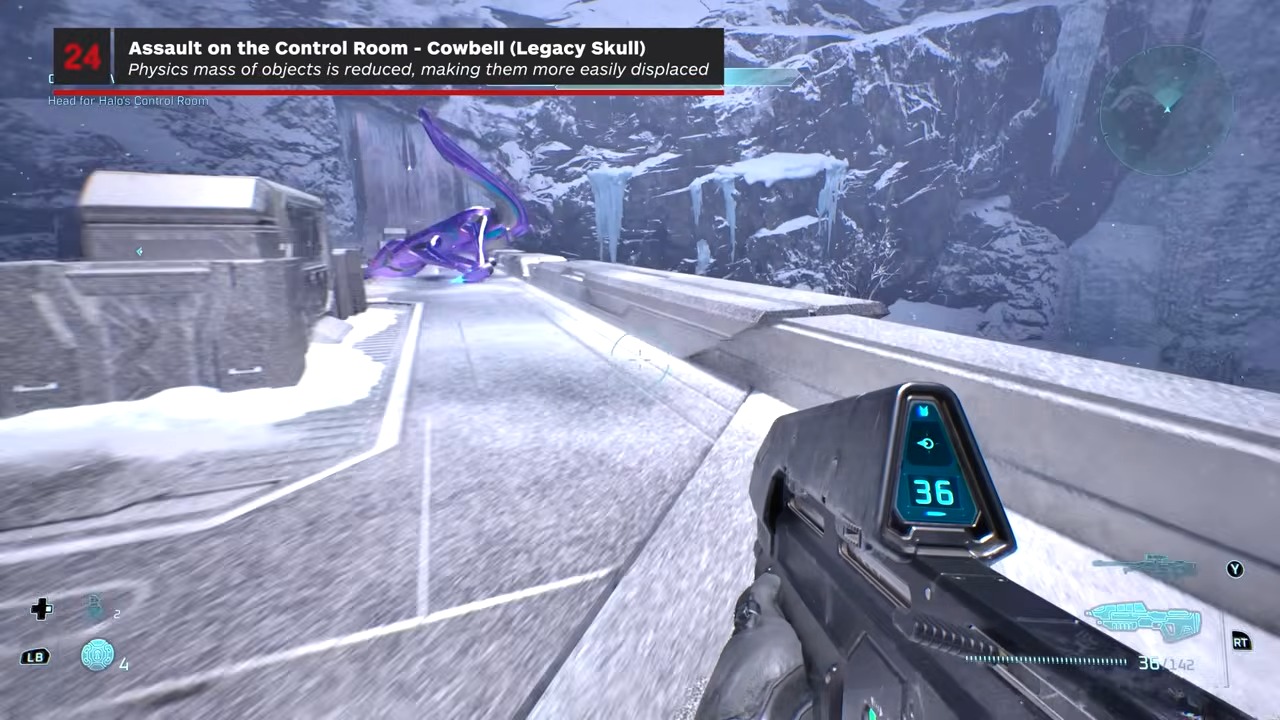
Target
Cowbell
- Checkpoint
- Control-room facility exterior
- Landmark
- The stone pile under the elevated bridge above the central metal ramp.
Do this
- 1From the ground-level Wraith area, drive a vehicle onto the center ramp or set up a grenade jump.
- 2Reach the high ramp, then follow it to the stones beneath the bridge.
Confirmation
Cowbell is recorded after the final step is completed.
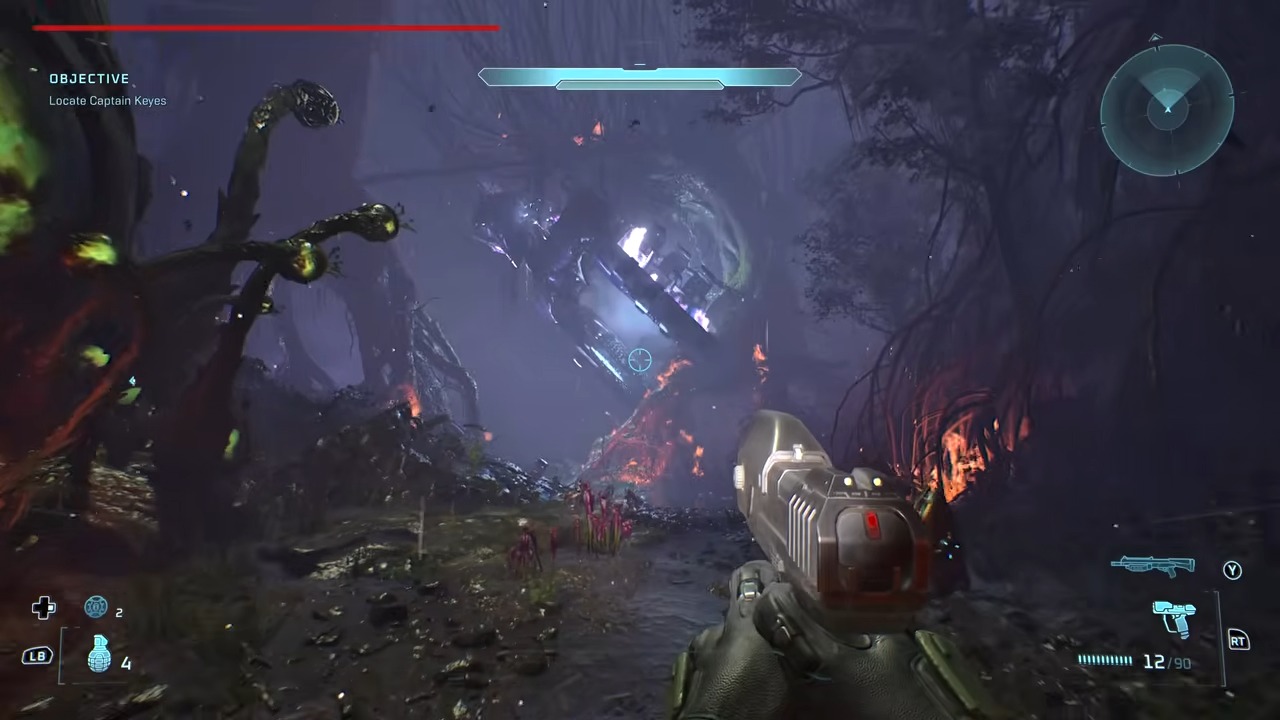
Target
Fog
- Checkpoint
- Opening swamp
- Landmark
- The rocks behind the long fallen log used to cross the forest path.
Do this
- 1Cross the long log, then immediately turn around.
- 2Climb the rocks above its starting end to find the Skull on top.
Confirmation
Fog is recorded after the final step is completed.
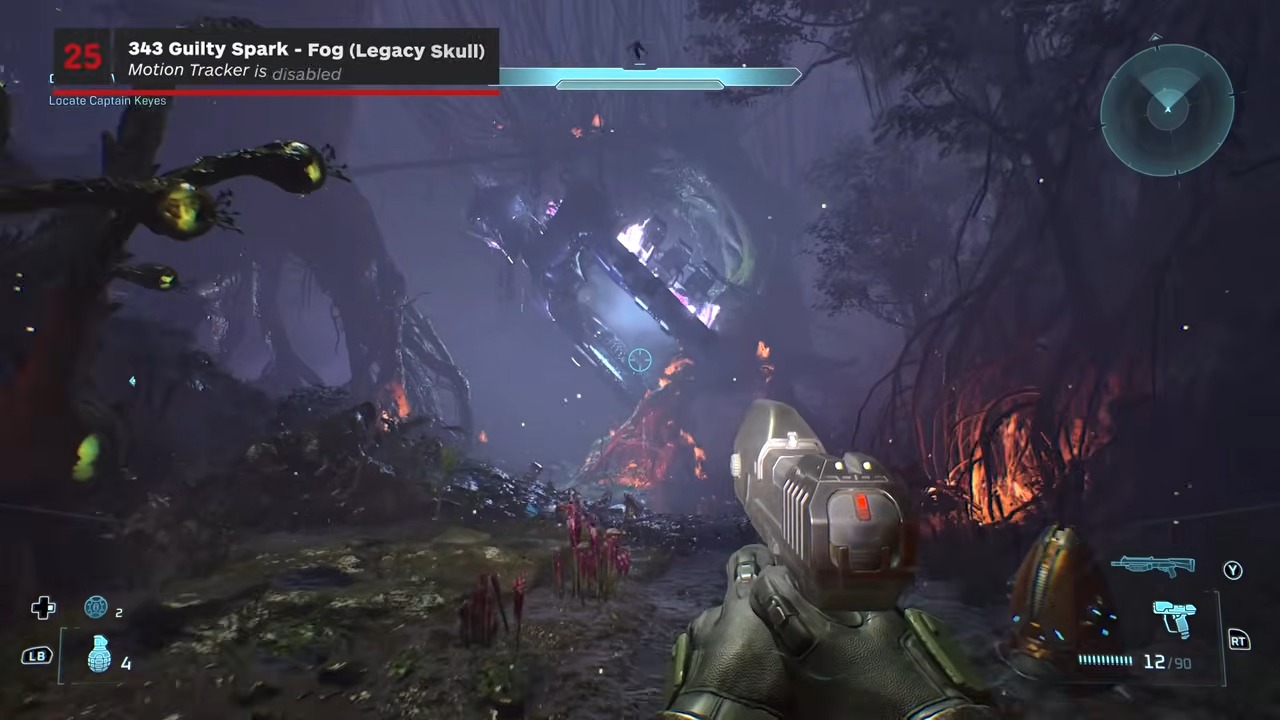
Target
That’s Just… Wrong
- Checkpoint
- Flood containment structure
- Landmark
- The frightened Marine who warns that he will not become one of the creatures.
Do this
- 1Find the isolated Marine after the first Covenant fights inside the structure.
- 2Defeat him and collect the Skull that he drops.
Confirmation
That’s Just… Wrong is recorded after the final step is completed.
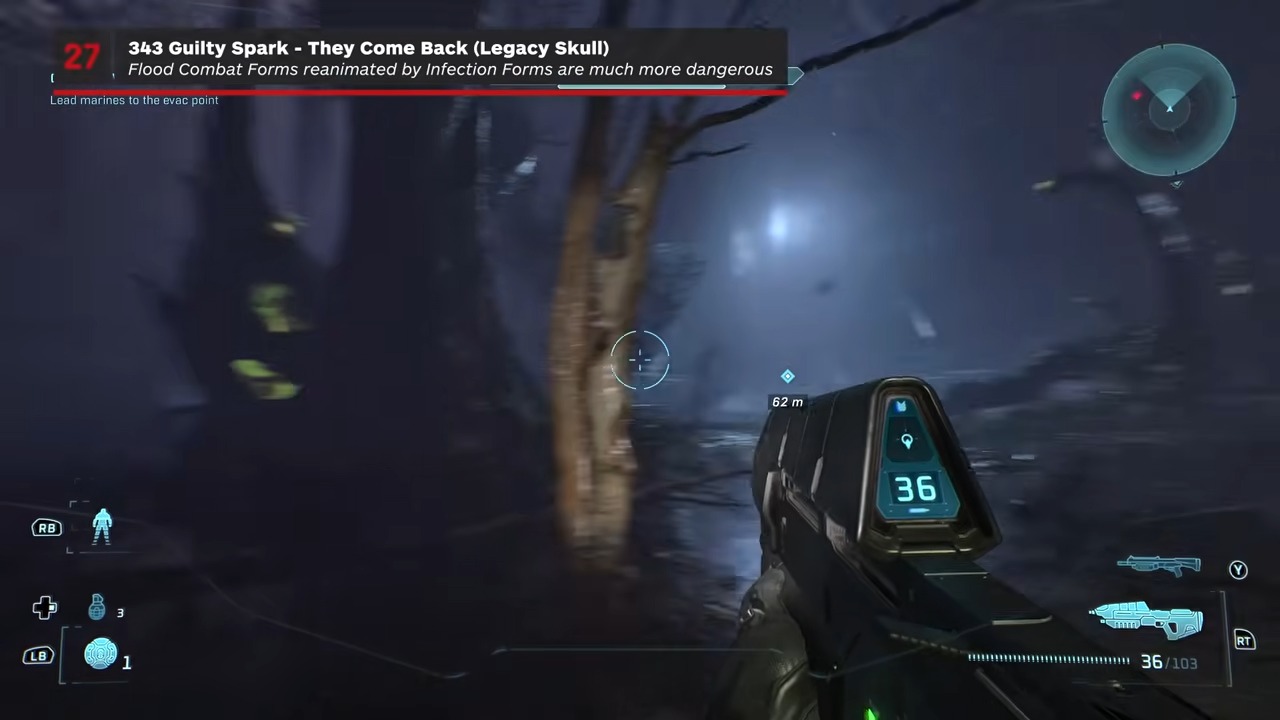
Target
They Come Back
- Checkpoint
- Evacuation approach
- Landmark
- A thin horizontal log to the right of the Sentinel-versus-Flood structure.
Do this
- 1Face the large metal structure at the evac zone and move right instead of approaching it.
- 2Cross the narrow log between the rocks and climb onto the Skull ledge.
Confirmation
They Come Back is recorded after the final step is completed.
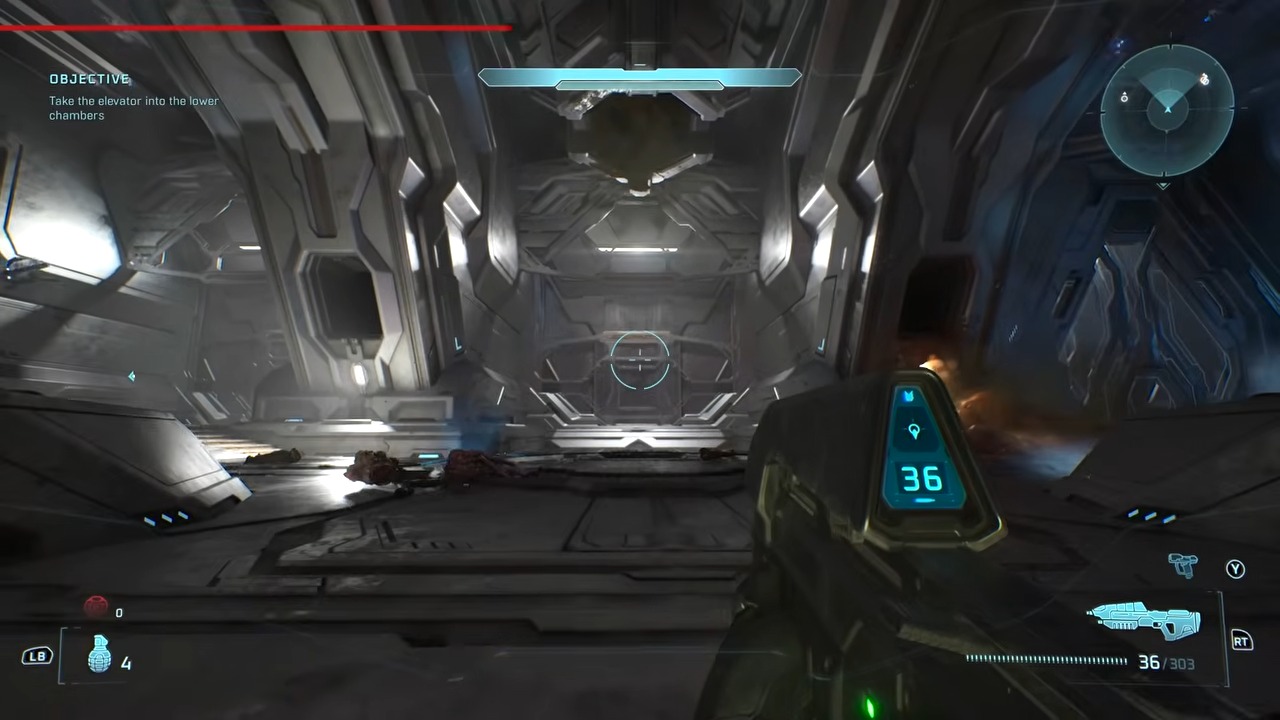
Target
Tilt
- Checkpoint
- First Sentinel/Flood clash
- Landmark
- The ramp opposite the objective arrow as you leave the tunnel.
Do this
- 1Exit the tunnel where Sentinels first fight the Flood.
- 2Ignore the left-pointing objective and take the ramp on the right to its top.
Confirmation
Tilt is recorded after the final step is completed.
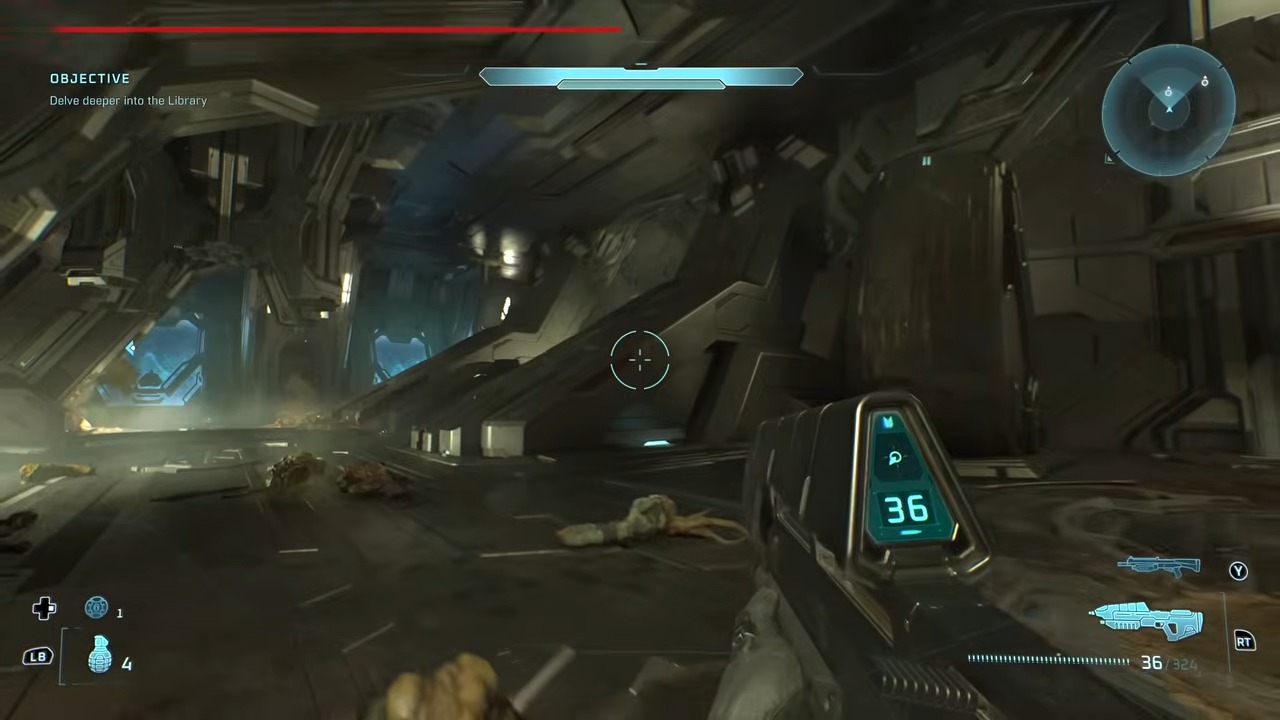
Target
Pop
- Checkpoint
- First elevator descent
- Landmark
- The center pedestal opposite the locked door Guilty Spark opens.
Do this
- 1At the door-defense encounter, turn completely around to spot the elevated pedestal.
- 2Take the side ramp and jump across the raised platforms to the center.
Confirmation
Pop is recorded after the final step is completed.
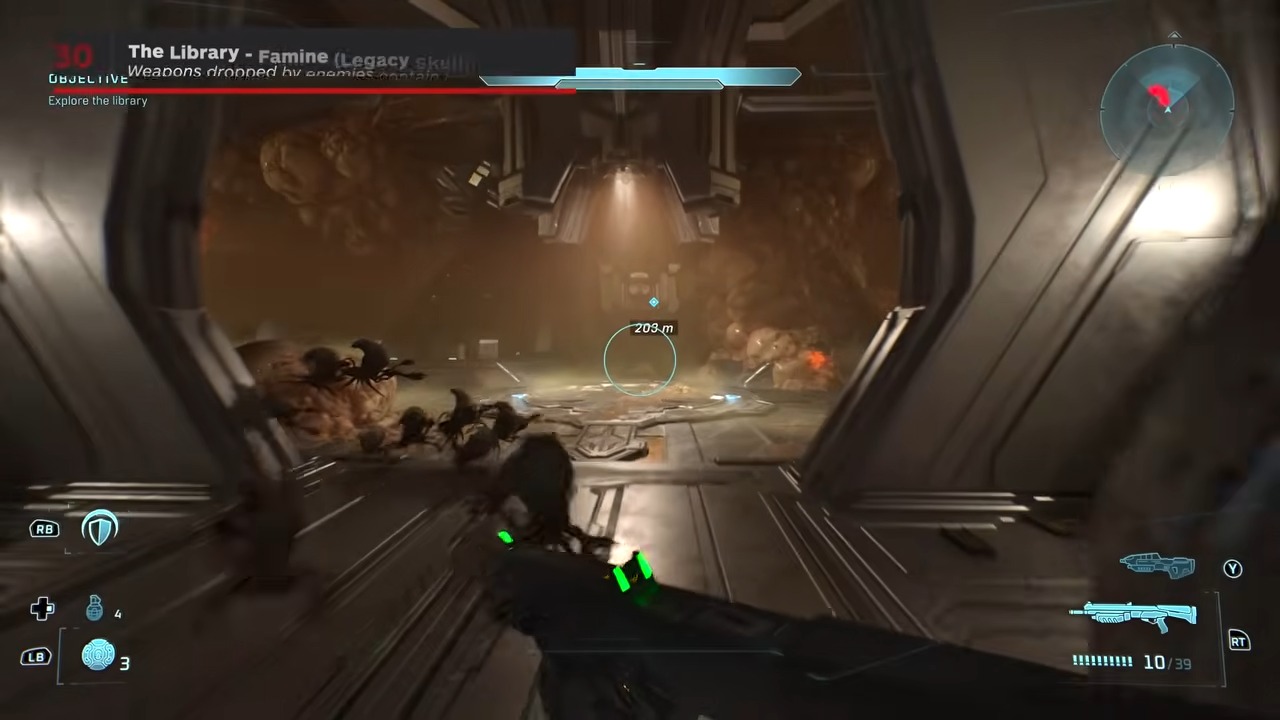
Target
Famine
- Checkpoint
- Fourth floor
- Landmark
- The first left-hand turn inside the short hall directly ahead of the floor entrance.
Do this
- 1Wait for the fourth-floor chapter title after arriving on the new level.
- 2Enter the hall straight ahead and take its first left to find the Skull on the floor.
Confirmation
Famine is recorded after the final step is completed.
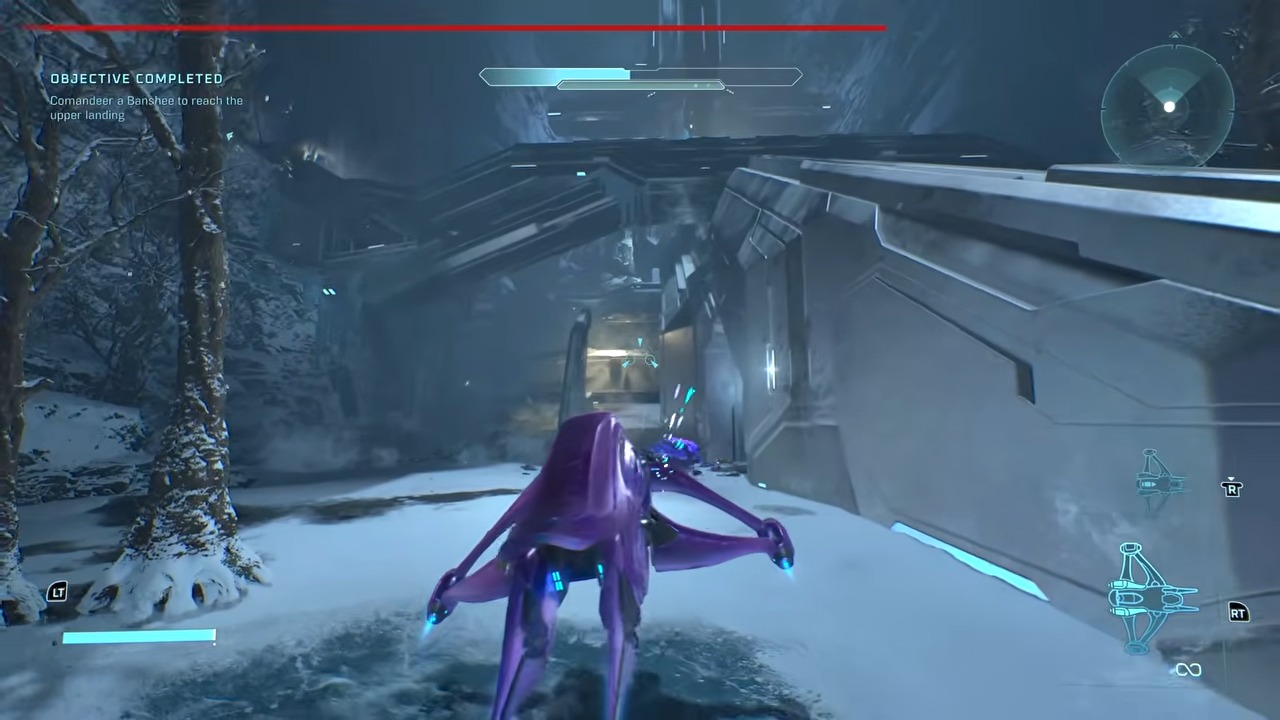
Target
Tough Luck
- Checkpoint
- Control room exit
- Landmark
- The platform surrounding the blue energy beam above the control-room structure.
Do this
- 1Take the first available Banshee after leaving the control room.
- 2Fly to the roof beam and exit carefully onto its narrow platform.
Confirmation
Tough Luck is recorded after the final step is completed.
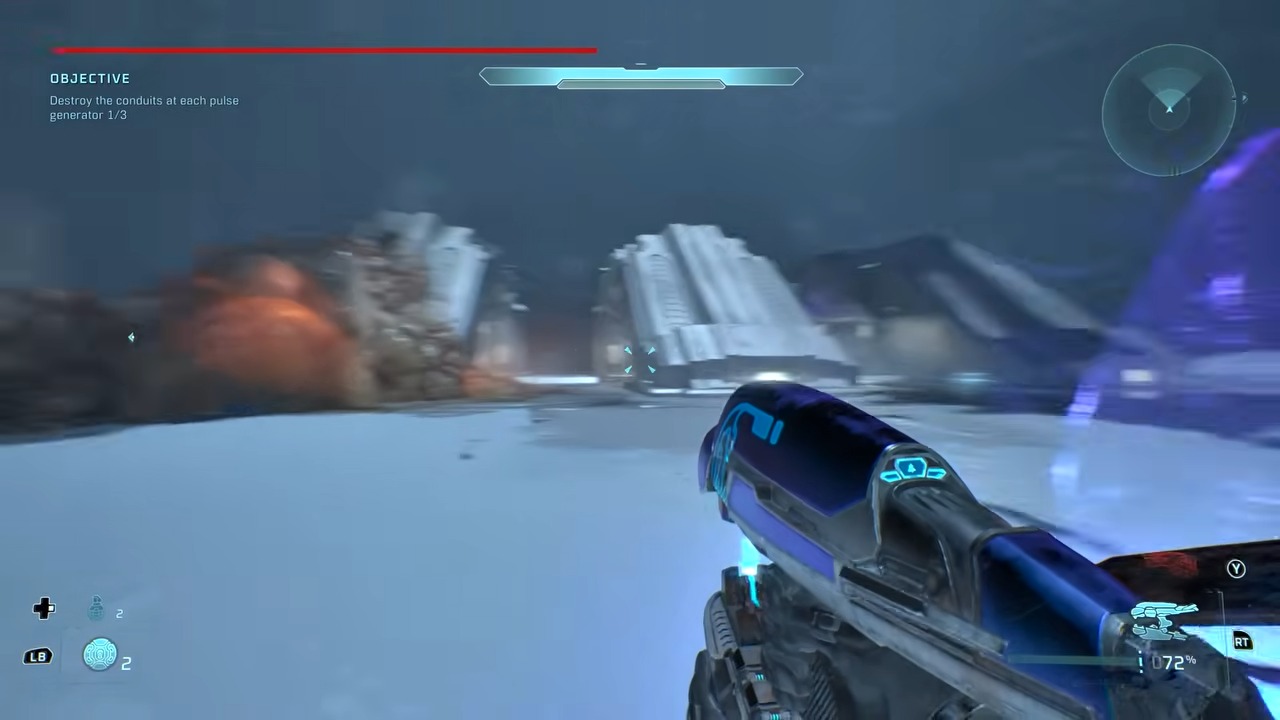
Target
Black Eye
- Checkpoint
- Second-generator canyon
- Landmark
- A short Flood-covered dead end beyond the three metal arches.
Do this
- 1After the elevator descent, cross the closest metal arch in the canyon.
- 2Enter the biomass-blocked recess at the far end and check the ground.
Confirmation
Black Eye is recorded after the final step is completed.
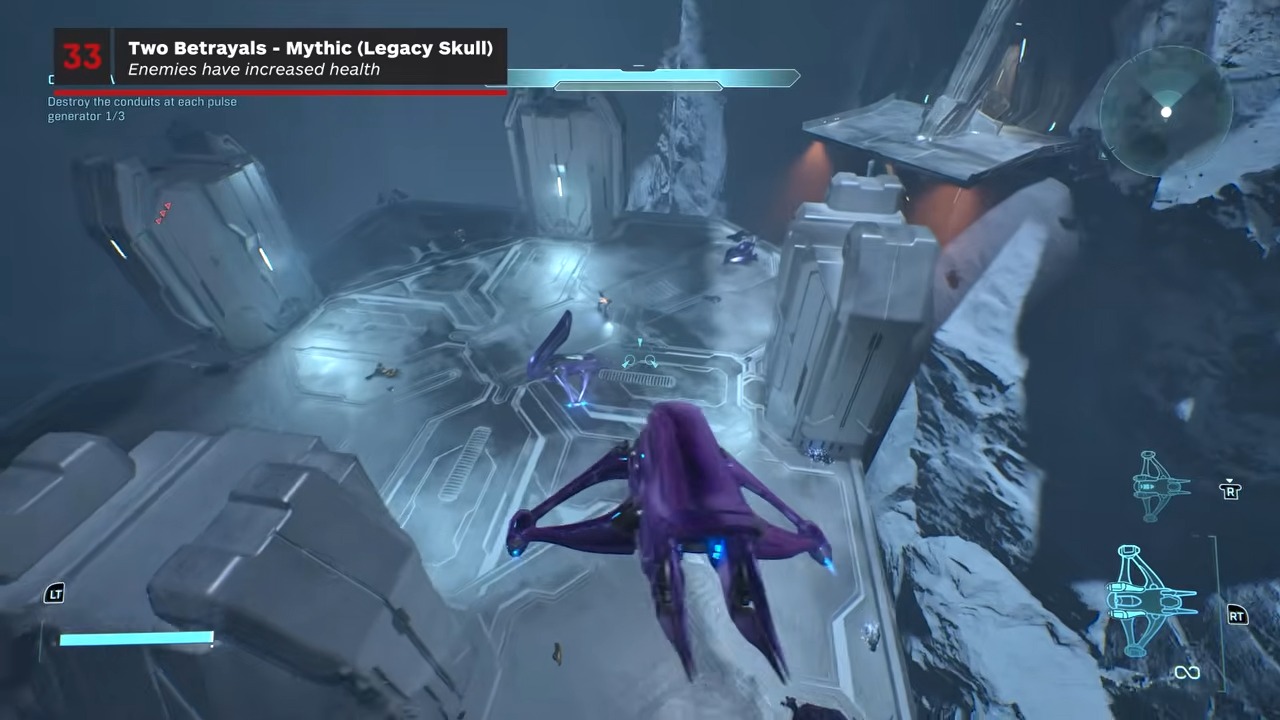
Target
Mythic
- Checkpoint
- Second-conduit ascent
- Landmark
- The locked combat route opposite the objective landing pad.
Do this
- 1Land on the center tower, activate its terminal, then fly to the newly opened opposite door.
- 2Clear all enemies in each of the three rooms; the Skull appears in the final room only after the last enemy falls.
Confirmation
Mythic is recorded after the final step is completed.
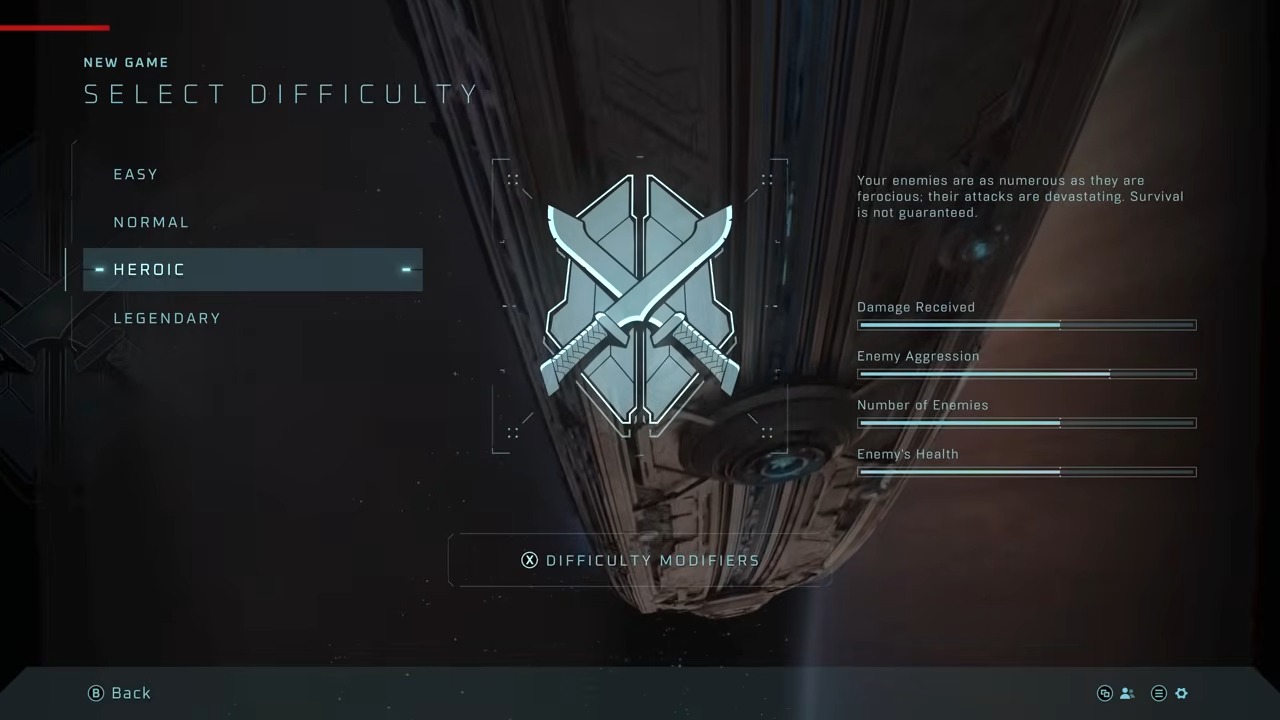
Target
Catch
- Checkpoint
- Opening run to the gravity lift
- Landmark
- The active gravity lift above the outdoor Flood-and-Covenant battle.
Do this
- 1Play on Heroic or above and move directly toward the lift, using the early camouflage and later overshield.
- 2Clear the Covenant guarding the lift, then hold the interact control while rising through the Skull.
Confirmation
Catch is recorded after the final step is completed.
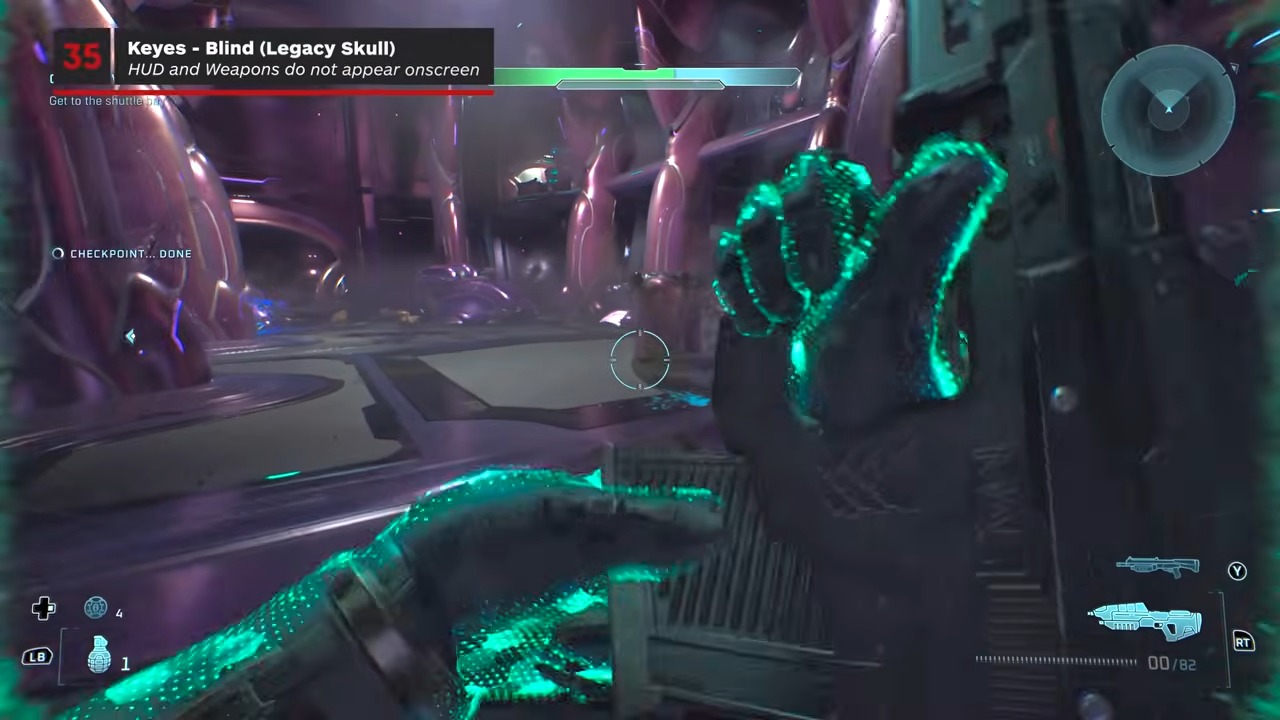
Target
Blind
- Checkpoint
- First vehicle bay after re-entering the ship
- Landmark
- The blocked hallway containing a stranded Wraith.
Do this
- 1Cross the vehicle bay to the corridor behind the Wraith.
- 2Push through the loose weapon crates and search the corner beside the sealed door.
Confirmation
Blind is recorded after the final step is completed.
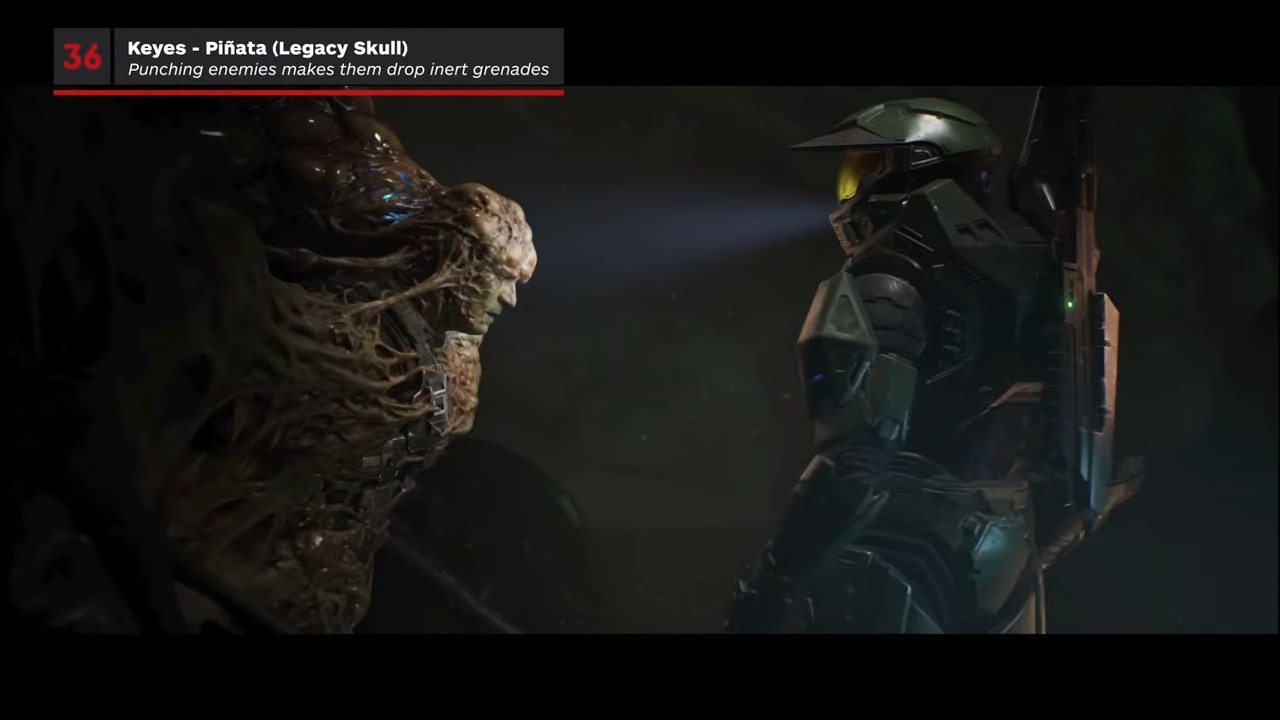
Target
Piñata
- Checkpoint
- Captain Keyes objective
- Landmark
- Captain Keyes after retrieving the command codes.
Do this
- 1Complete the command-code interaction, but do not leave the body.
- 2Crouch if needed and repeatedly melee until the Skull pickup prompt appears.
Confirmation
Piñata is recorded after the final step is completed.
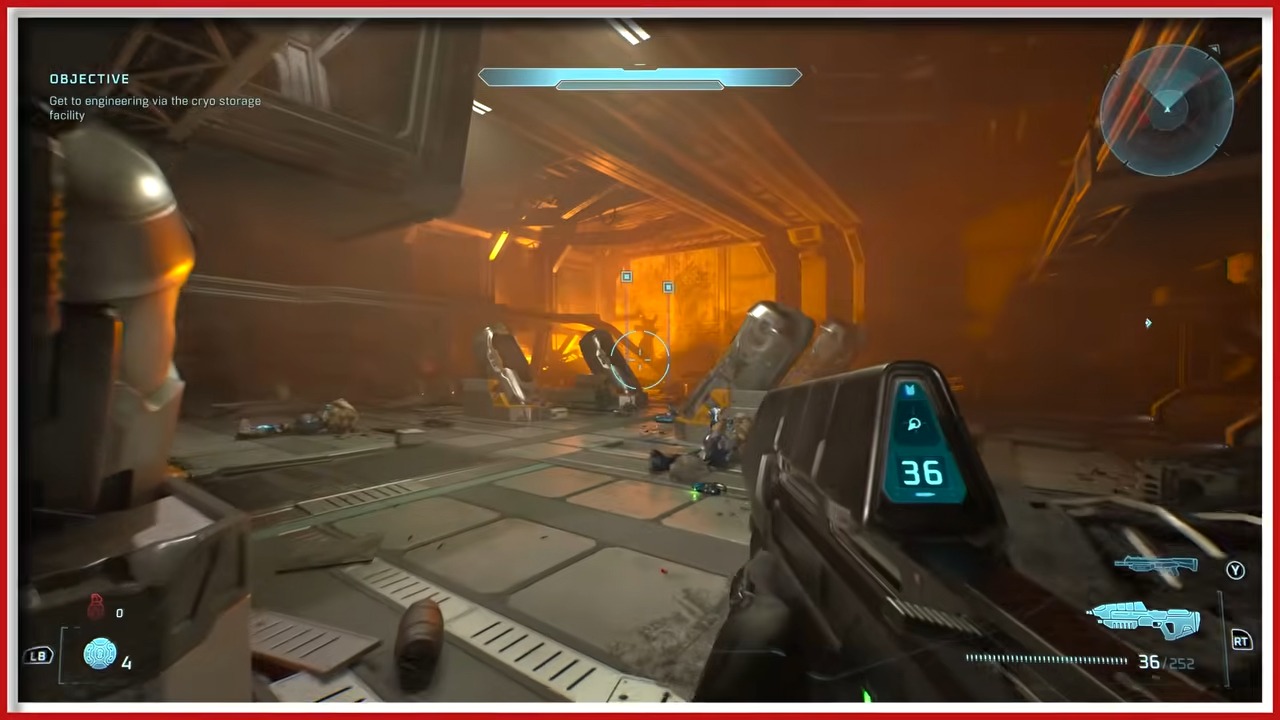
Target
Stowed Reload
- Checkpoint
- Return to the cryo room
- Landmark
- The small platform beside the large fire in the rear-left corner.
Do this
- 1On the bridge-to-engineering route, enter the damaged cryo room.
- 2Jump from the broken walkway to the corner platform beside the flames.
Confirmation
Stowed Reload is recorded after the final step is completed.
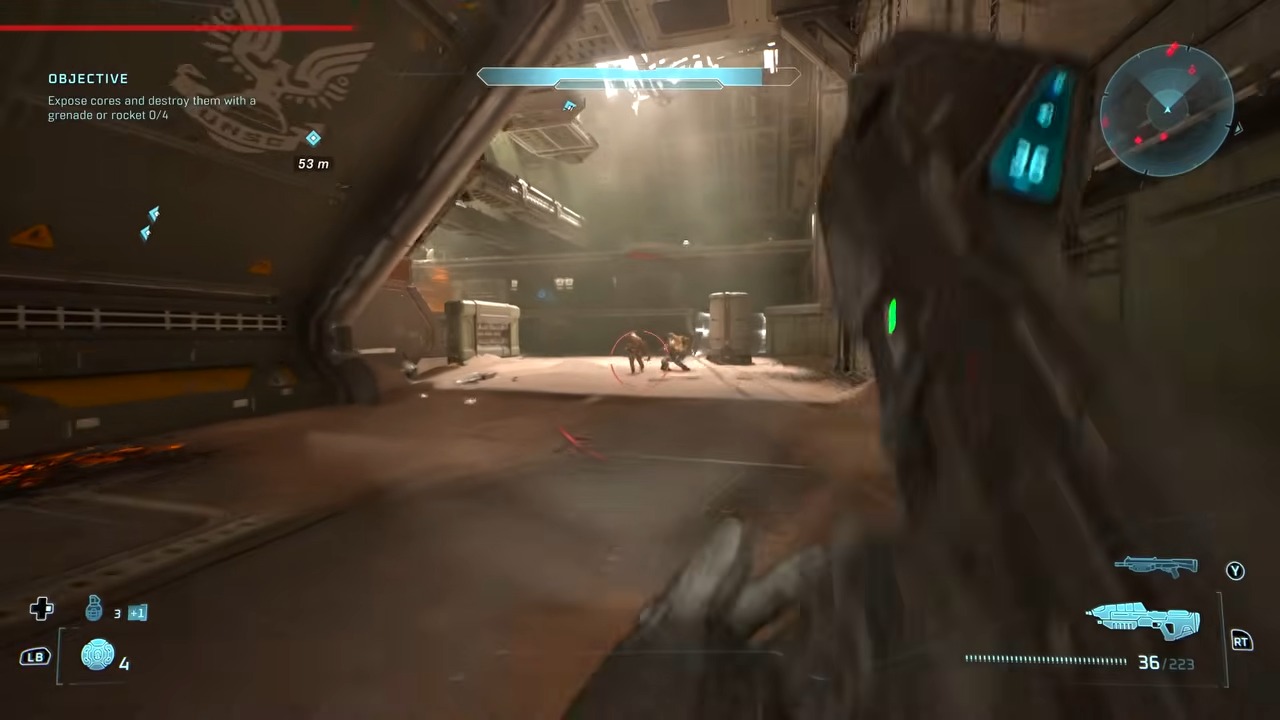
Target
Boom
- Checkpoint
- Engineering
- Landmark
- A narrow ledge below the second-floor jump platform on the room’s right side.
Do this
- 1Enter engineering and climb to the second floor on the right.
- 2At the platform used to reach the upper corridor, drop to the ledge beneath it and check the corner.
Confirmation
Boom is recorded after the final step is completed.
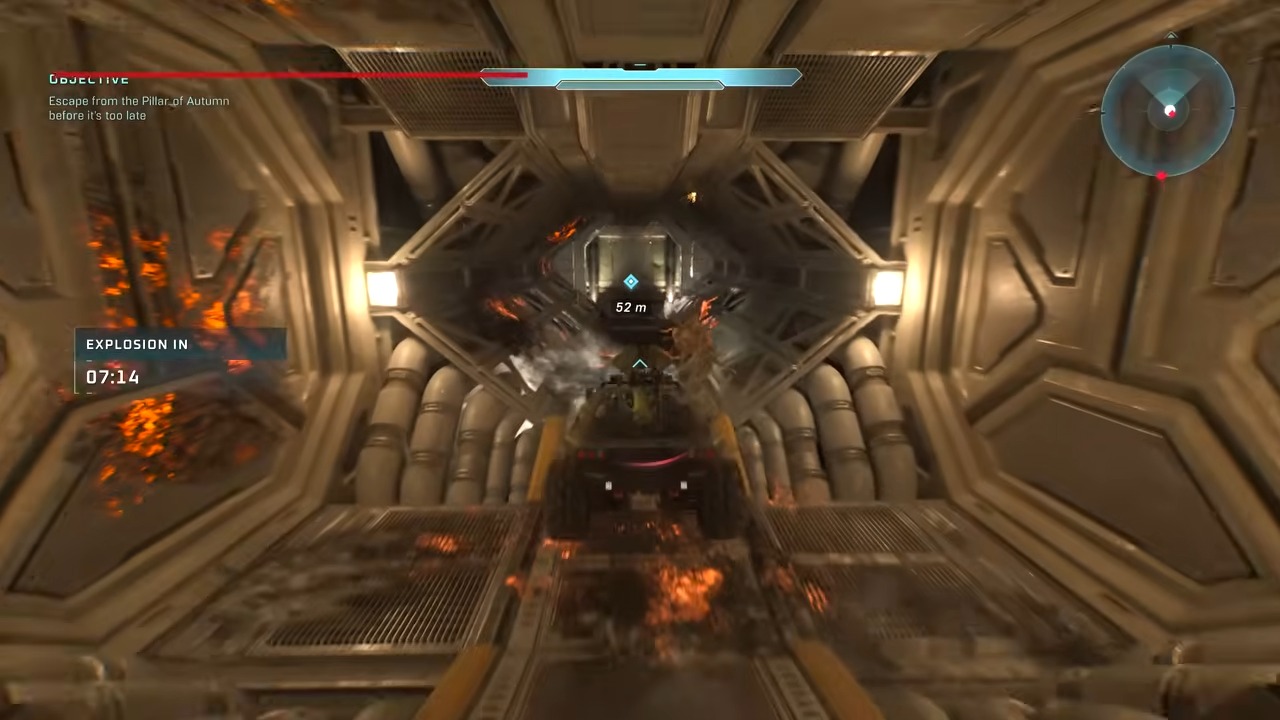
Target
Thunderstorm
- Checkpoint
- Warthog escape
- Landmark
- The second small bypass tunnel inside the early winding section.
Do this
- 1Count the shortcut openings as the Warthog enters the curved tunnel.
- 2Drive through the second opening and pass over the Skull in its center.
Confirmation
Thunderstorm is recorded after the final step is completed.
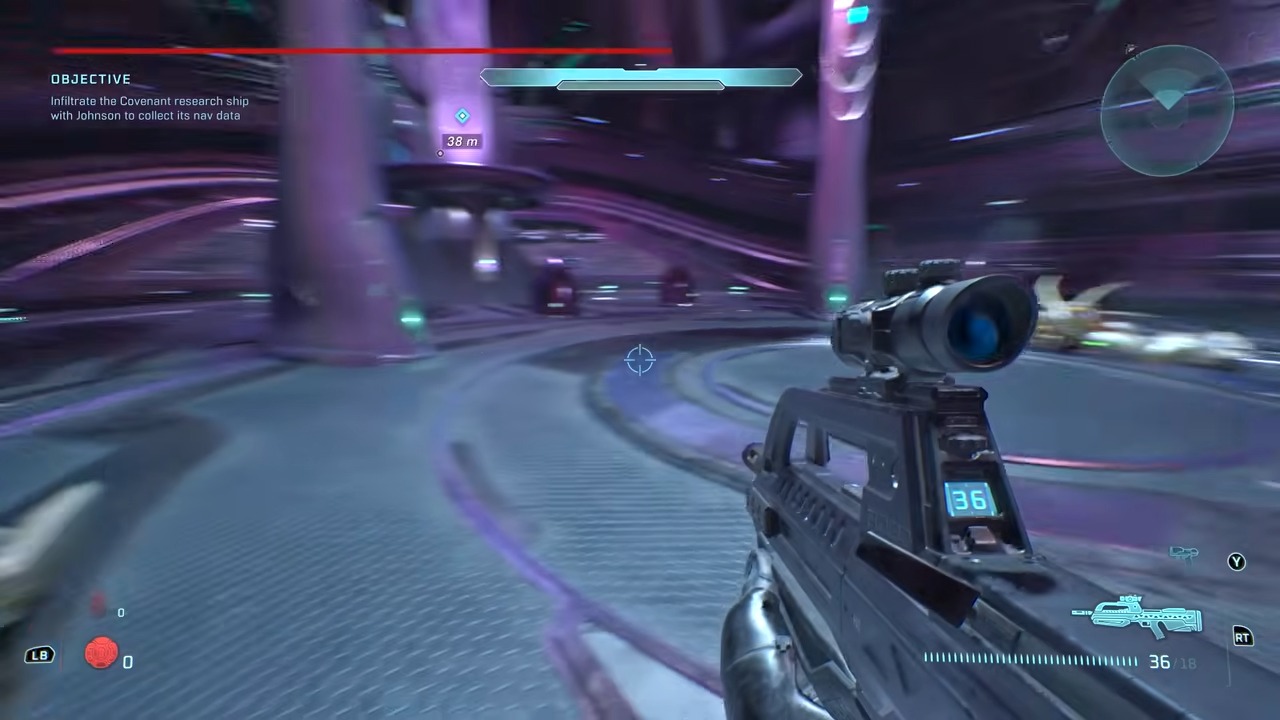
Target
Malfunction
- Checkpoint
- Gold-Hunter encounter
- Landmark
- The narrow bridge reached through the side route opposite Johnson.
Do this
- 1After defeating the two white-and-gold Hunters, ignore Johnson’s route.
- 2Take the opposite ramp and follow the newly open doors until the path reaches the Skull bridge.
Confirmation
Malfunction is recorded after the final step is completed.
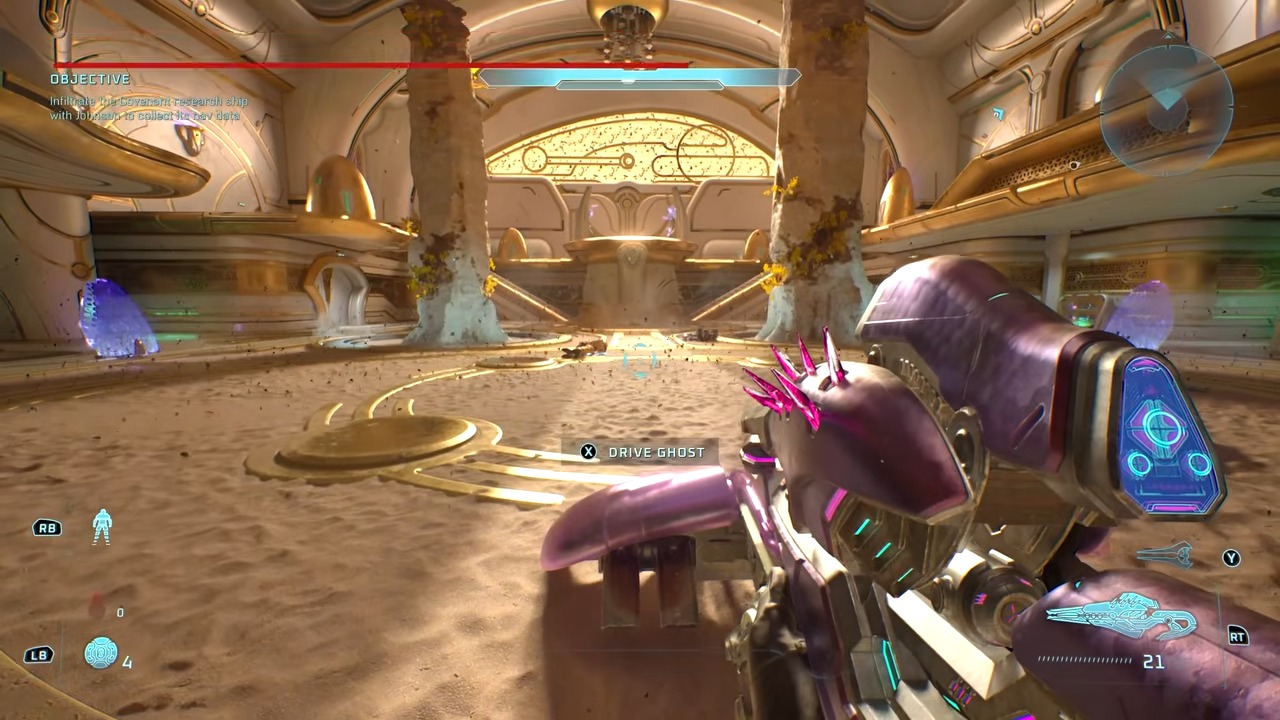
Target
Johnny Ammo
- Checkpoint
- Sand arena
- Landmark
- The curved third-floor ledge near the tree above the arena entrance.
Do this
- 1Clear the sand arena and climb to its second level.
- 2Backtrack toward the entrance on the upper route, defeat the Elites, and check the curved ledge.
Confirmation
Johnny Ammo is recorded after the final step is completed.
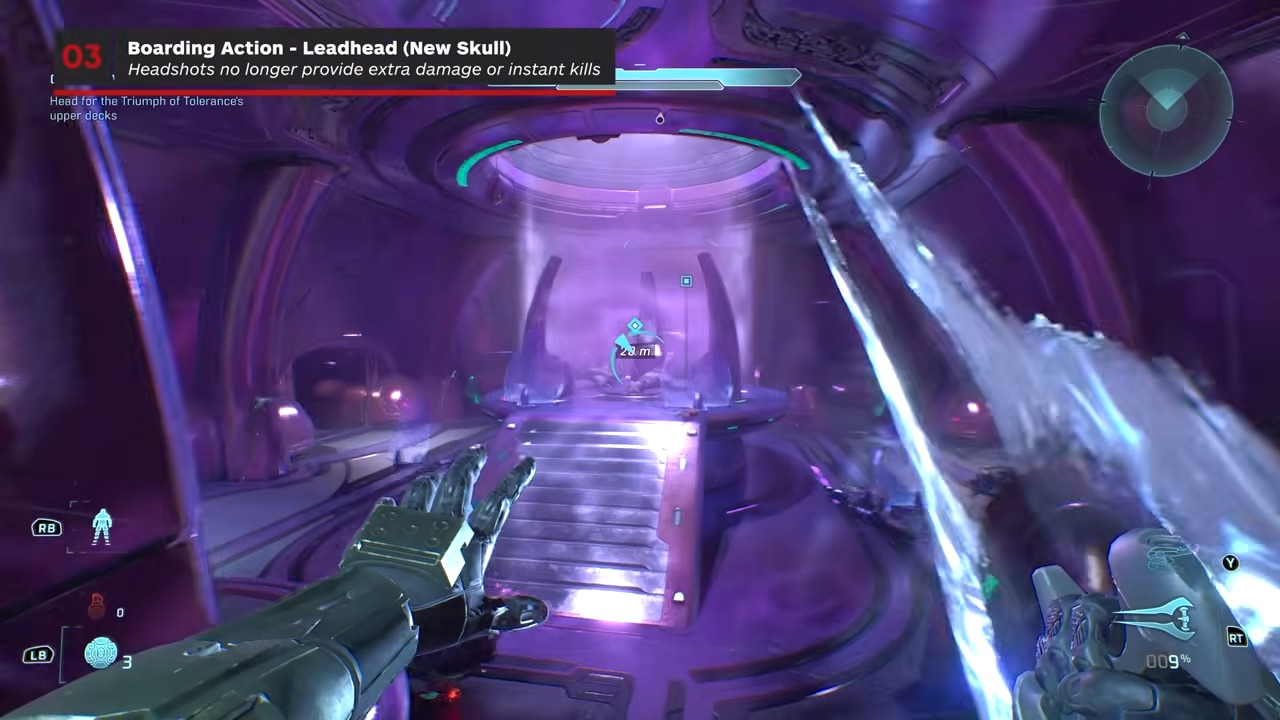
Target
Leadhead
- Checkpoint
- Bio-lab lift room
- Landmark
- The open side hallway immediately left of the central vertical lift.
Do this
- 1Finish the enemy waves until the objective directs you onto the lift.
- 2Before ascending, enter the left doorway and follow the hall to its end.
Confirmation
Leadhead is recorded after the final step is completed.
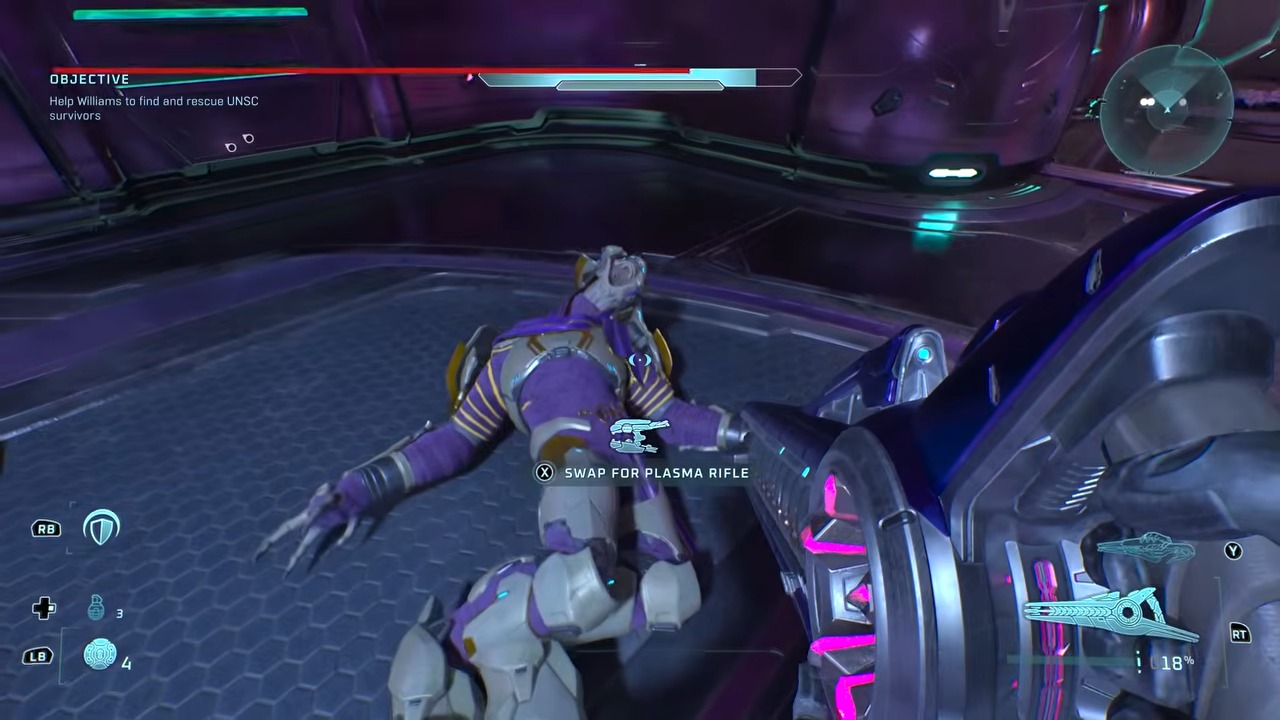
Target
Temperamental
- Checkpoint
- Three golden-Elite marks
- Landmark
- The central purple pylon in the first arena after the prison break.
Do this
- 1Tag—not kill—the fleeing golden Elite in the Marine-linkup arena, the Wraith bridge arena, and the first post-prison arena.
- 2After all three hits register, climb the central pylon in the post-prison arena and collect the spawned Skull.
Confirmation
Temperamental is recorded after the final step is completed.
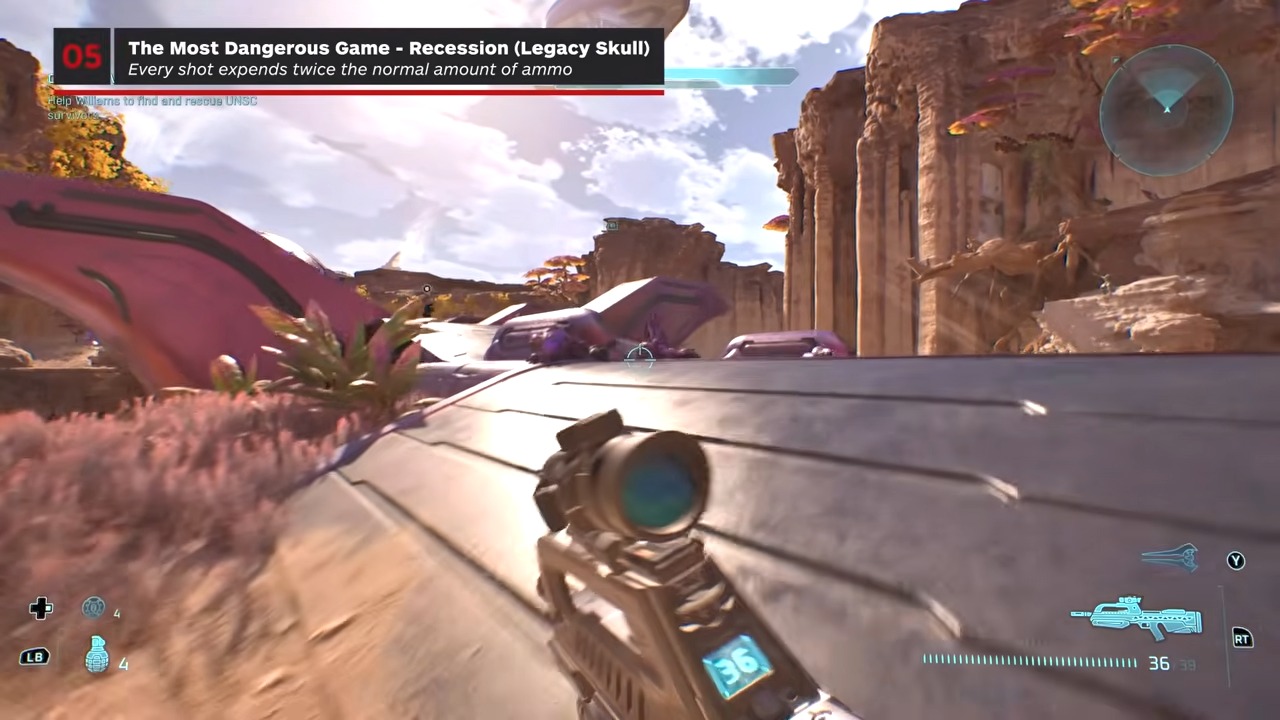
Target
Recession
- Checkpoint
- Early Wraith bridge
- Landmark
- The sealed room beneath two braziers at the end opposite the Wraith.
Do this
- 1At the long purple bridge, move to the large door opposite the Wraith.
- 2Destroy the explosive barrels on both sides to open the door and reveal the Skull.
Confirmation
Recession is recorded after the final step is completed.
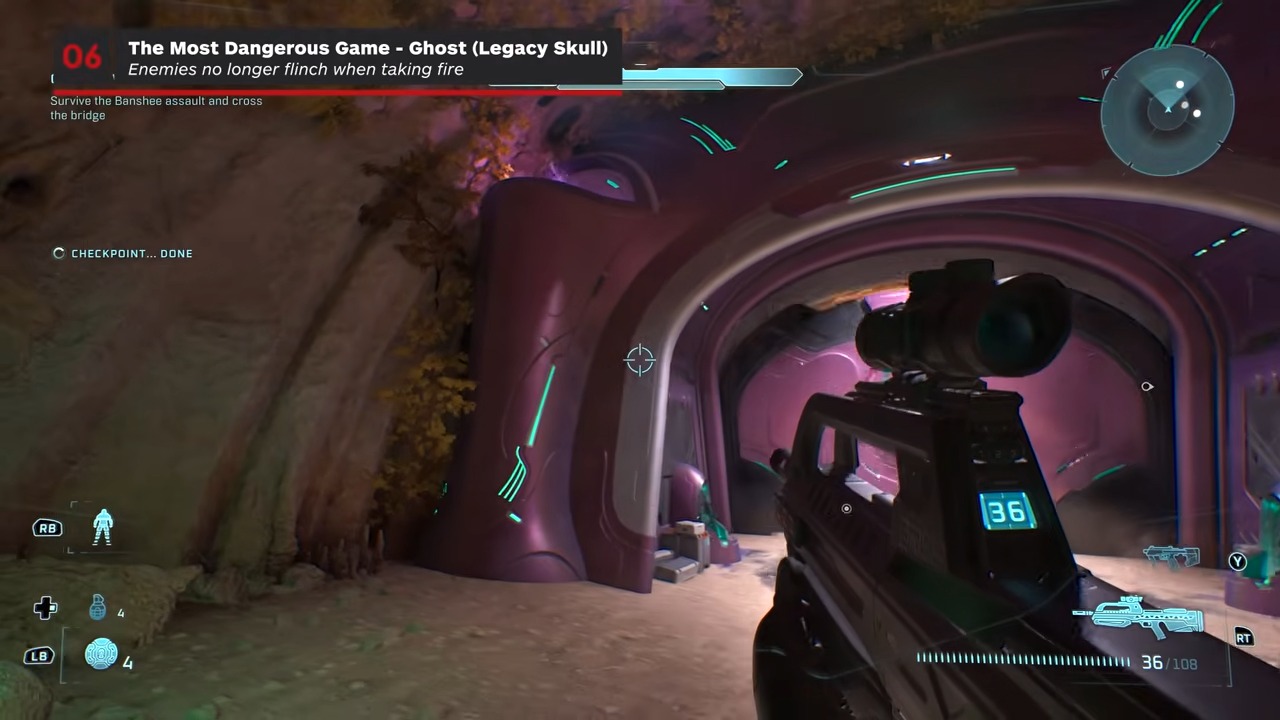
Target
Ghost
- Checkpoint
- Post-Banshee bridge arena
- Landmark
- The brazier above the doorway used to enter the arena.
Do this
- 1After clearing the arena, return to the entrance and collect the frag grenades near the fallen Marine.
- 2Grenade-jump up the adjacent rocks, then hug the wall while crossing to the brazier.
Confirmation
Ghost is recorded after the final step is completed.
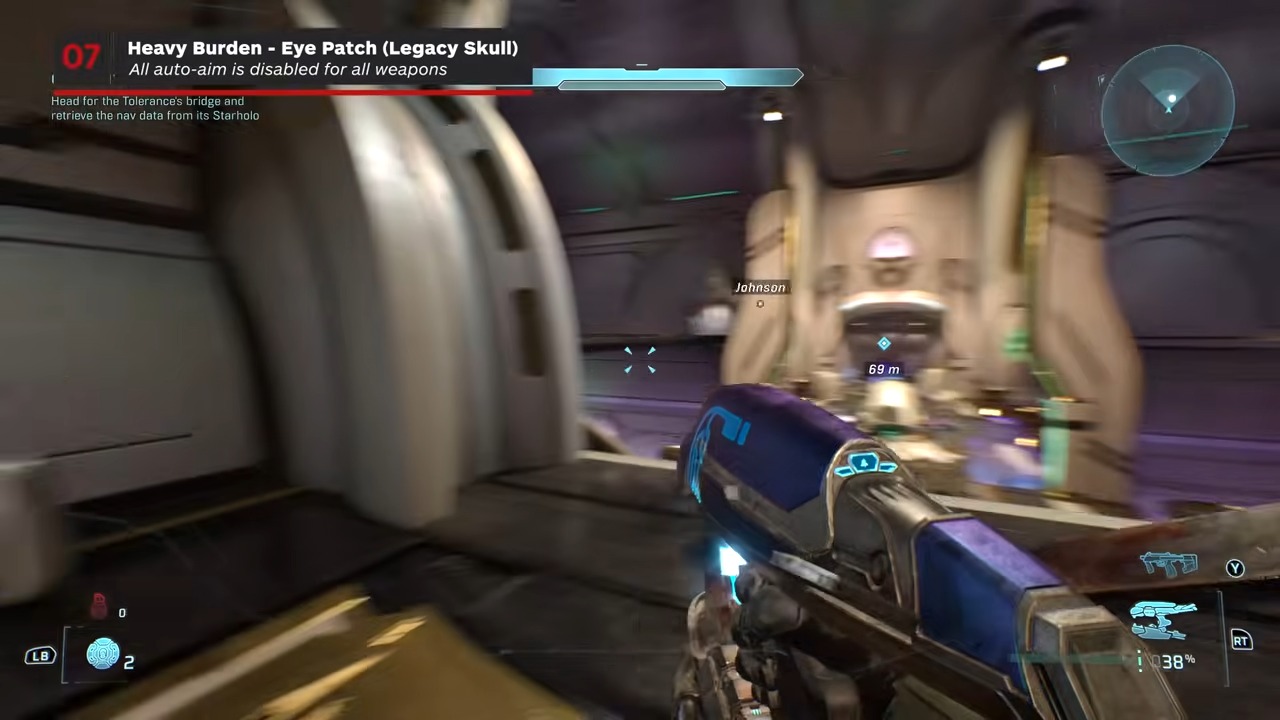
Target
Eye Patch
- Checkpoint
- Route to Tolerance’s bridge
- Landmark
- The side corridor beside the suspended bridge, ending at a locked door.
Do this
- 1Do not cross the suspended bridge when you reach it.
- 2Use the open side door on the entry side and follow the corridor to the Skull by the sealed door.
Confirmation
Eye Patch is recorded after the final step is completed.
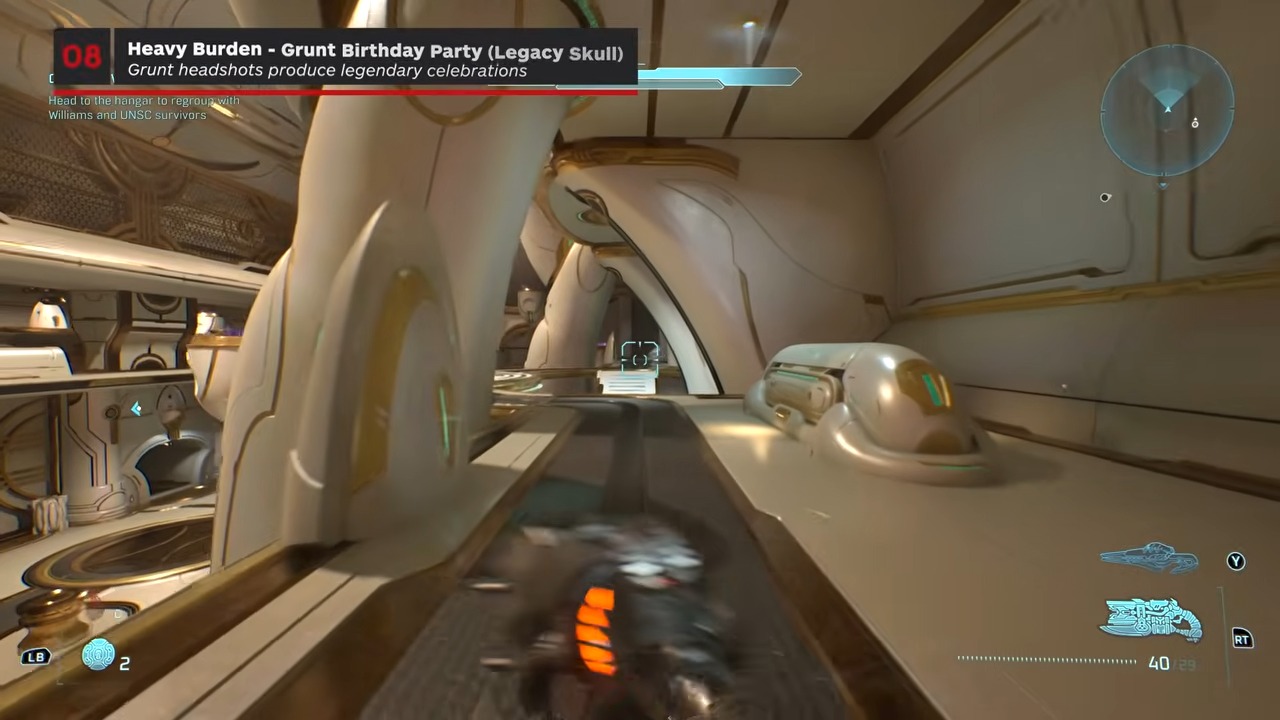
Target
Grunt Birthday Party
- Checkpoint
- Marine survivor regroup
- Landmark
- The yellow-foliage rock formation in the center of the multilevel room.
Do this
- 1Enter from the top floor and locate the purple brazier on the level below.
- 2Use the brazier as a step to reach the central rock and collect the Skull on top.
Confirmation
Grunt Birthday Party is recorded after the final step is completed.
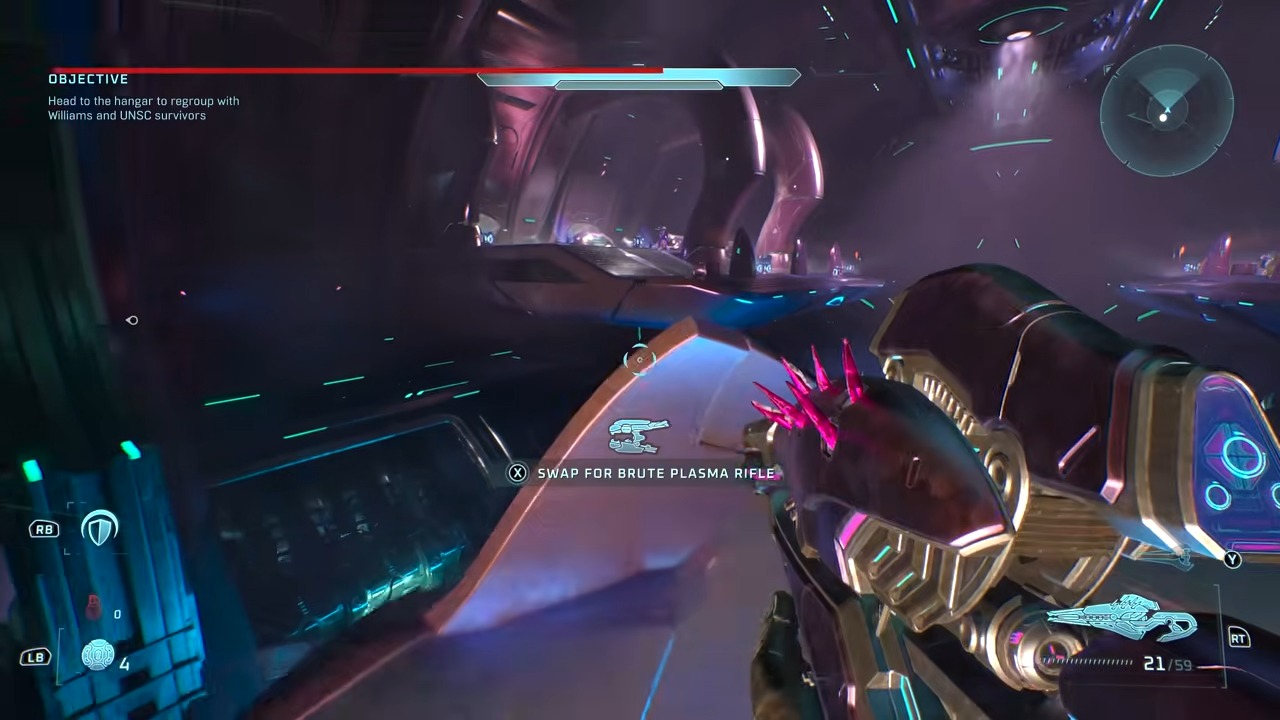
Target
Efficient
- Checkpoint
- Powered gondola ride
- Landmark
- The left out-of-bounds platform in the second stop after power is restored.
Do this
- 1Restart the gondola, continue through the next stop, and watch for the following pair of side platforms.
- 2Jump to the left platform and sprint to its rear-right corner; touching the Skull records it even if you fall afterward.
Confirmation
Efficient is recorded after the final step is completed.