
Guide briefing
Complete 42-Target Campaign Walkthrough
Language: en Sorry for the quick thaw, Master Chief. Things are a little hectic right now. >> Welcome back, sir. We'll have you battle ready stat. >> Stand on the red square, please. Covenant boarding craft detected on vortex 45. Good luck, Master Chief. >> The Covenant have breached the command deck. We have to stop them from taking the bridge. Heat. Heat. We should search the interior of those structures before we leave. The heretic evades divine justice. Heat. Heat. Heat. Hostiles ahead. >> Enemy reinforcements. >> Clear over here. >> Spirit inbound. >> Look out. Heads up. I think I got a few of those coming bastards, but I'm sniper rifle, sir. Cover me. You can't hide from me. Okay. Heat. Heat. Show time. Heat. Heat. Heat. Move the zona jump. here. Oh, heat. Heat. Heat. Stay back. Stay back. You're not turning ME INTO ONE OF THOSE THINGS. I'LL BLOW YOUR BRAINS OUT. GET AWAY FROM ME. DON'T touch me, you freak. Fascinating. Heat. Fire. Heat. Heat. Heat. Yes. Heat. Are you ready? escape. We should be able to get into the ship's control room from here. Alert. I'm detecting multiple Covenant and Flood groups approaching the bridge. I'm ready. Heat. zero. >> Clear. >> Clear here. in cover. Keep firing. Heat. Relax that. Got another journey.
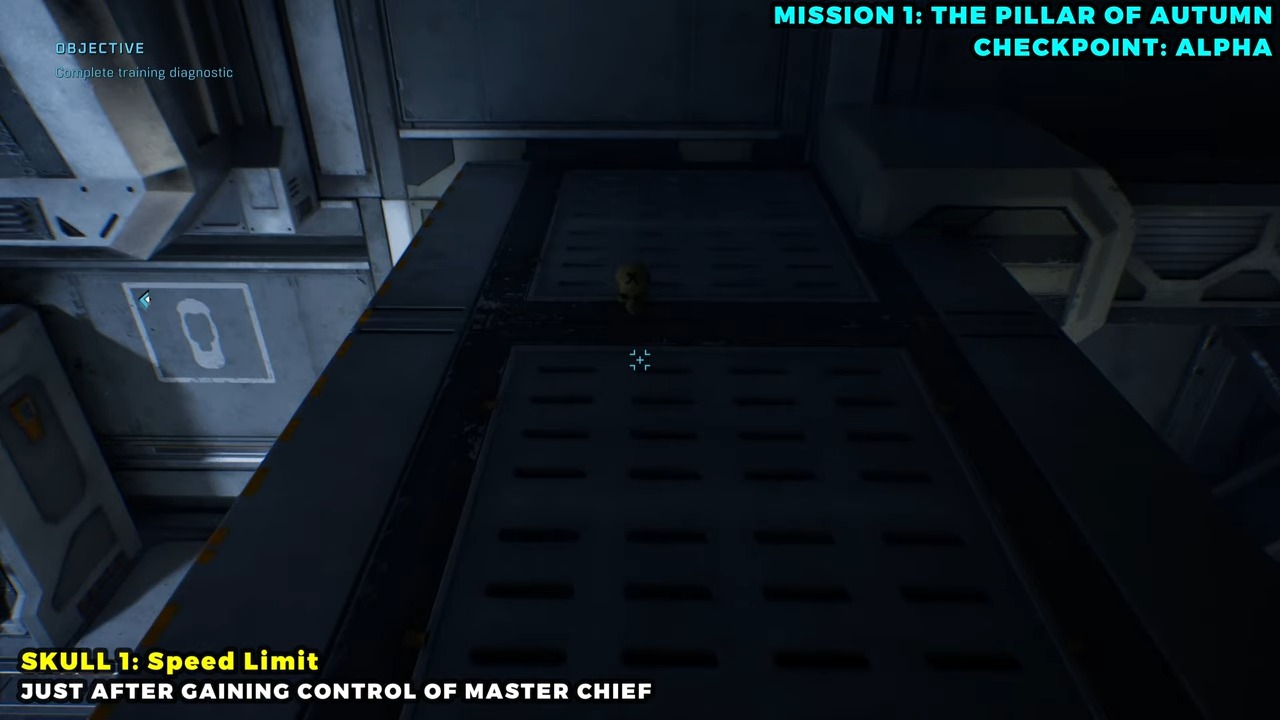
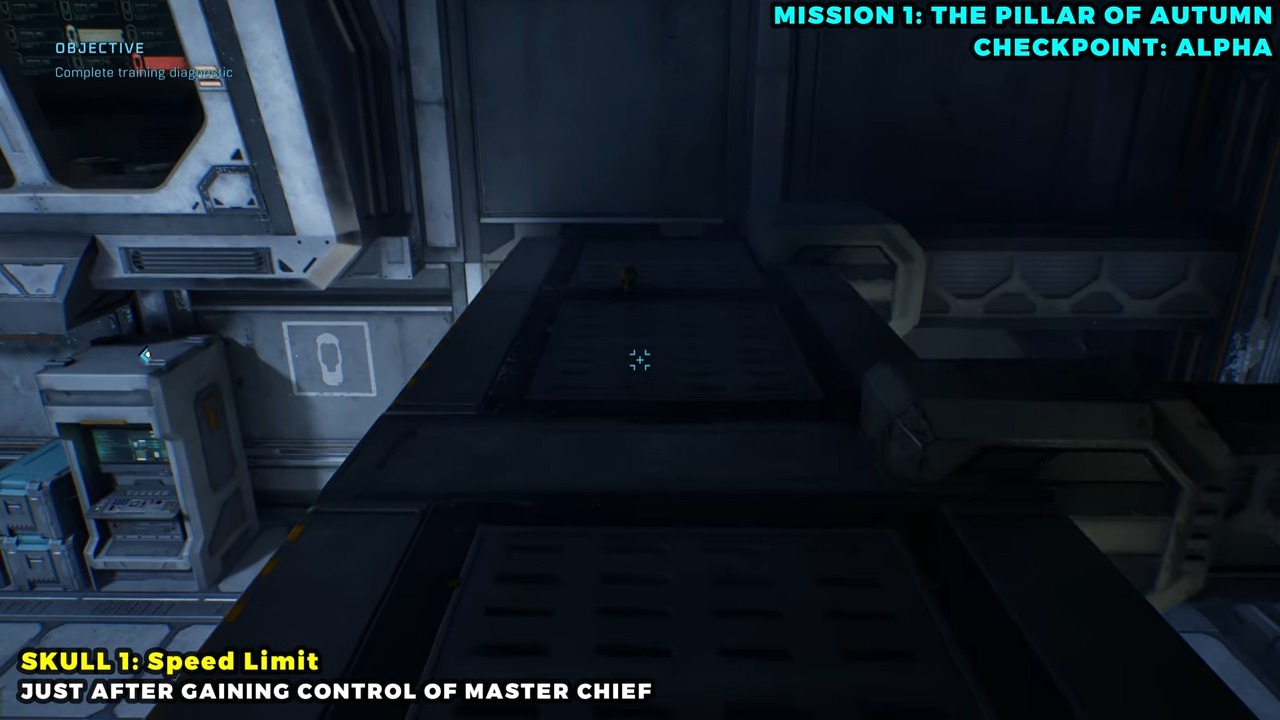
Target
Speed Limit
- Checkpoint
- Cryo chamber — mission start
- Landmark
- The two cylindrical tanks and the overhead catwalk behind the cryo bay.
Do this
- 1Turn toward the rear-left corner as soon as Master Chief is released.
- 2Use the tanks or nearby console to climb onto the catwalk, then follow it to the far end.
Confirmation
Speed Limit is recorded after the final step is completed.
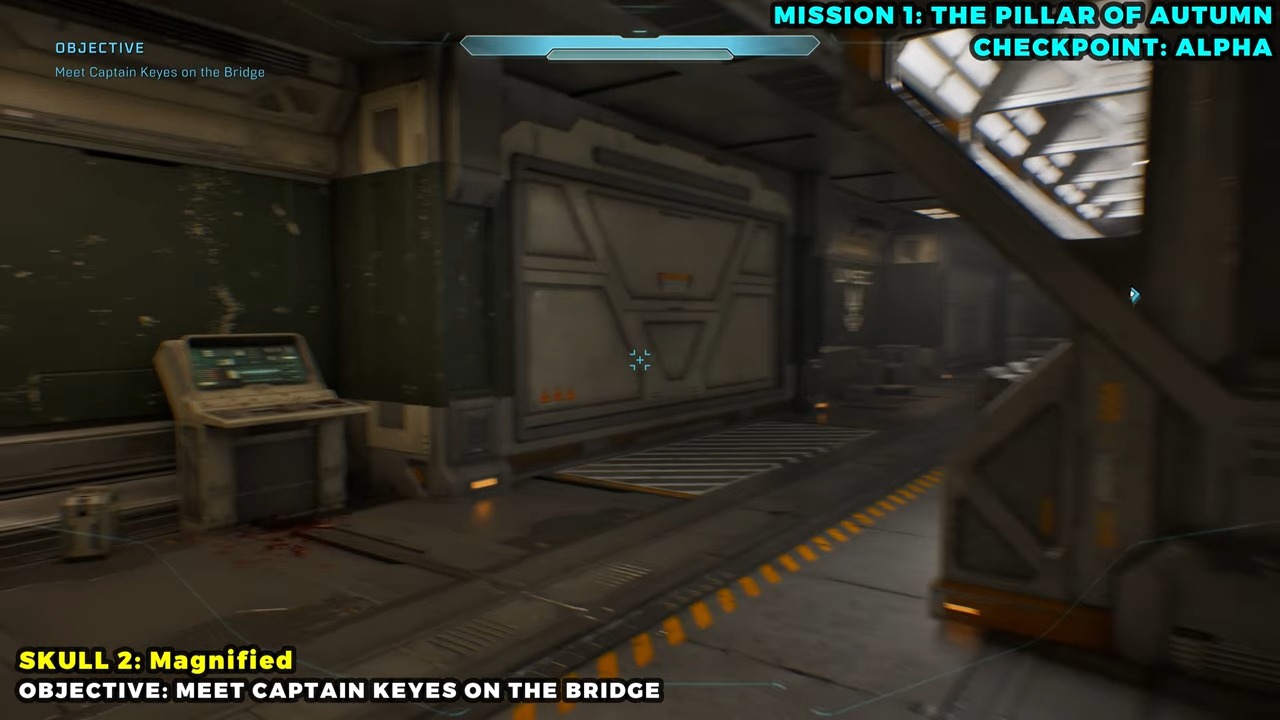
Target
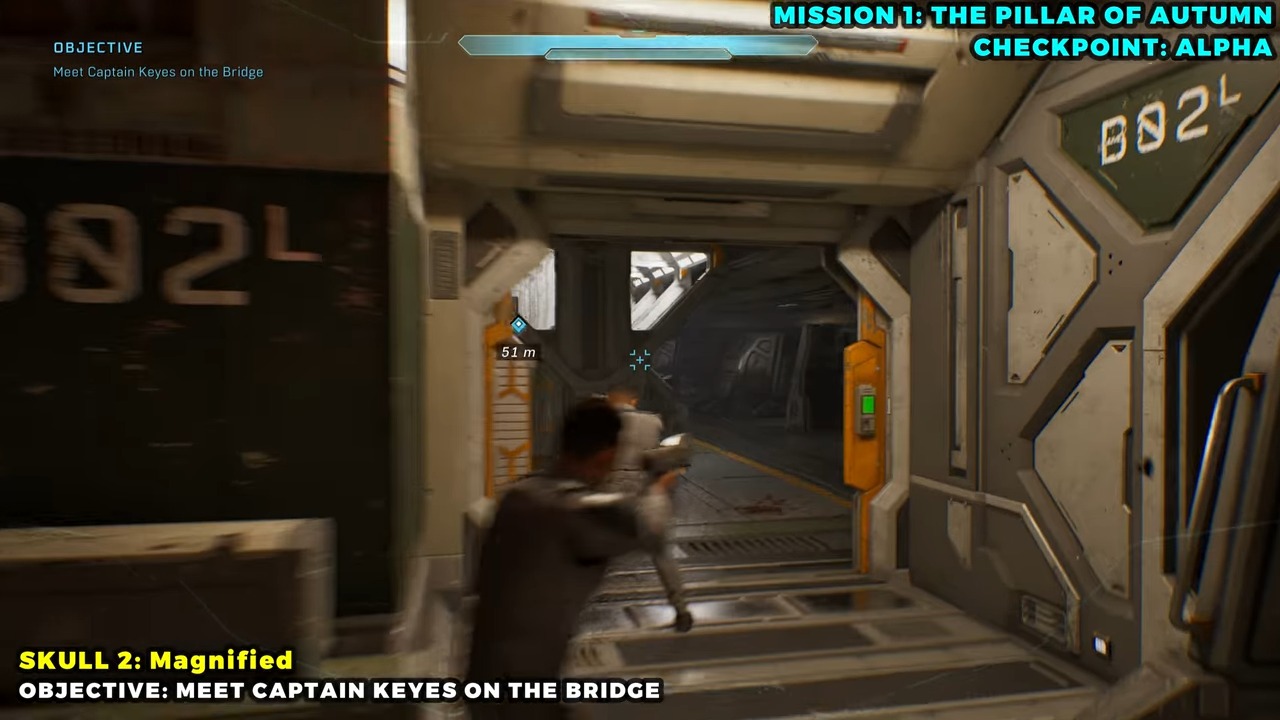
Magnified
- Checkpoint
- Weapons locker approach
- Landmark
- The central locker bank immediately after the blue-Elite sequence.
Do this
- 1Enter the side room opposite the Marines before collecting your first weapon.
- 2Look above the center locker console and jump up to collect the Skull.
Confirmation
Magnified is recorded after the final step is completed.
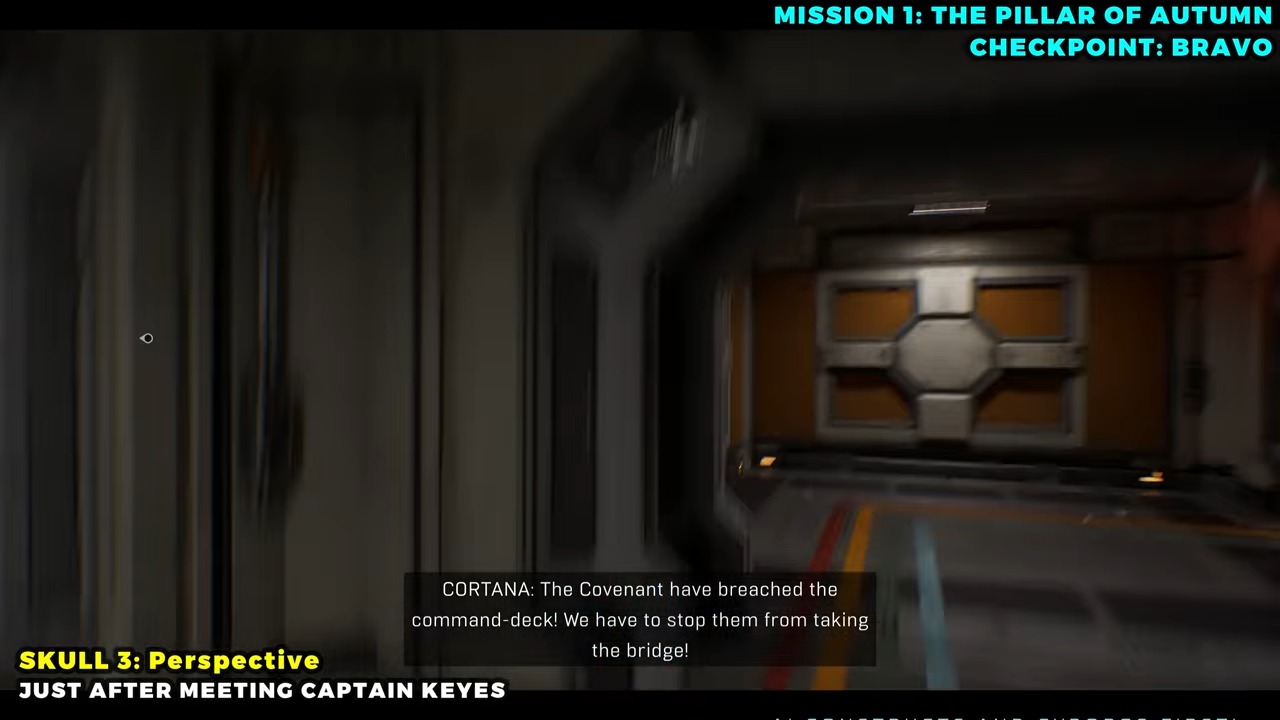
Target
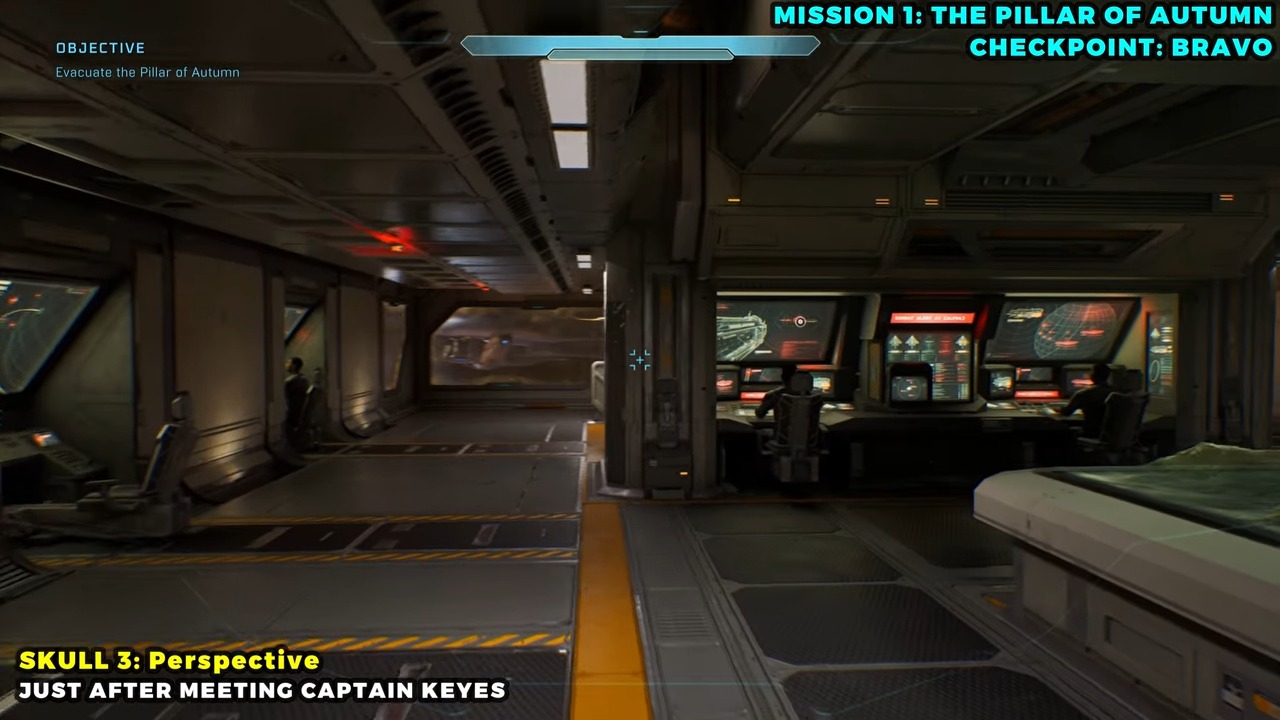
Perspective
- Checkpoint
- Bridge — after meeting Captain Keyes
- Landmark
- The lower cockpit level beneath the two forward pilot stations.
Do this
- 1After the Keyes scene, turn back toward the front of the bridge.
- 2Drop to the lower cockpit deck and check beside the ladder under the pilot seats.
Confirmation
Perspective is recorded after the final step is completed.
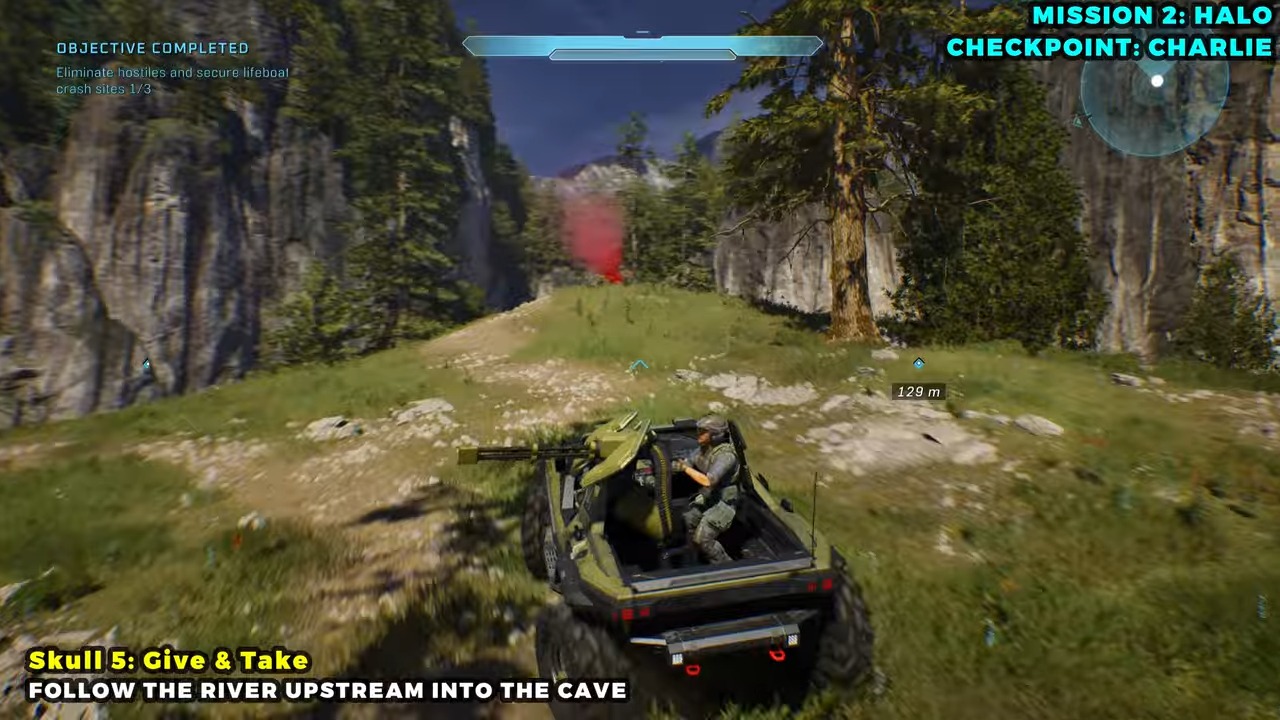
Target
Give & Take
- Checkpoint
- Lifeboat rescue valley
- Landmark
- The river cave in the central valley between the three rescue areas.
Do this
- 1Follow the river away from the central grassy rise until it enters a shallow cave.
- 2Search the large rocks beside the water inside the cave.
Confirmation
Give & Take is recorded after the final step is completed.
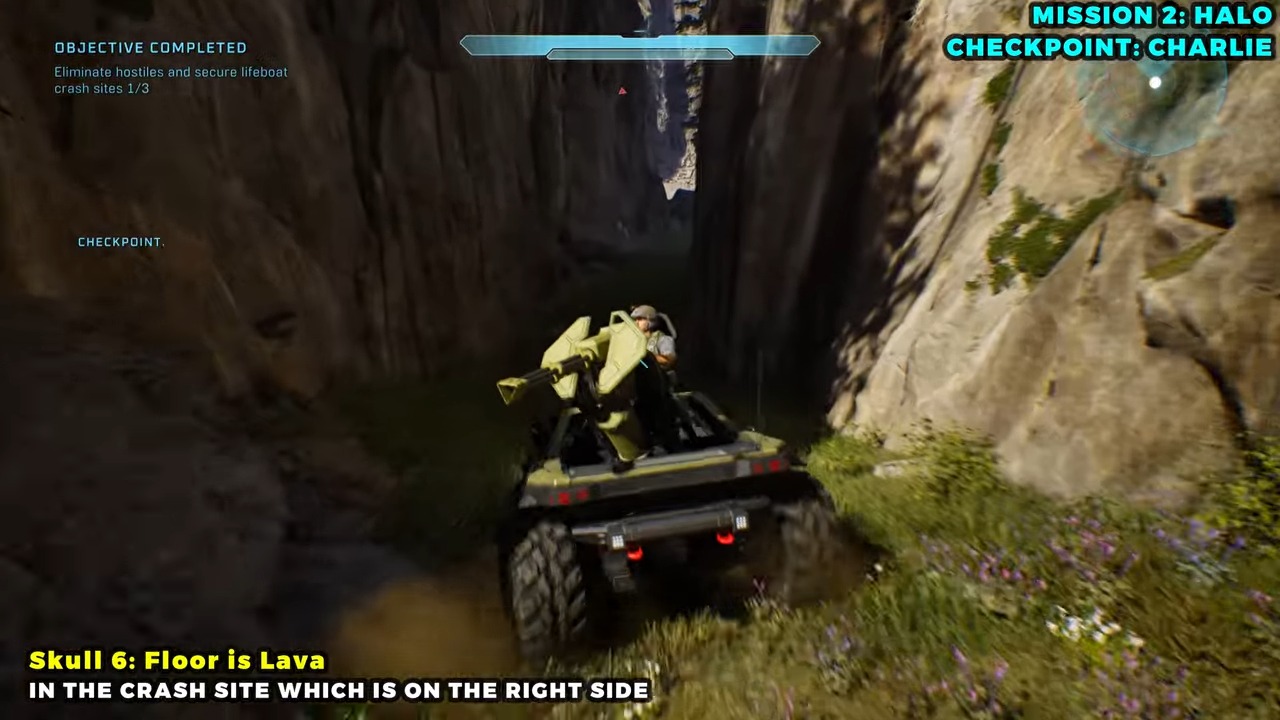
Target
Floor is Lava
- Checkpoint
- Rock-spire lifeboat site
- Landmark
- The smaller rock shelf below the tall formation overlooking the crashed pod.
Do this
- 1Climb the grassy center of the rescue area and face the lifeboat.
- 2Drop onto the lower rock shelf beneath the main formation to reach the Skull.
Confirmation
Floor is Lava is recorded after the final step is completed.
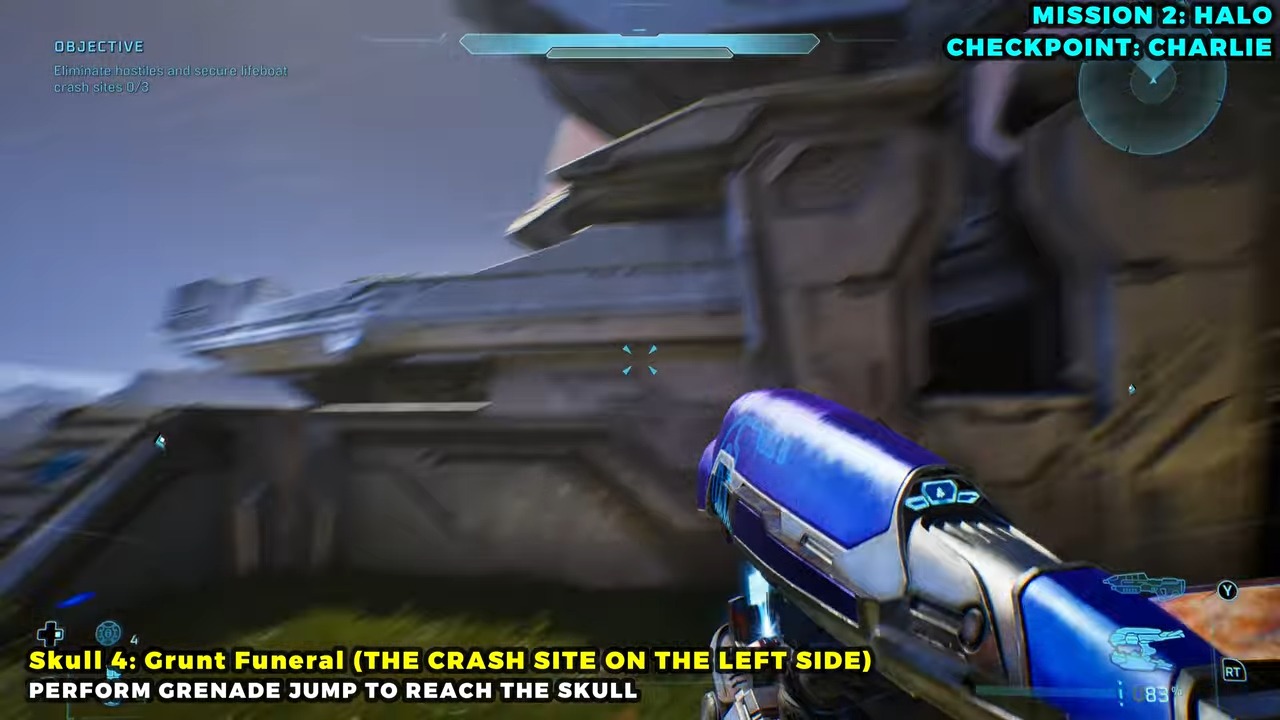
Target
Grunt Funeral
- Checkpoint
- Cliff-side lifeboat site
- Landmark
- The segmented metallic spire beside the underground rescue structure.
Do this
- 1Climb the near side of the metal spire until normal jumps stop gaining height.
- 2Use a grenade jump and turn in the air to land on the next segment where the Skull rests.
Confirmation
Grunt Funeral is recorded after the final step is completed.
Target
Iron
- Checkpoint
- Gravity lift staging ground
- Landmark
- The cliff edge beyond the lift, marked by a small white ground light.
Do this
- 1Before entering the Covenant gravity lift, cross to the far side of the clearing.
- 2Stand at the white light, look over the edge, and step down to the narrow Skull ledge.
Confirmation
Iron is recorded after the final step is completed.
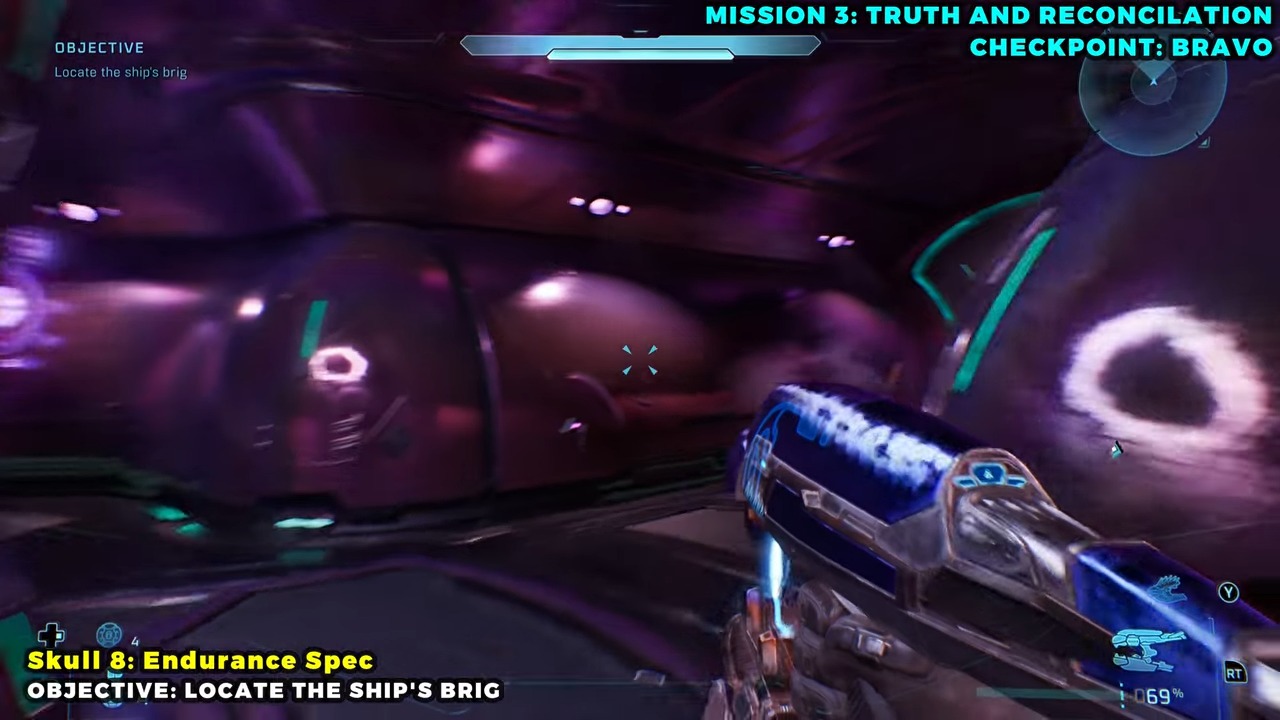
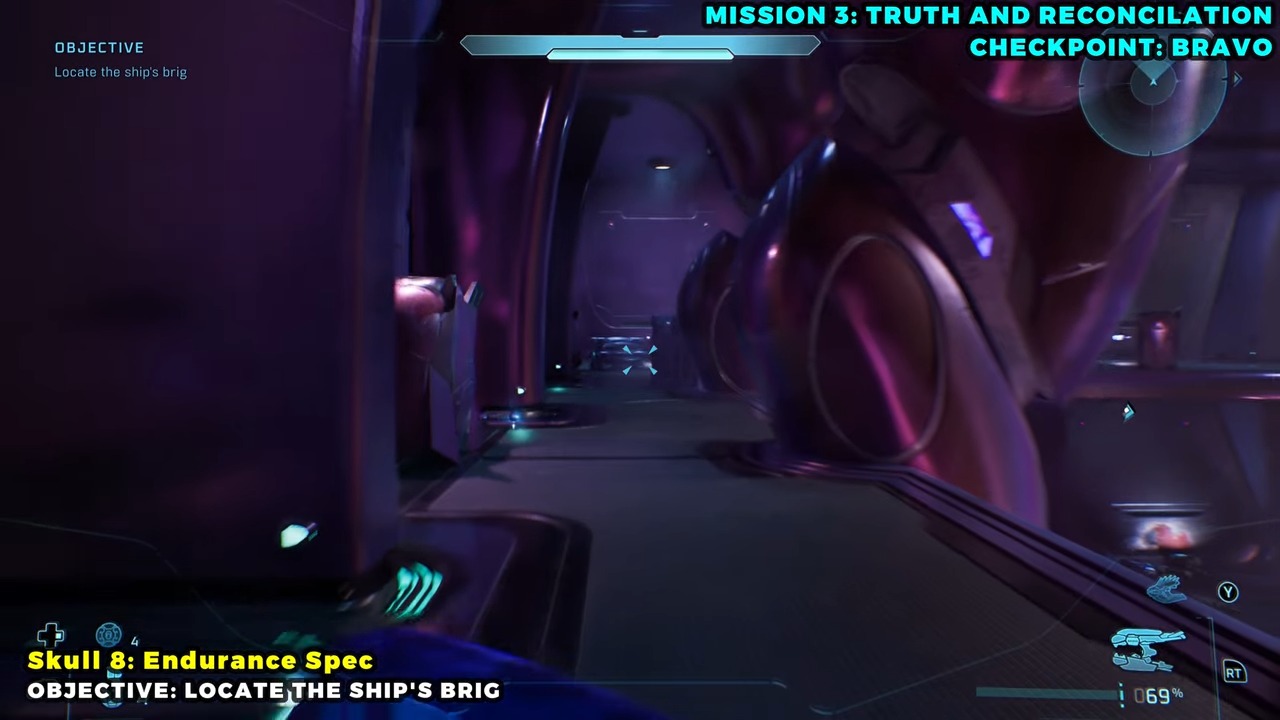
Target
Endurance Spec
- Checkpoint
- Upper Wraith room walkway
- Landmark
- Three narrow pillars above the room containing two Wraiths.
Do this
- 1On the upper floor, continue to the corner with the purple equipment box.
- 2Use the box to reach the pillars, then cross to the third pillar.
Confirmation
Endurance Spec is recorded after the final step is completed.
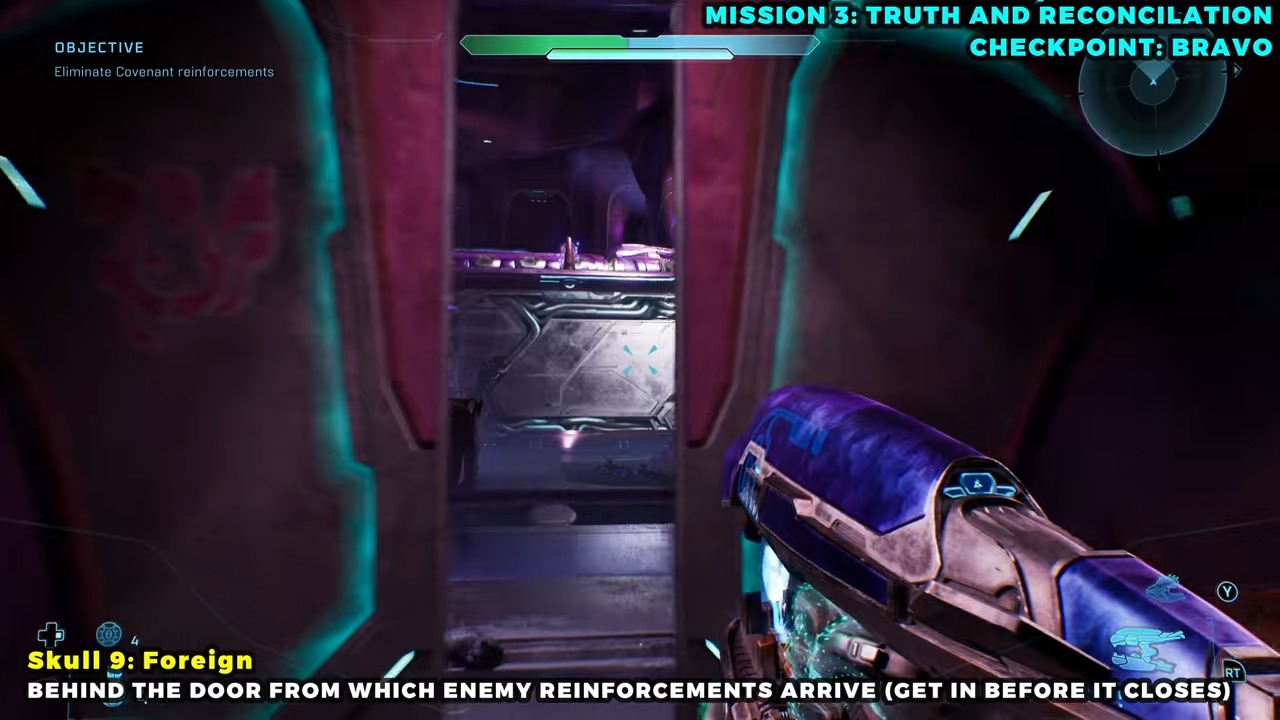
Target
Foreign
- Checkpoint
- First-floor hangar
- Landmark
- The locked door in the far-right corner of the large hangar bay.
Do this
- 1Move to the sealed corner door before finishing the encounter.
- 2When Covenant reinforcements open it, pass through before it closes and collect the Skull inside.
Confirmation
Foreign is recorded after the final step is completed.
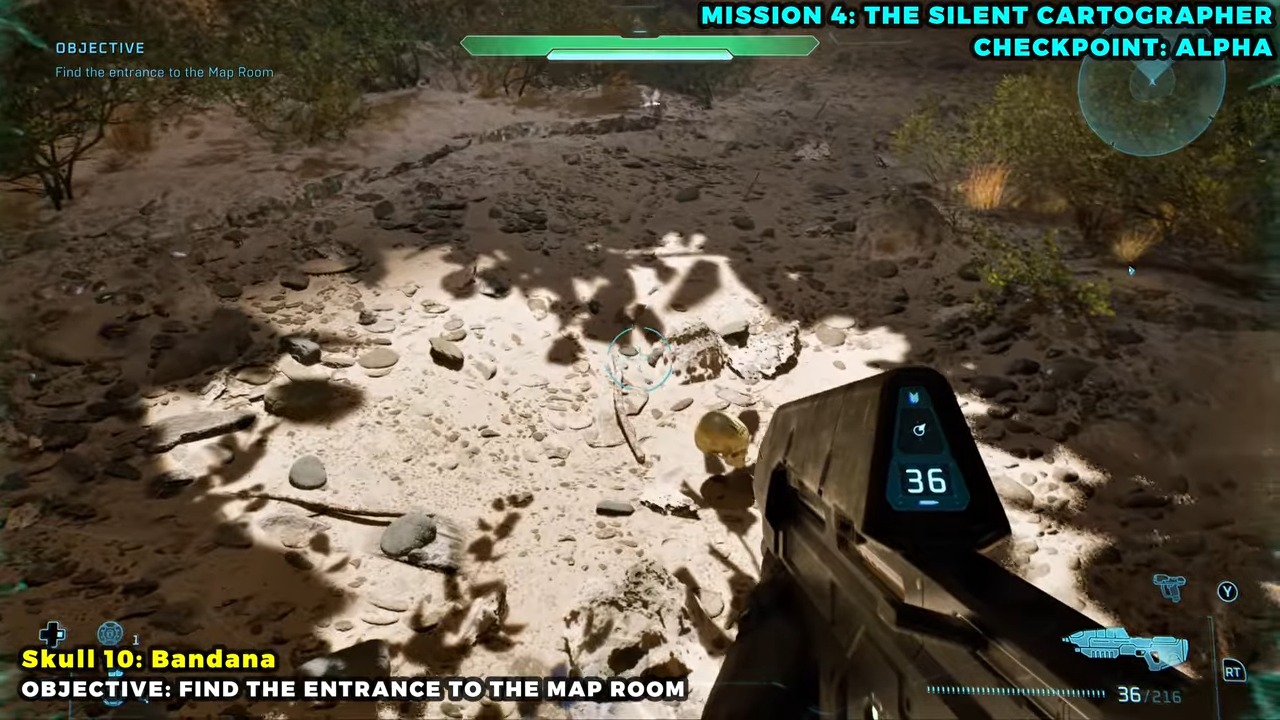
Target
Bandana
- Checkpoint
- First island facility
- Landmark
- The small cave just beyond the exterior wall of the first Warthog-accessible building.
Do this
- 1Drive past the side entrance instead of entering the facility.
- 2Continue into the nearby cave and follow it to the Skull at the back.
Confirmation
Bandana is recorded after the final step is completed.
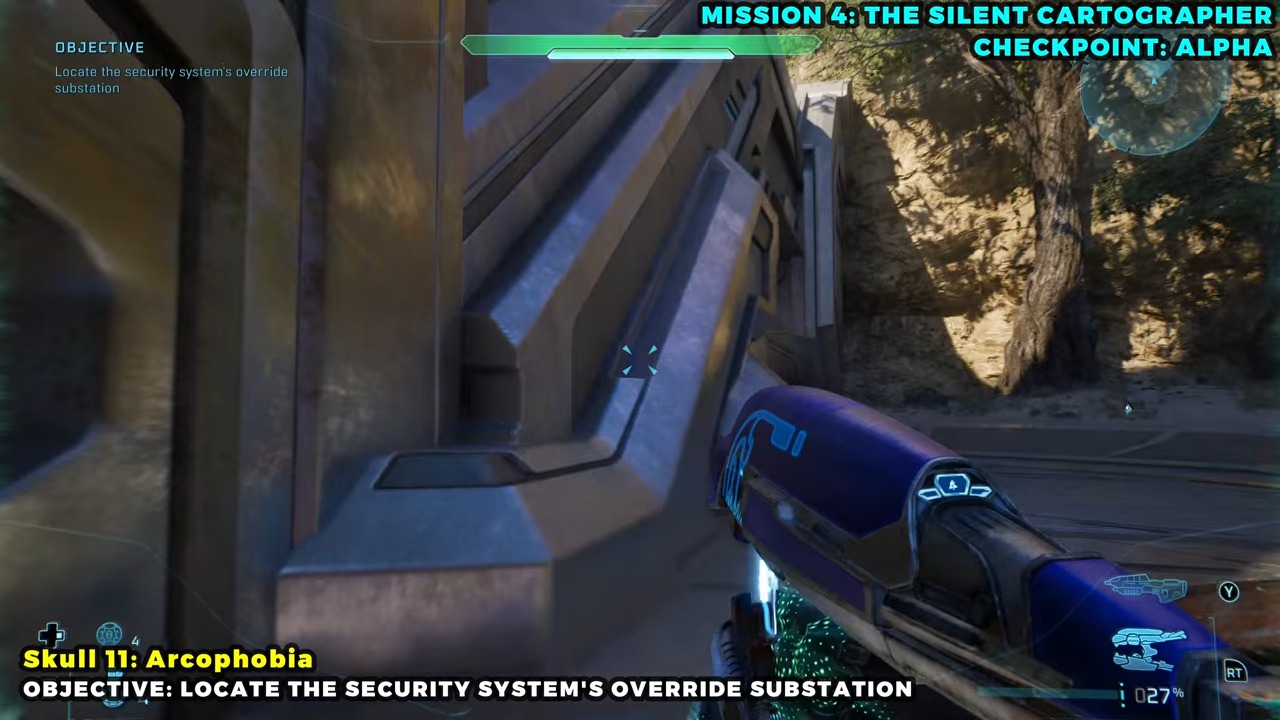
Target
Acrophobia
- Checkpoint
- Hunter arena
- Landmark
- The top of the central structure in the small outdoor Hunter encounter.
Do this
- 1Clear the Hunters so the arena is safe to climb.
- 2Use the sloped geometry around the center structure to reach its roof.
Confirmation
Acrophobia is recorded after the final step is completed.
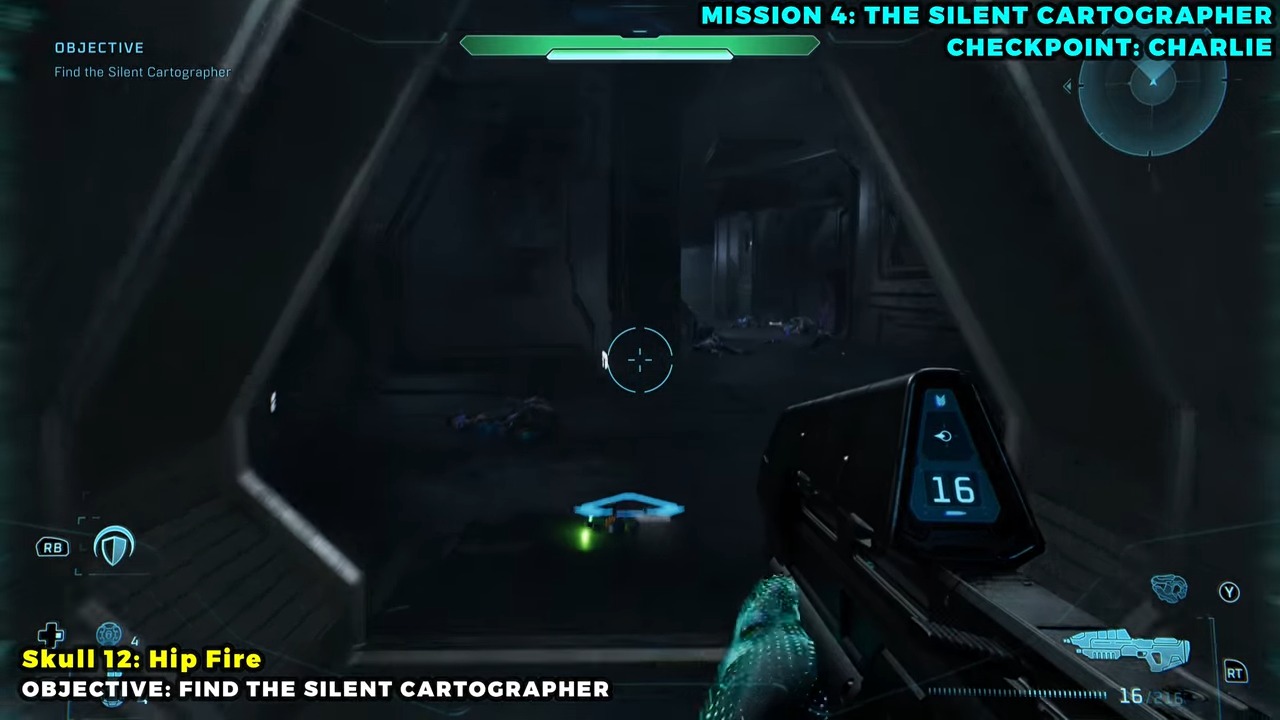
Target
Hip Fire
- Checkpoint
- Map-room ramp
- Landmark
- A narrow shelf inside the tall circular ramp, roughly one and a half floors above the bottom.
Do this
- 1Climb to the top of the spiral ramp and look down through its open center.
- 2Align with the lit shelf below, then make a controlled drop onto the Skull.
Confirmation
Hip Fire is recorded after the final step is completed.
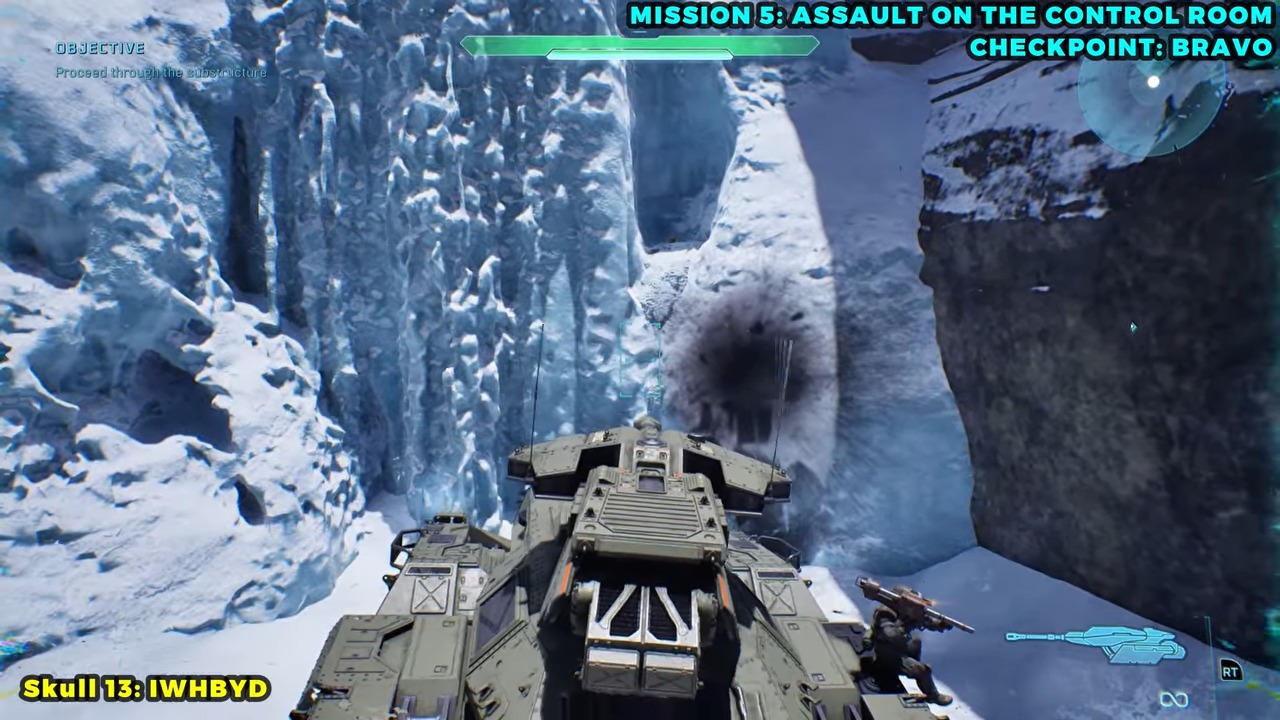
Target
IWHBYD
- Checkpoint
- Scorpion bridge section
- Landmark
- A small opening in the left snowbank after the first thin bridge.
Do this
- 1Cross the bridge with the Scorpion and turn toward the snow wall on the left.
- 2Use the tank hull as a step to reach the opening and collect the Skull inside.
Confirmation
IWHBYD is recorded after the final step is completed.
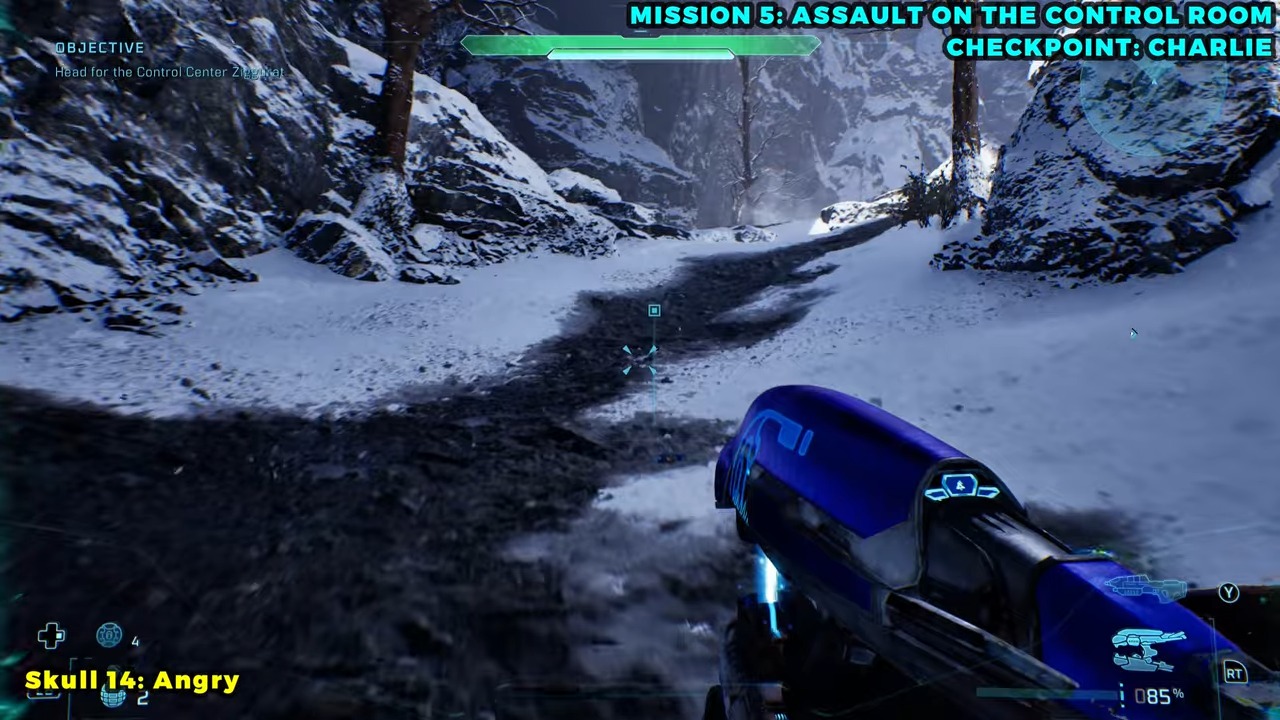
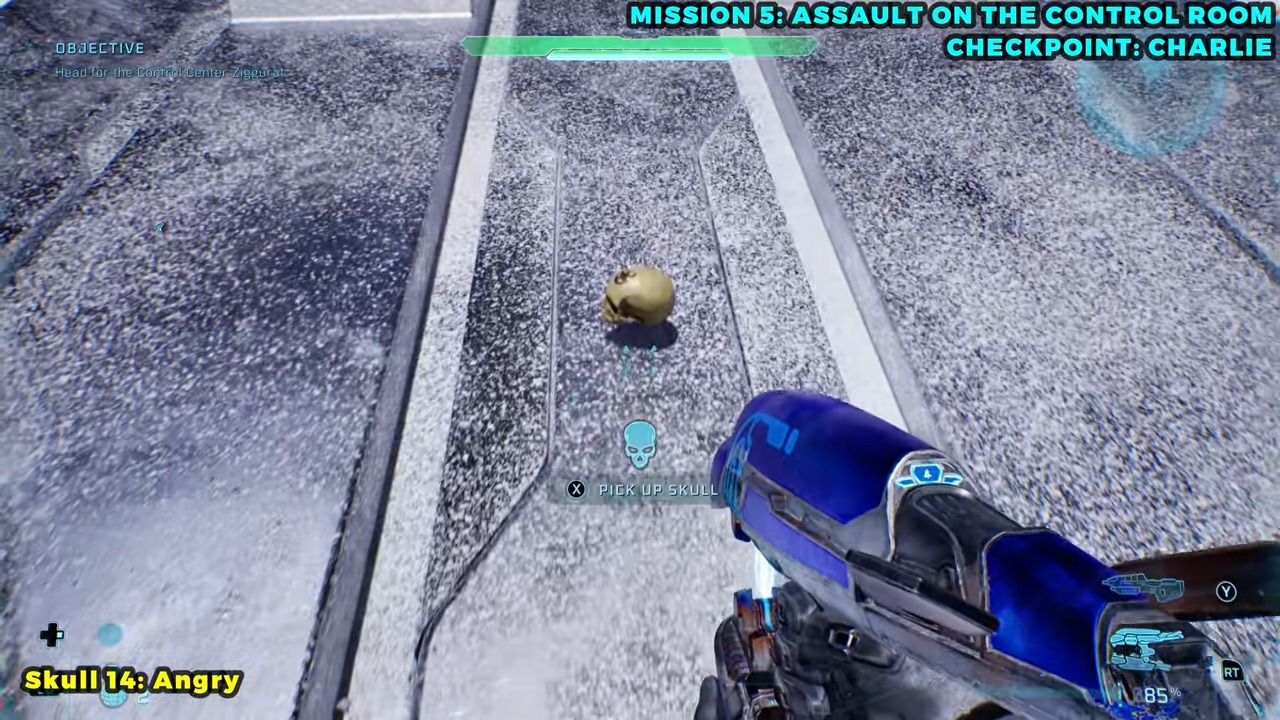
Target
Angry
- Checkpoint
- Post-tank canyon door
- Landmark
- The top of the metal arch closest to the canyon wall.
Do this
- 1At the doorway framed by three exterior arches, move to the wall-side arch.
- 2Climb the adjacent terrain and step onto the arch to reach the Skull.
Confirmation
Angry is recorded after the final step is completed.
Target
Cowbell
- Checkpoint
- Control-room facility exterior
- Landmark
- The stone pile under the elevated bridge above the central metal ramp.
Do this
- 1From the ground-level Wraith area, drive a vehicle onto the center ramp or set up a grenade jump.
- 2Reach the high ramp, then follow it to the stones beneath the bridge.
Confirmation
Cowbell is recorded after the final step is completed.
Target
Fog
- Checkpoint
- Opening swamp
- Landmark
- The rocks behind the long fallen log used to cross the forest path.
Do this
- 1Cross the long log, then immediately turn around.
- 2Climb the rocks above its starting end to find the Skull on top.
Confirmation
Fog is recorded after the final step is completed.
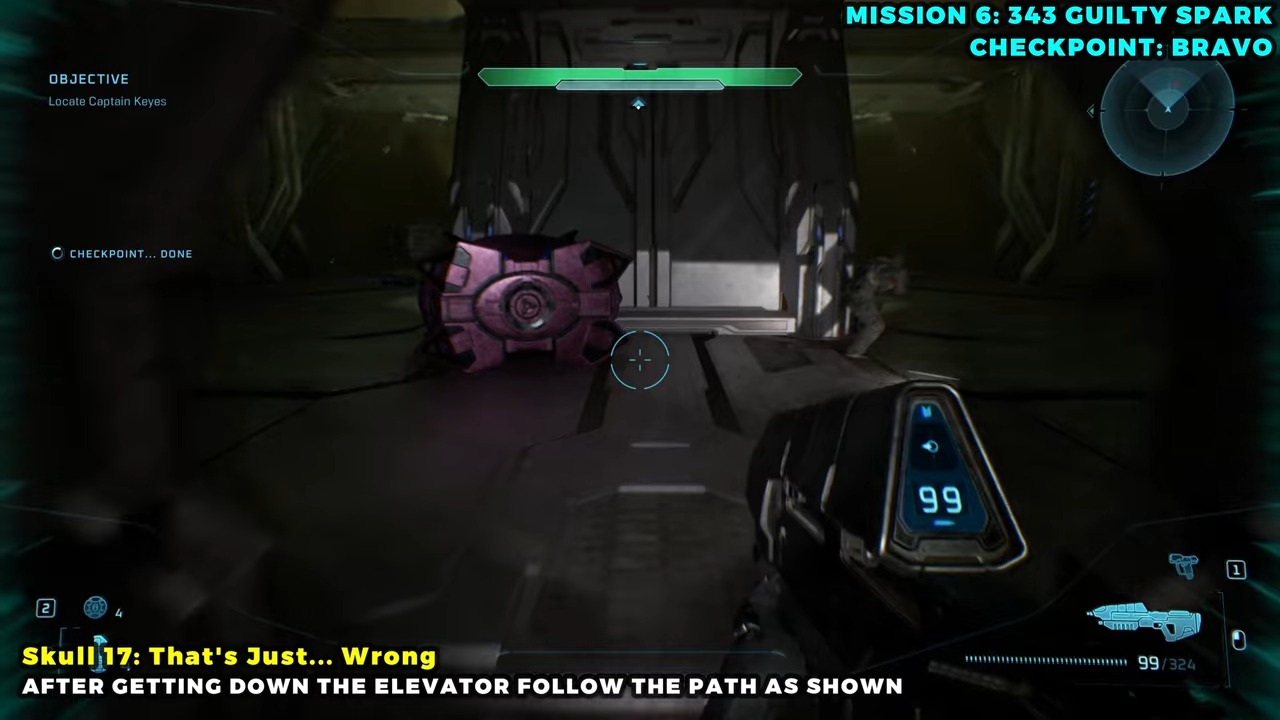
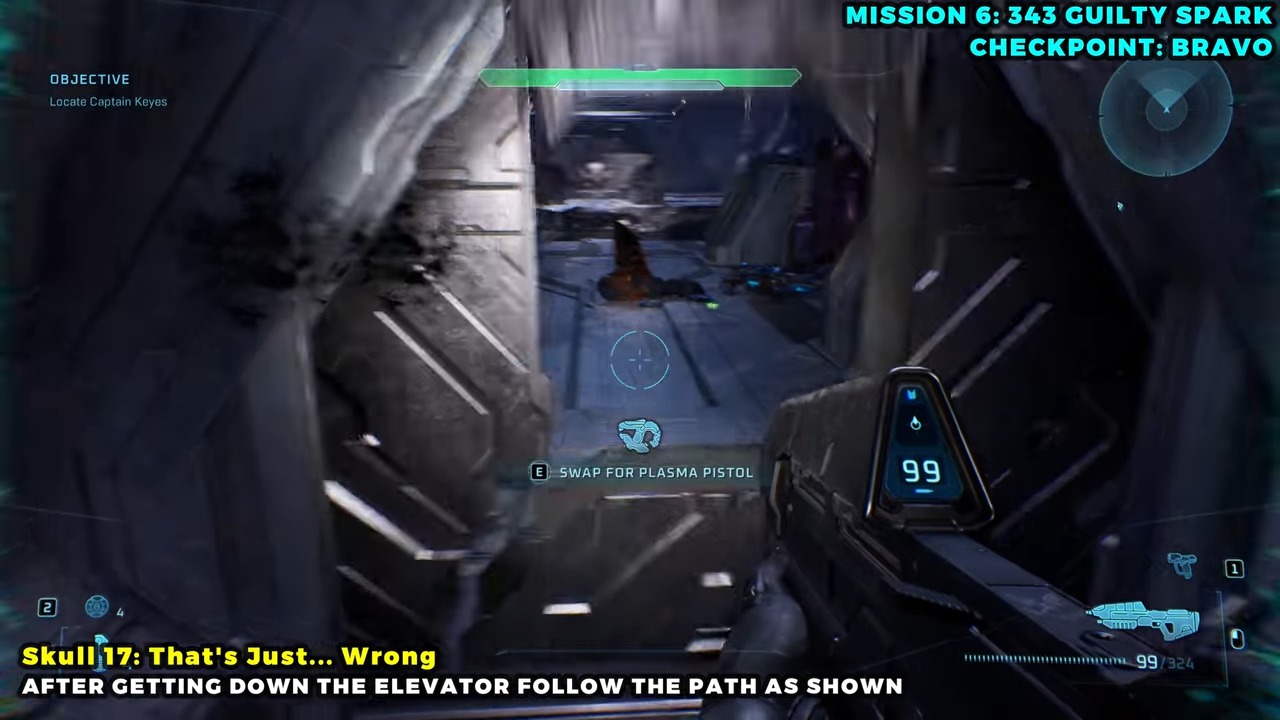
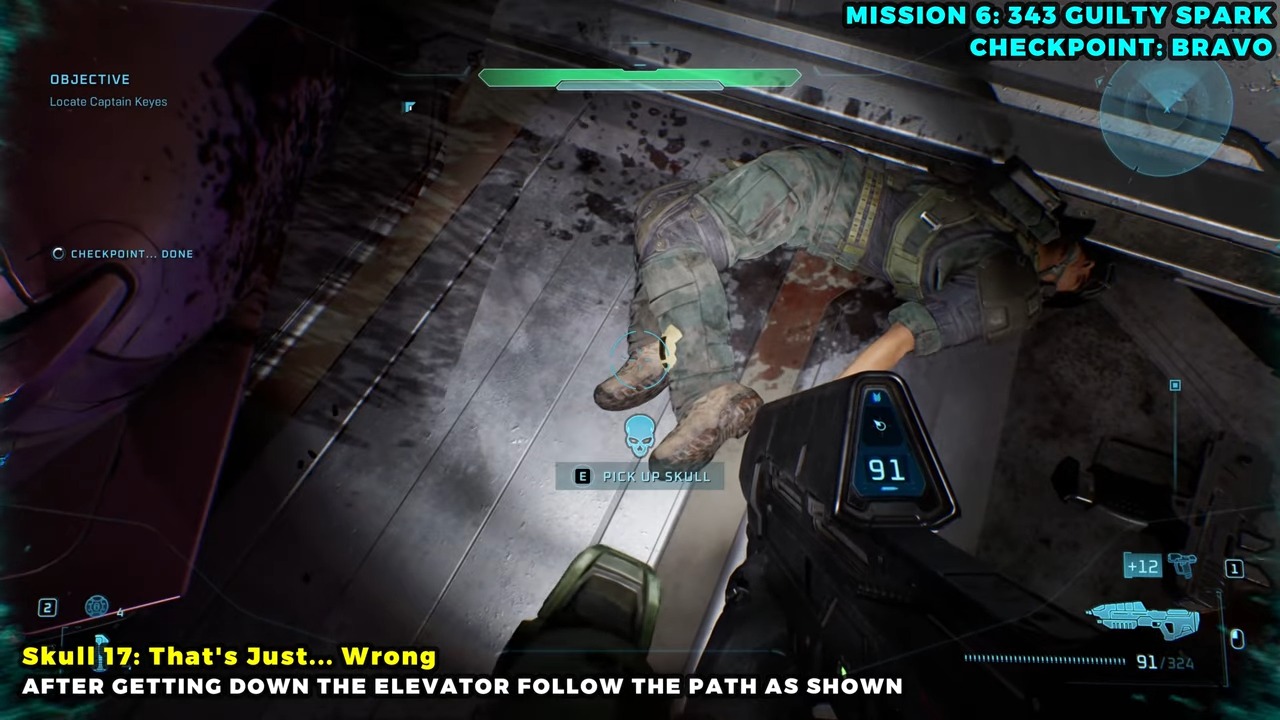
Target
That’s Just… Wrong
- Checkpoint
- Flood containment structure
- Landmark
- The frightened Marine who warns that he will not become one of the creatures.
Do this
- 1Find the isolated Marine after the first Covenant fights inside the structure.
- 2Defeat him and collect the Skull that he drops.
Confirmation
That’s Just… Wrong is recorded after the final step is completed.
Target
They Come Back
- Checkpoint
- Evacuation approach
- Landmark
- A thin horizontal log to the right of the Sentinel-versus-Flood structure.
Do this
- 1Face the large metal structure at the evac zone and move right instead of approaching it.
- 2Cross the narrow log between the rocks and climb onto the Skull ledge.
Confirmation
They Come Back is recorded after the final step is completed.
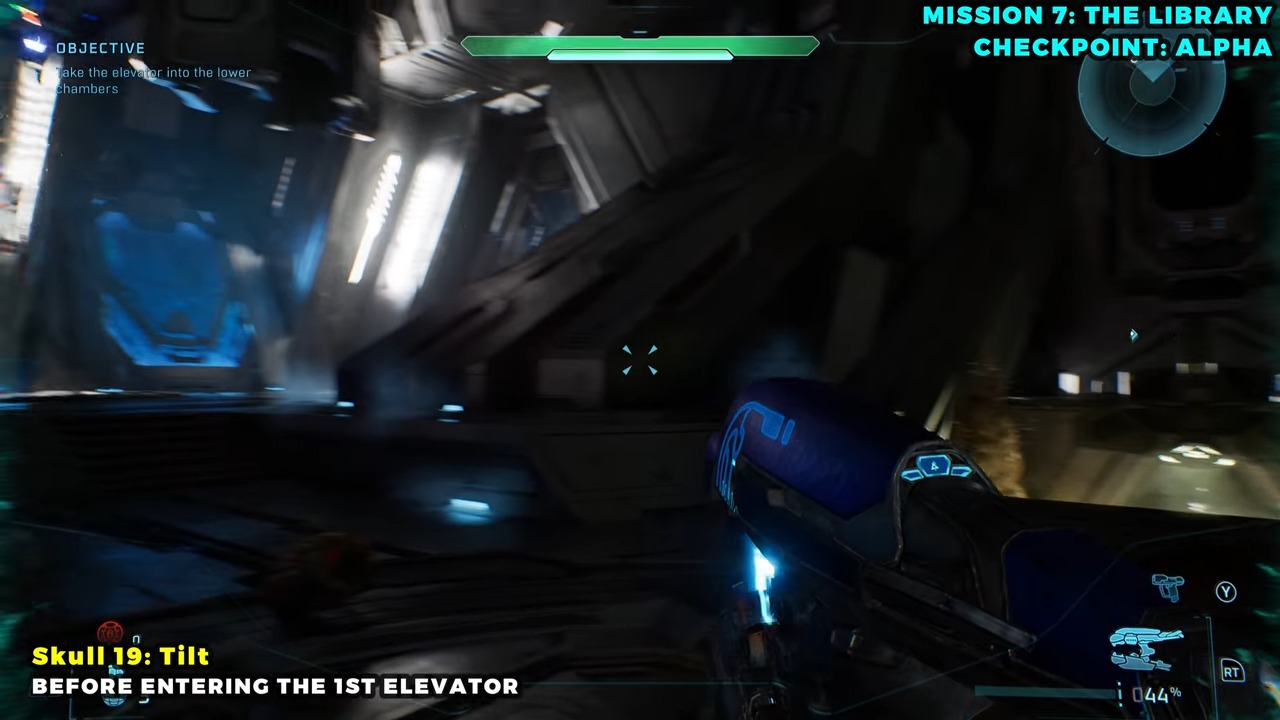
Target
Tilt
- Checkpoint
- First Sentinel/Flood clash
- Landmark
- The ramp opposite the objective arrow as you leave the tunnel.
Do this
- 1Exit the tunnel where Sentinels first fight the Flood.
- 2Ignore the left-pointing objective and take the ramp on the right to its top.
Confirmation
Tilt is recorded after the final step is completed.
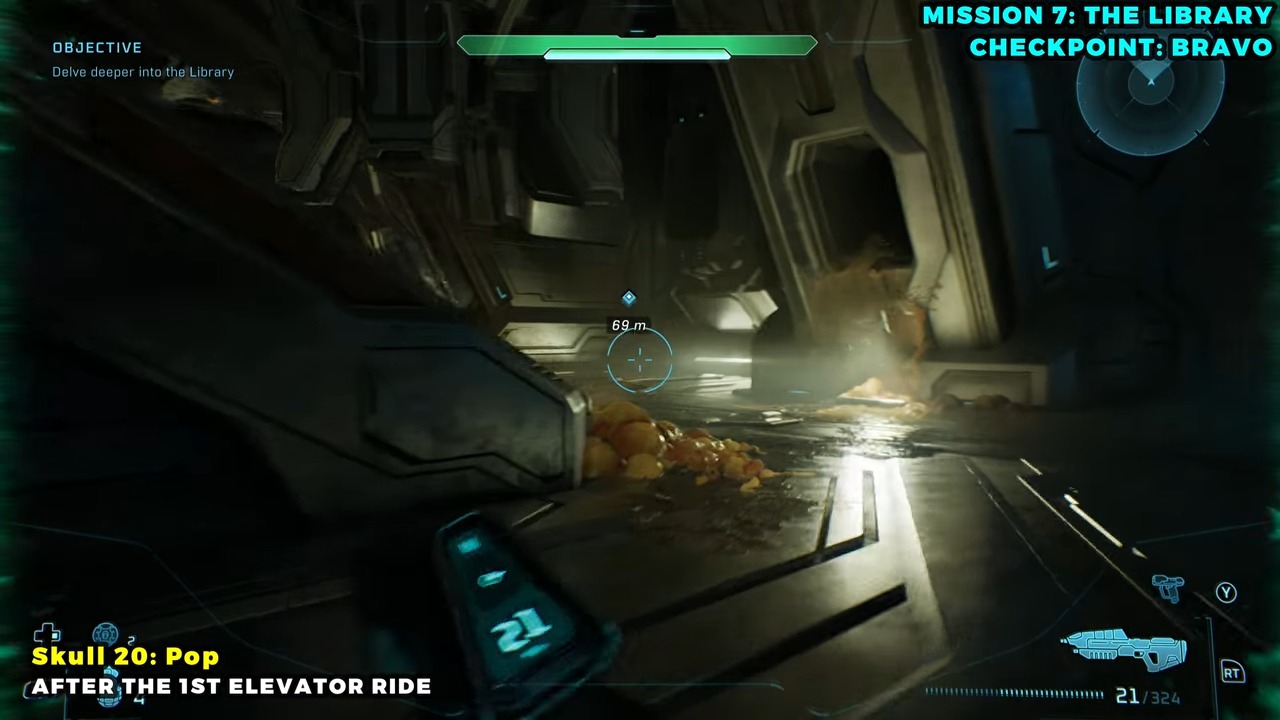
Target
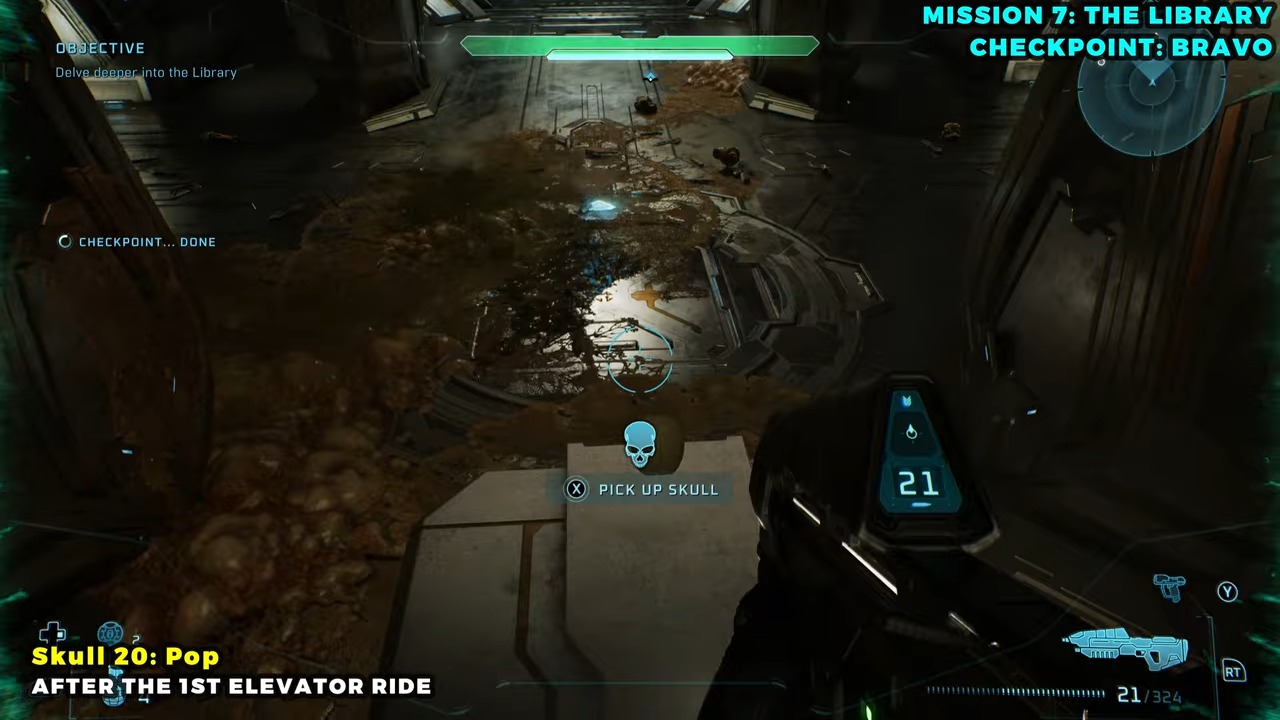
Pop
- Checkpoint
- First elevator descent
- Landmark
- The center pedestal opposite the locked door Guilty Spark opens.
Do this
- 1At the door-defense encounter, turn completely around to spot the elevated pedestal.
- 2Take the side ramp and jump across the raised platforms to the center.
Confirmation
Pop is recorded after the final step is completed.
Target
Famine
- Checkpoint
- Fourth floor
- Landmark
- The first left-hand turn inside the short hall directly ahead of the floor entrance.
Do this
- 1Wait for the fourth-floor chapter title after arriving on the new level.
- 2Enter the hall straight ahead and take its first left to find the Skull on the floor.
Confirmation
Famine is recorded after the final step is completed.
Target
Tough Luck
- Checkpoint
- Control room exit
- Landmark
- The platform surrounding the blue energy beam above the control-room structure.
Do this
- 1Take the first available Banshee after leaving the control room.
- 2Fly to the roof beam and exit carefully onto its narrow platform.
Confirmation
Tough Luck is recorded after the final step is completed.
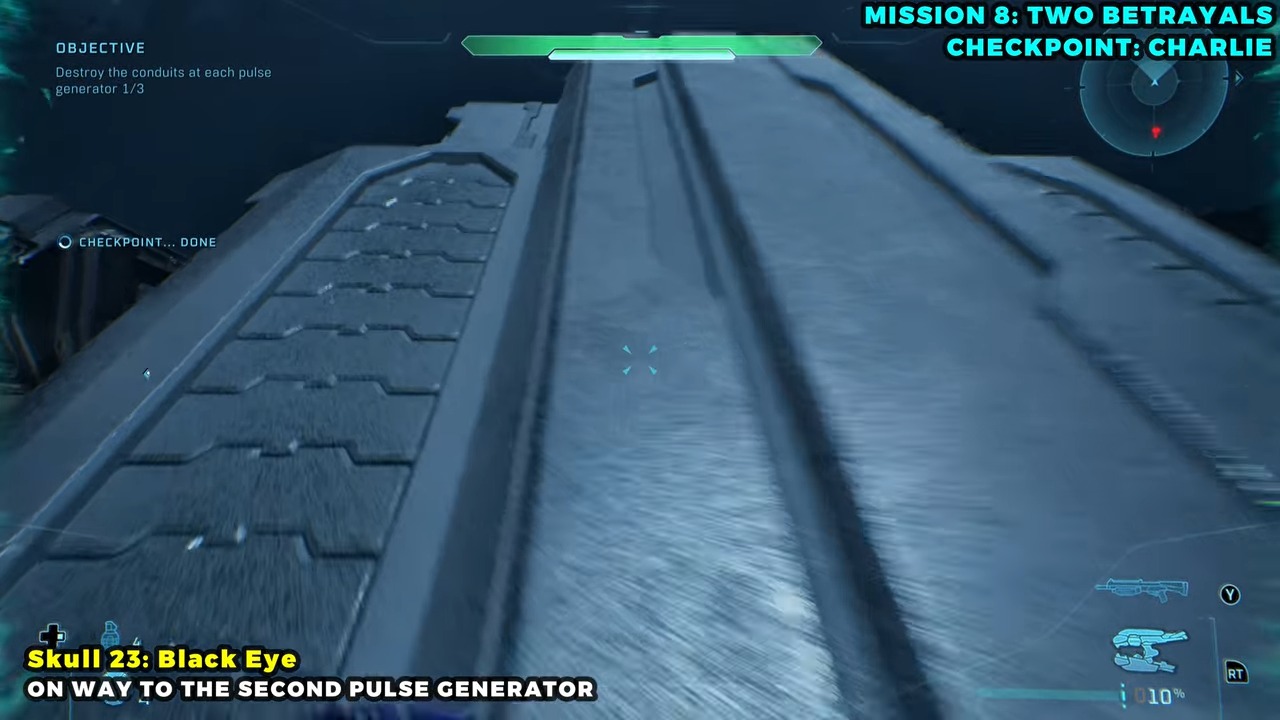
Target
Black Eye
- Checkpoint
- Second-generator canyon
- Landmark
- A short Flood-covered dead end beyond the three metal arches.
Do this
- 1After the elevator descent, cross the closest metal arch in the canyon.
- 2Enter the biomass-blocked recess at the far end and check the ground.
Confirmation
Black Eye is recorded after the final step is completed.
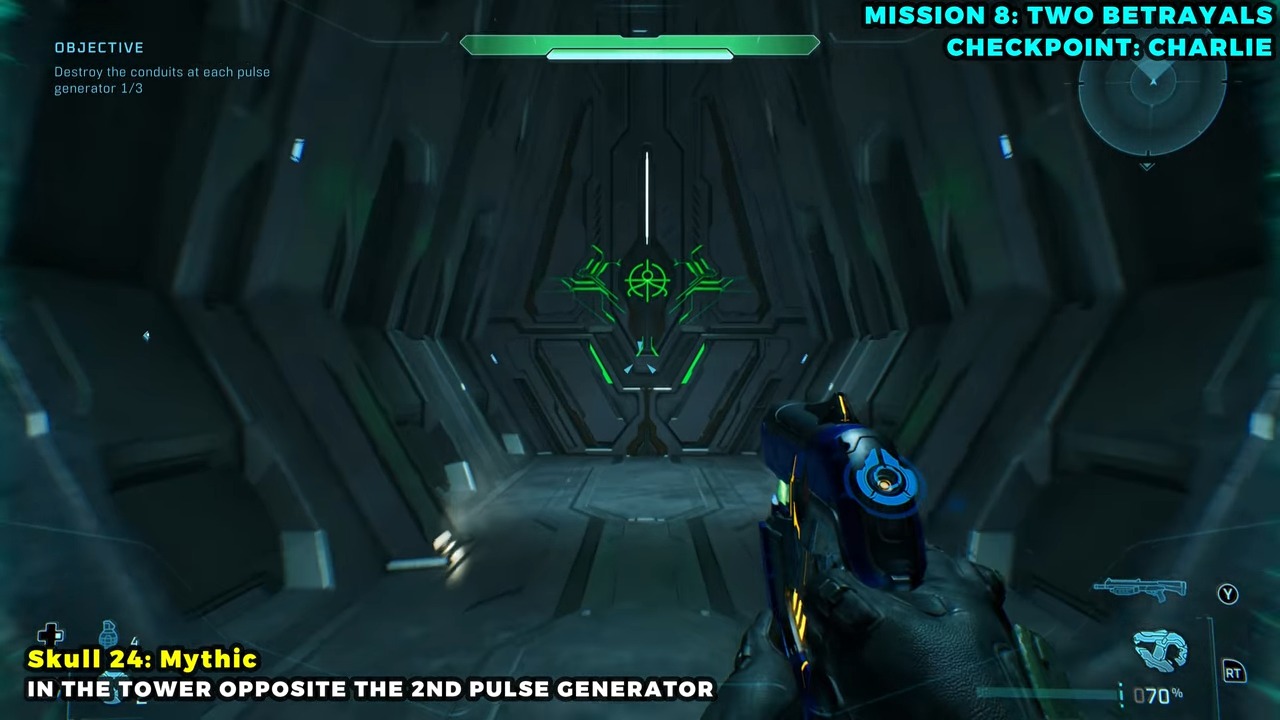
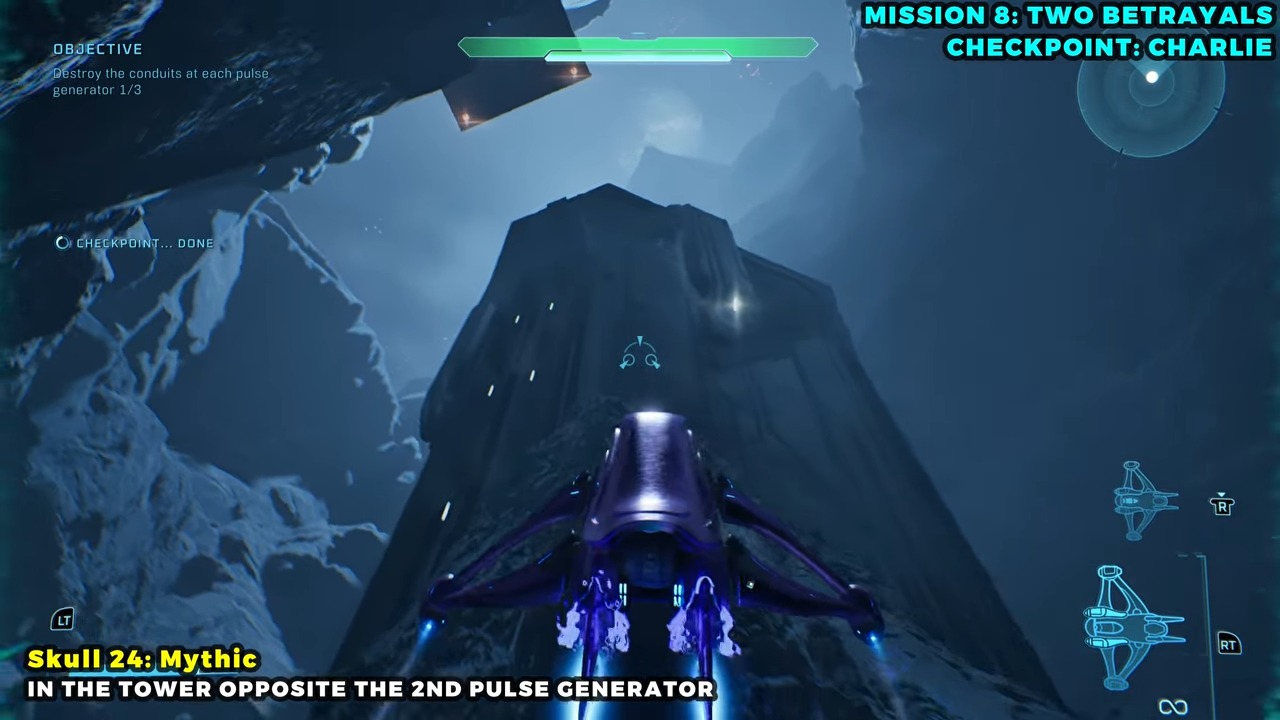
Target
Mythic
- Checkpoint
- Second-conduit ascent
- Landmark
- The locked combat route opposite the objective landing pad.
Do this
- 1Land on the center tower, activate its terminal, then fly to the newly opened opposite door.
- 2Clear all enemies in each of the three rooms; the Skull appears in the final room only after the last enemy falls.
Confirmation
Mythic is recorded after the final step is completed.
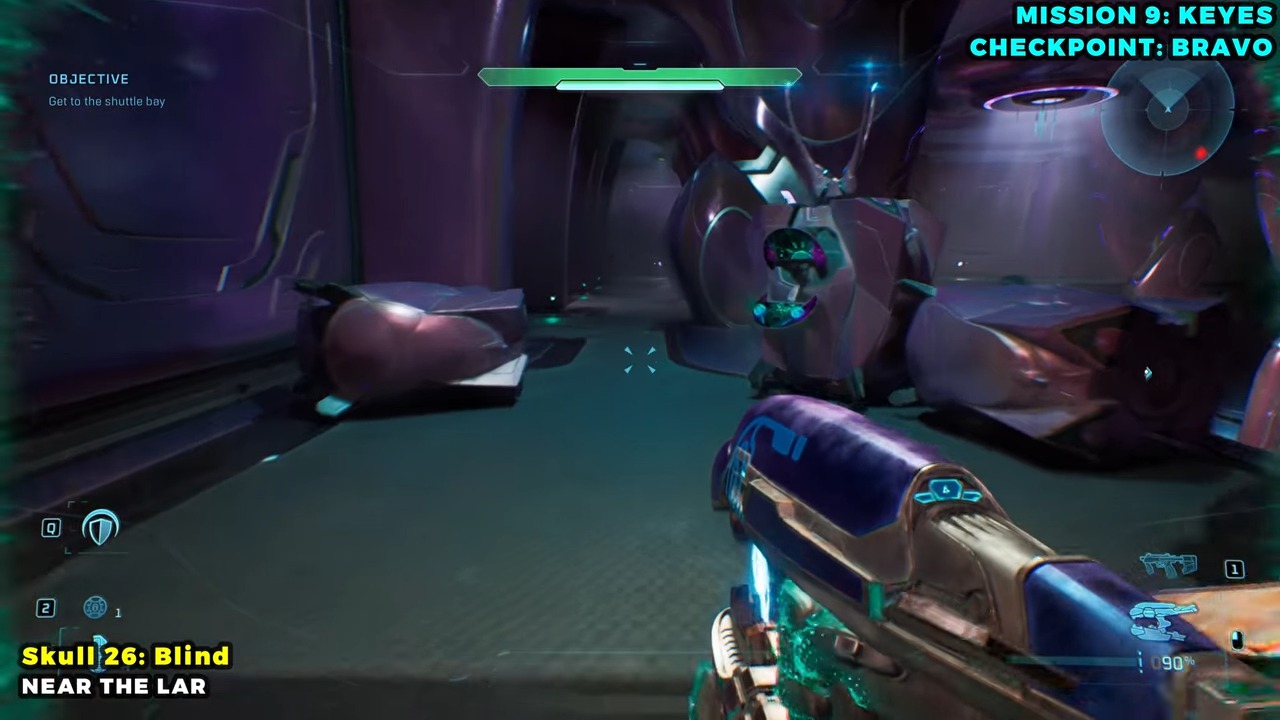
Target
Catch
- Checkpoint
- Opening run to the gravity lift
- Landmark
- The active gravity lift above the outdoor Flood-and-Covenant battle.
Do this
- 1Play on Heroic or above and move directly toward the lift, using the early camouflage and later overshield.
- 2Clear the Covenant guarding the lift, then hold the interact control while rising through the Skull.
Confirmation
Catch is recorded after the final step is completed.
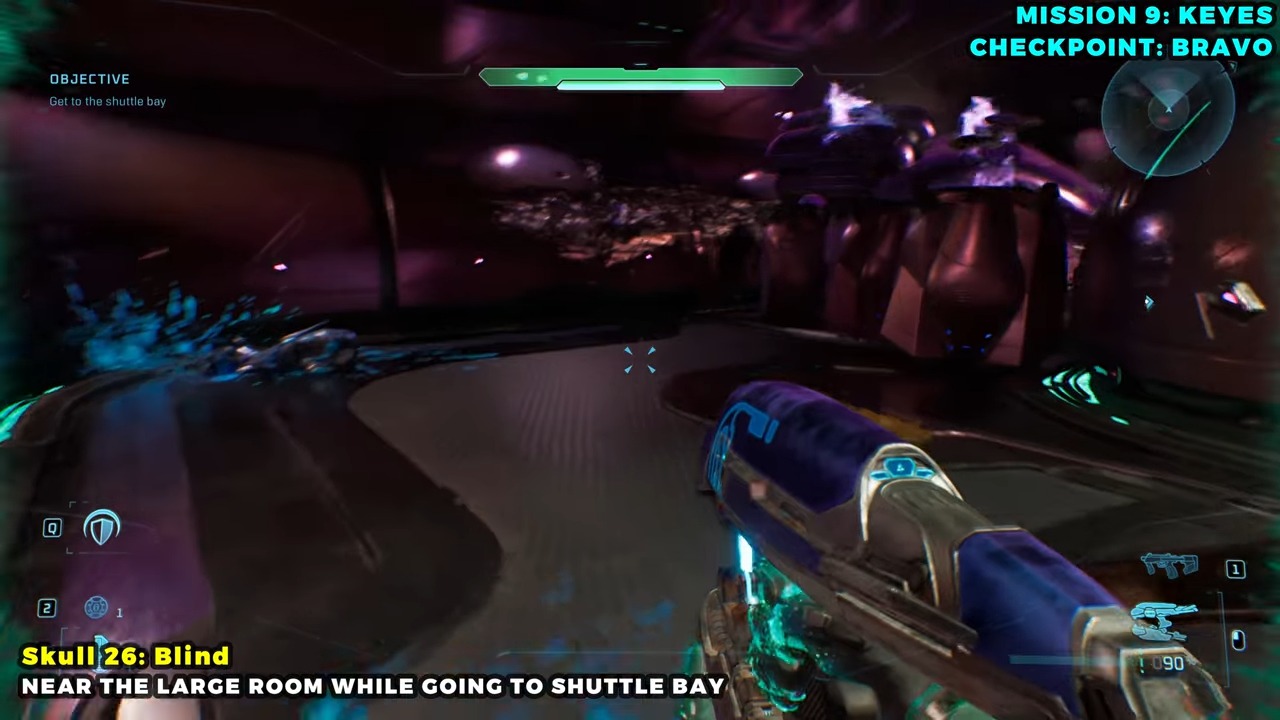
Target
Blind
- Checkpoint
- First vehicle bay after re-entering the ship
- Landmark
- The blocked hallway containing a stranded Wraith.
Do this
- 1Cross the vehicle bay to the corridor behind the Wraith.
- 2Push through the loose weapon crates and search the corner beside the sealed door.
Confirmation
Blind is recorded after the final step is completed.
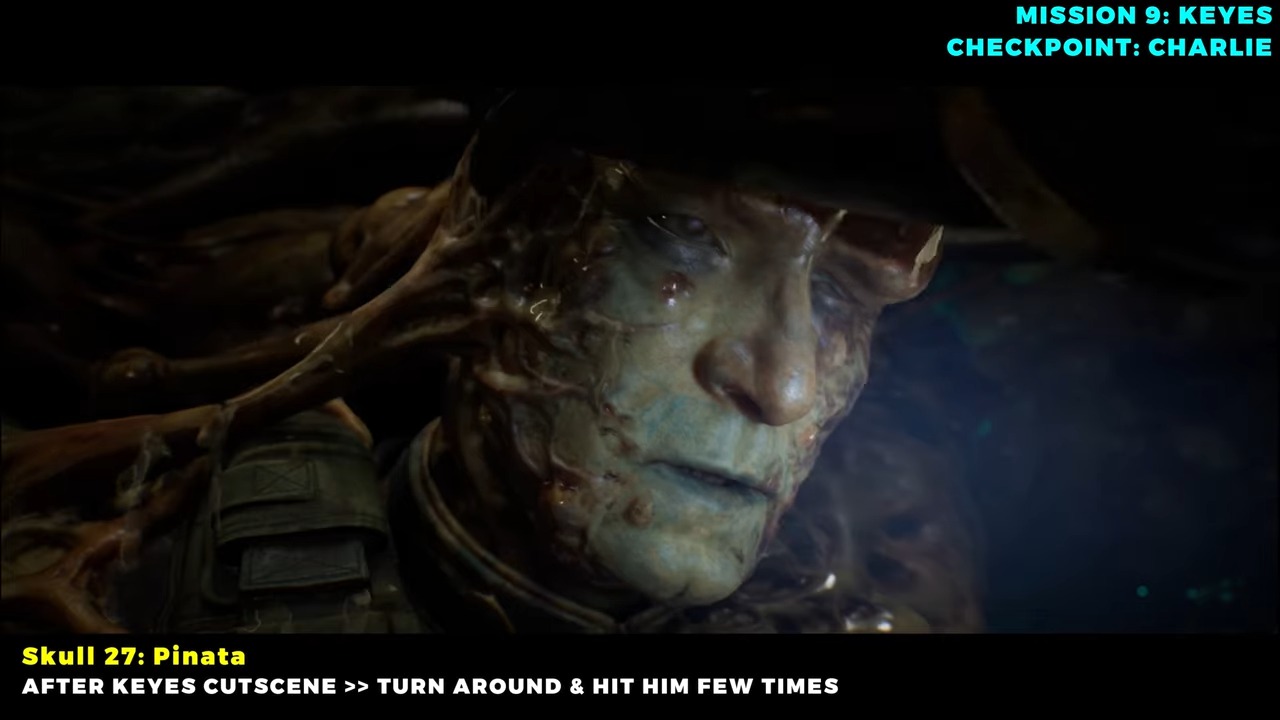
Target
Piñata
- Checkpoint
- Captain Keyes objective
- Landmark
- Captain Keyes after retrieving the command codes.
Do this
- 1Complete the command-code interaction, but do not leave the body.
- 2Crouch if needed and repeatedly melee until the Skull pickup prompt appears.
Confirmation
Piñata is recorded after the final step is completed.
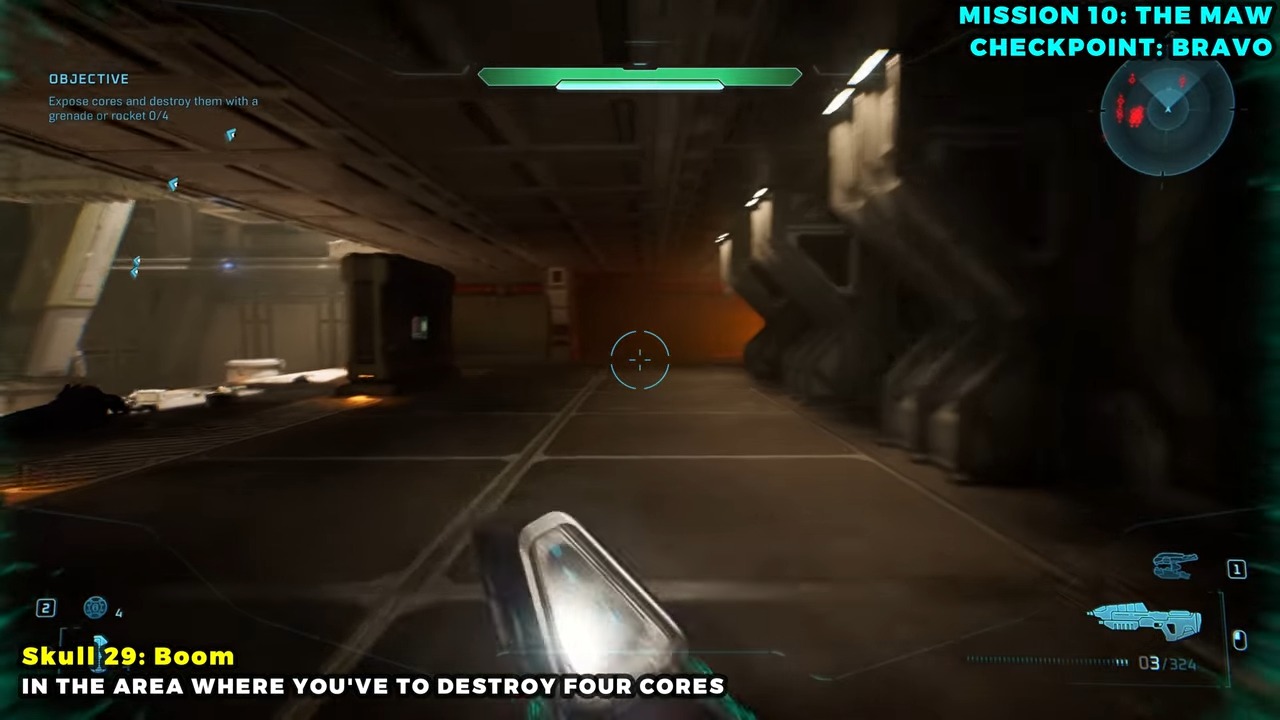
Target
Stowed Reload
- Checkpoint
- Return to the cryo room
- Landmark
- The small platform beside the large fire in the rear-left corner.
Do this
- 1On the bridge-to-engineering route, enter the damaged cryo room.
- 2Jump from the broken walkway to the corner platform beside the flames.
Confirmation
Stowed Reload is recorded after the final step is completed.
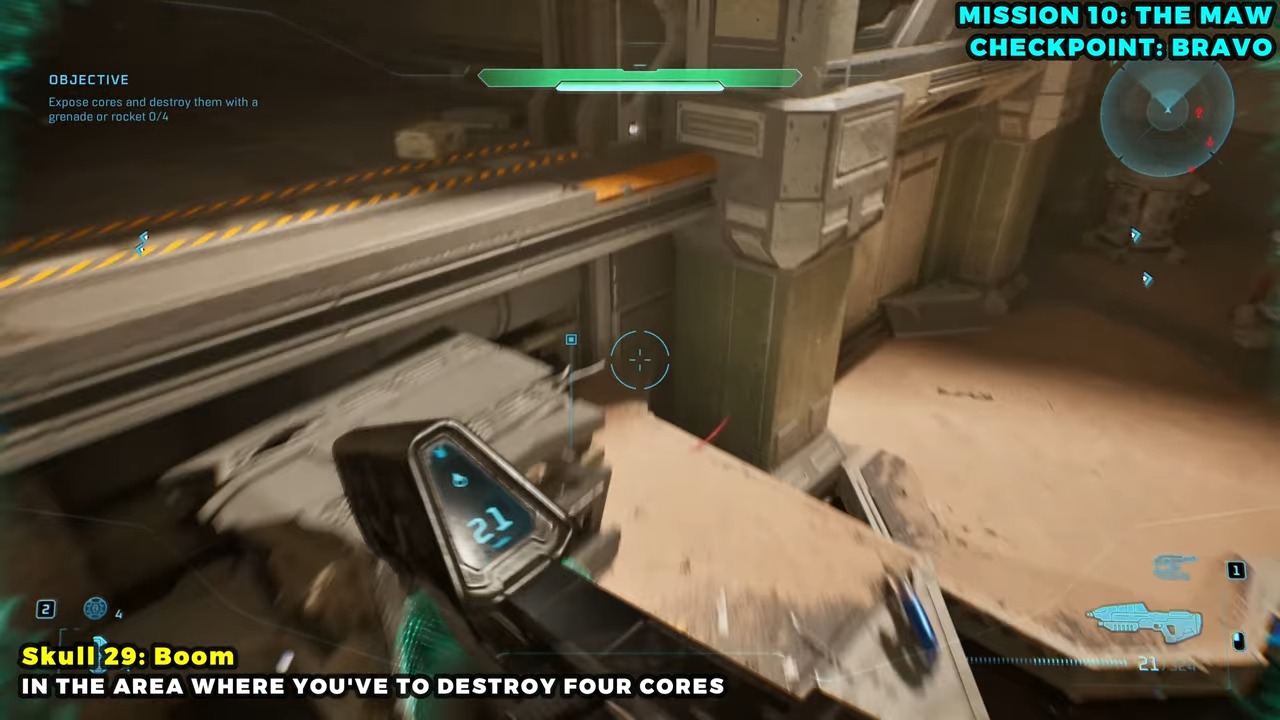
Target
Boom
- Checkpoint
- Engineering
- Landmark
- A narrow ledge below the second-floor jump platform on the room’s right side.
Do this
- 1Enter engineering and climb to the second floor on the right.
- 2At the platform used to reach the upper corridor, drop to the ledge beneath it and check the corner.
Confirmation
Boom is recorded after the final step is completed.
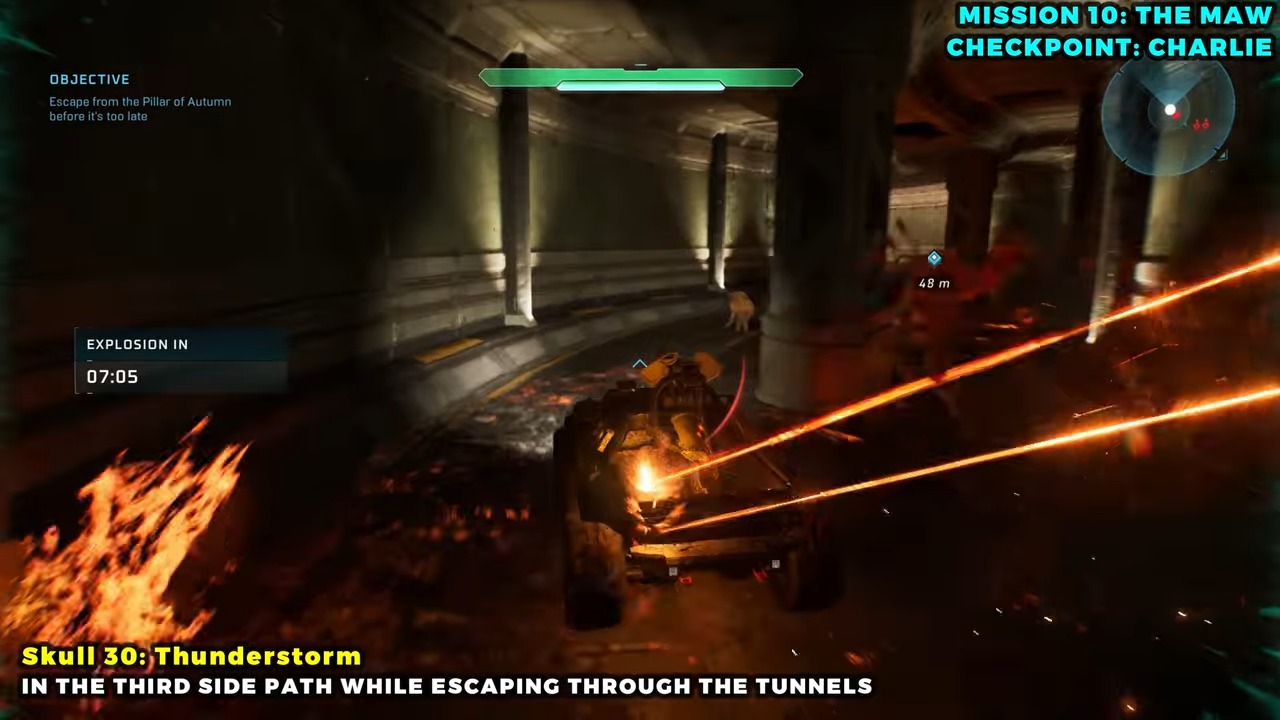
Target
Thunderstorm
- Checkpoint
- Warthog escape
- Landmark
- The second small bypass tunnel inside the early winding section.
Do this
- 1Count the shortcut openings as the Warthog enters the curved tunnel.
- 2Drive through the second opening and pass over the Skull in its center.
Confirmation
Thunderstorm is recorded after the final step is completed.
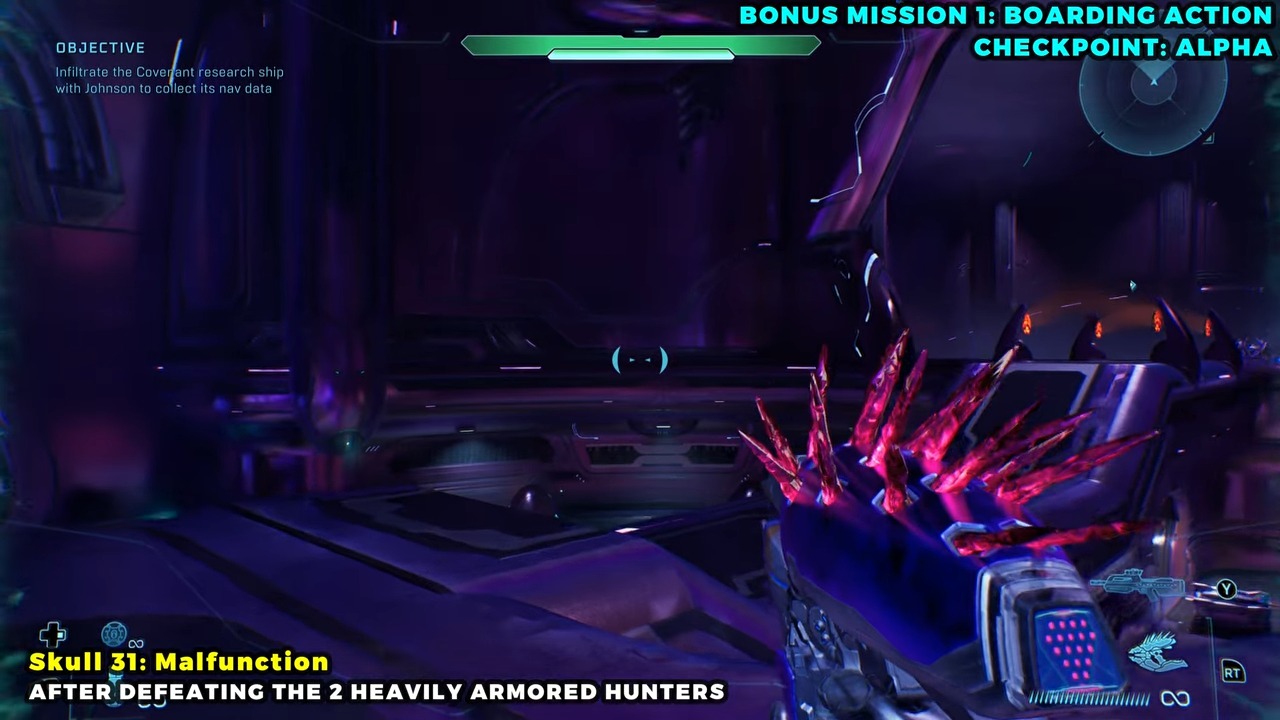
Target
Malfunction
- Checkpoint
- Gold-Hunter encounter
- Landmark
- The narrow bridge reached through the side route opposite Johnson.
Do this
- 1After defeating the two white-and-gold Hunters, ignore Johnson’s route.
- 2Take the opposite ramp and follow the newly open doors until the path reaches the Skull bridge.
Confirmation
Malfunction is recorded after the final step is completed.
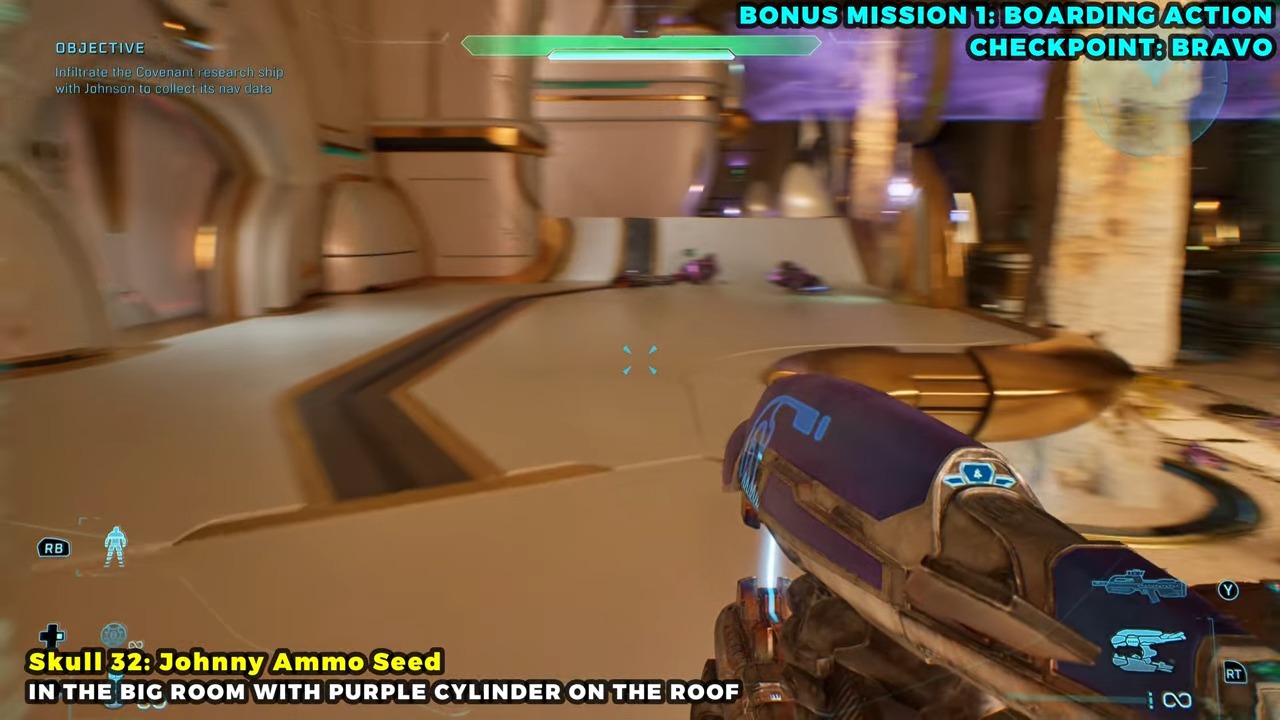
Target
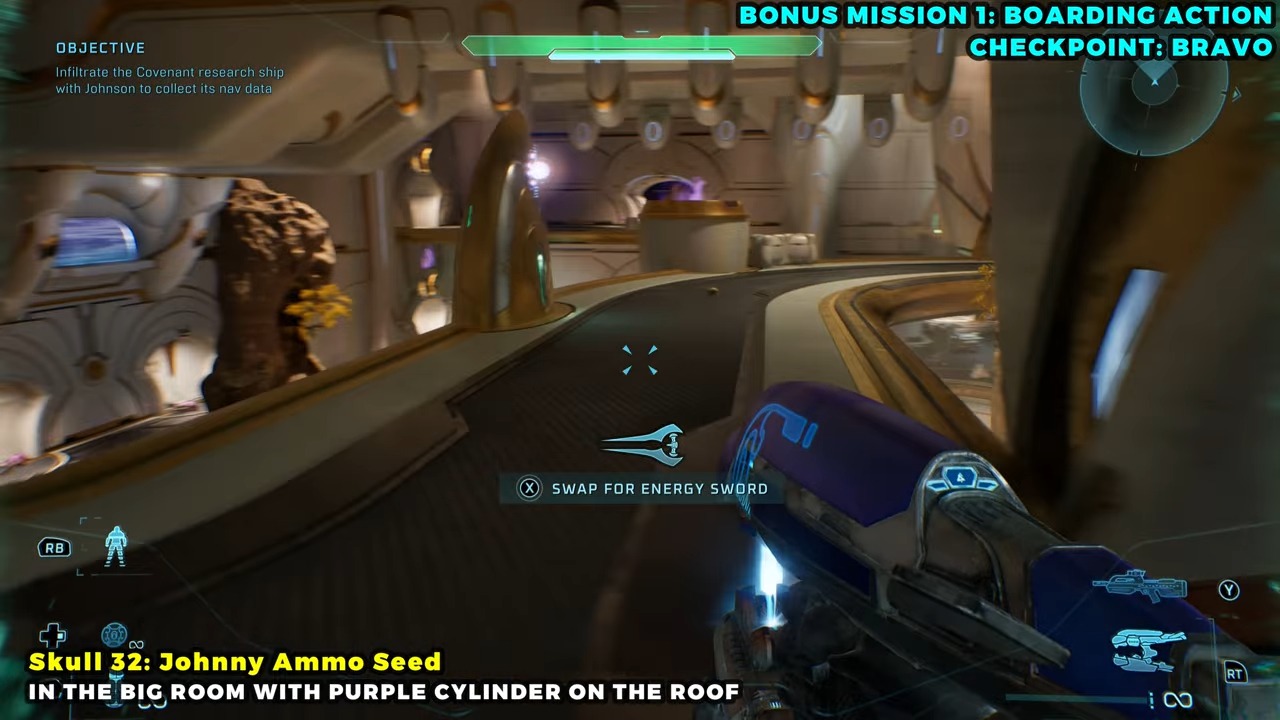
Johnny Ammo
- Checkpoint
- Sand arena
- Landmark
- The curved third-floor ledge near the tree above the arena entrance.
Do this
- 1Clear the sand arena and climb to its second level.
- 2Backtrack toward the entrance on the upper route, defeat the Elites, and check the curved ledge.
Confirmation
Johnny Ammo is recorded after the final step is completed.
Target
Leadhead
- Checkpoint
- Bio-lab lift room
- Landmark
- The open side hallway immediately left of the central vertical lift.
Do this
- 1Finish the enemy waves until the objective directs you onto the lift.
- 2Before ascending, enter the left doorway and follow the hall to its end.
Confirmation
Leadhead is recorded after the final step is completed.
Target
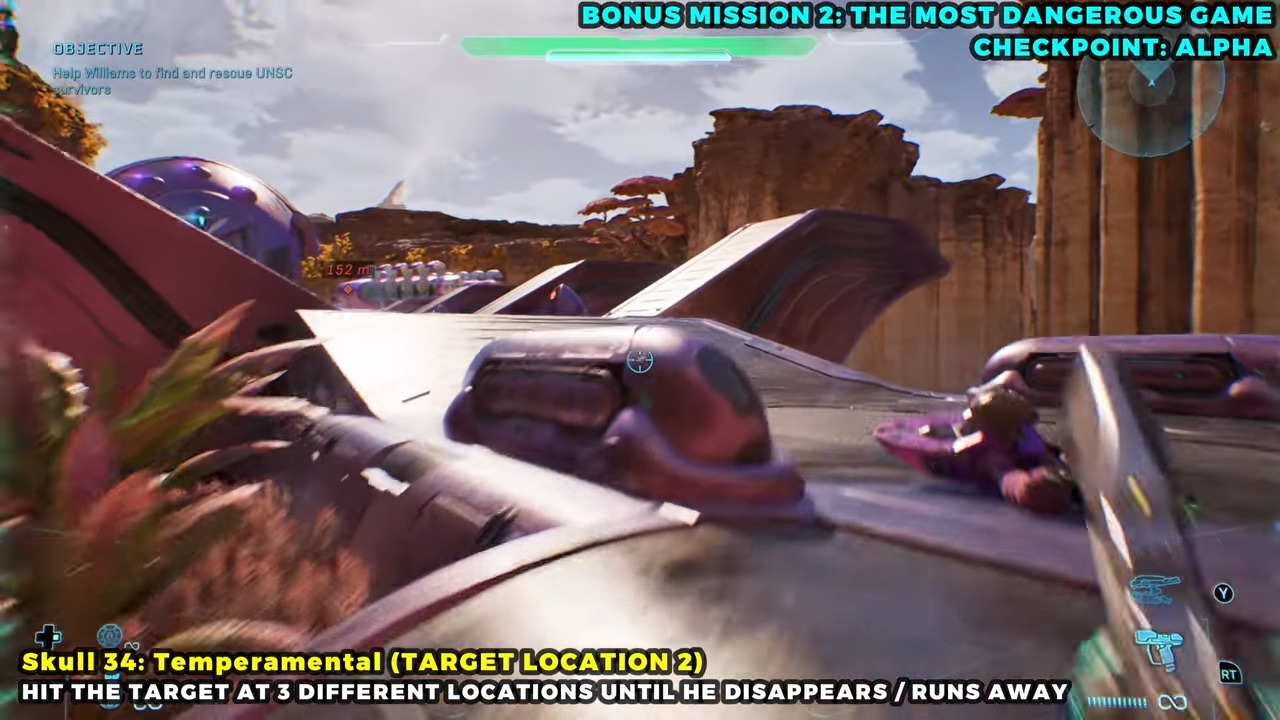
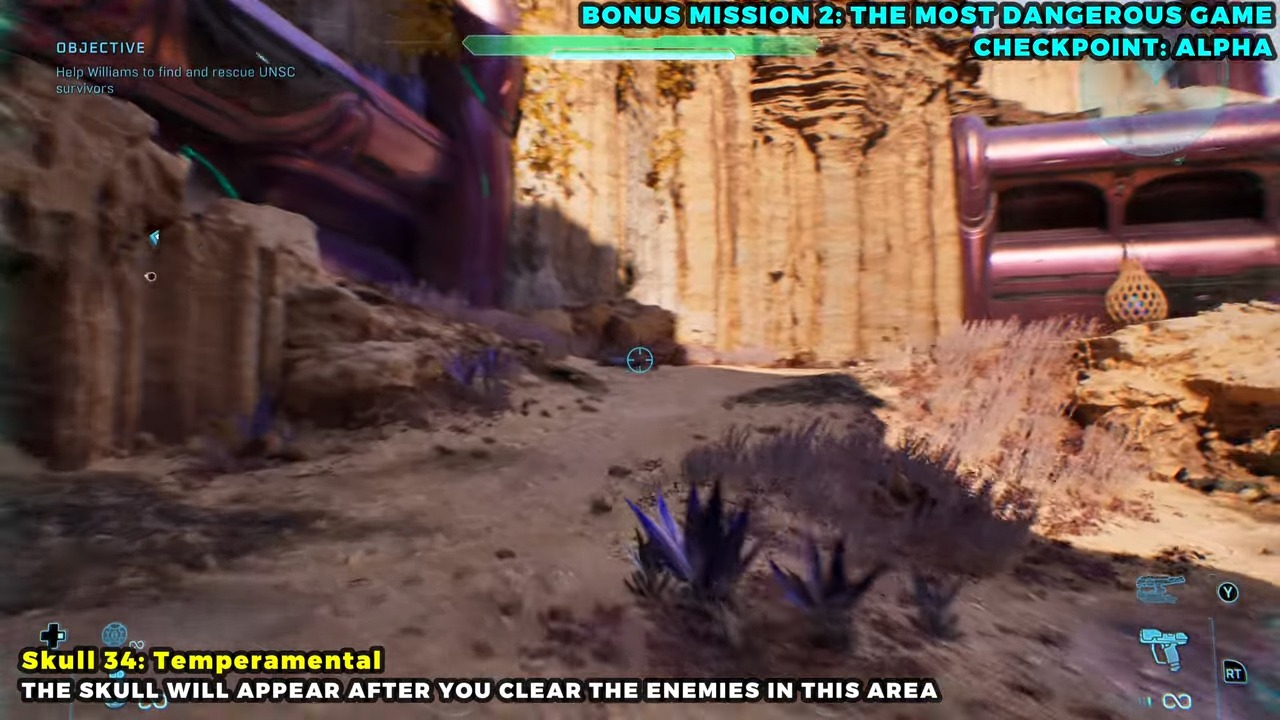
Temperamental
- Checkpoint
- Three golden-Elite marks
- Landmark
- The central purple pylon in the first arena after the prison break.
Do this
- 1Tag—not kill—the fleeing golden Elite in the Marine-linkup arena, the Wraith bridge arena, and the first post-prison arena.
- 2After all three hits register, climb the central pylon in the post-prison arena and collect the spawned Skull.
Confirmation
Temperamental is recorded after the final step is completed.
Target
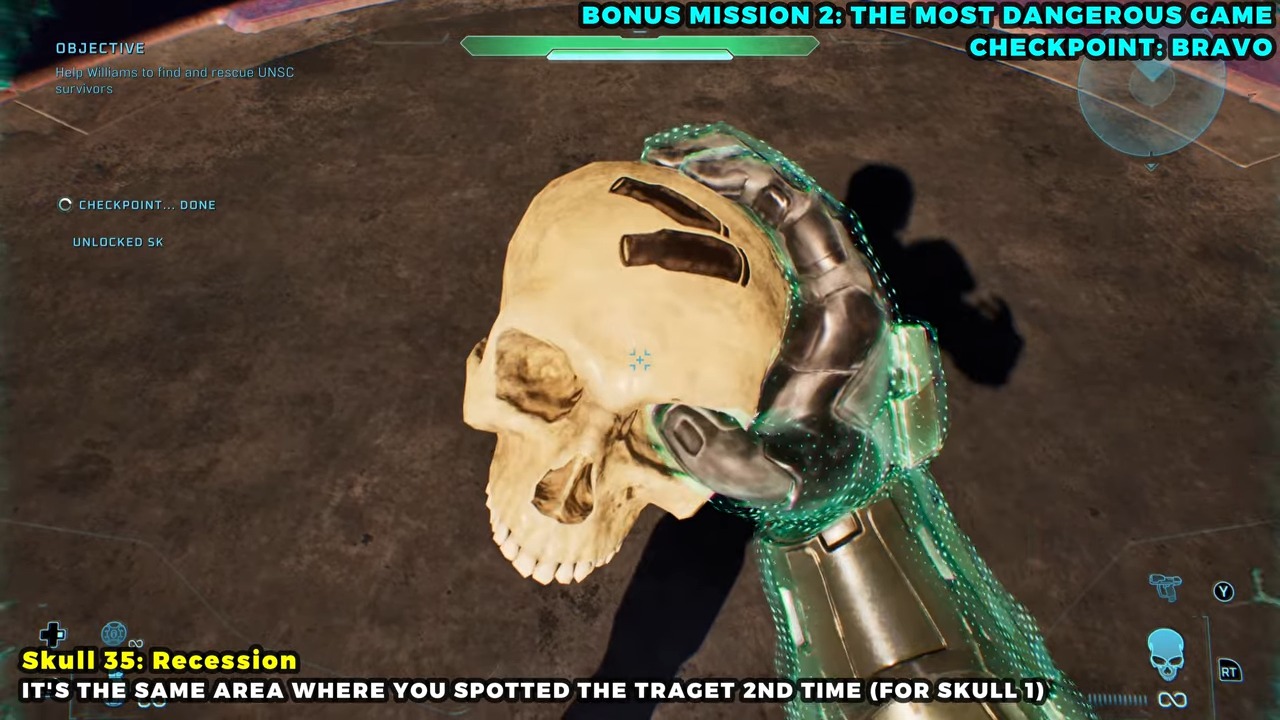
Recession
- Checkpoint
- Early Wraith bridge
- Landmark
- The sealed room beneath two braziers at the end opposite the Wraith.
Do this
- 1At the long purple bridge, move to the large door opposite the Wraith.
- 2Destroy the explosive barrels on both sides to open the door and reveal the Skull.
Confirmation
Recession is recorded after the final step is completed.
Target
Ghost
- Checkpoint
- Post-Banshee bridge arena
- Landmark
- The brazier above the doorway used to enter the arena.
Do this
- 1After clearing the arena, return to the entrance and collect the frag grenades near the fallen Marine.
- 2Grenade-jump up the adjacent rocks, then hug the wall while crossing to the brazier.
Confirmation
Ghost is recorded after the final step is completed.
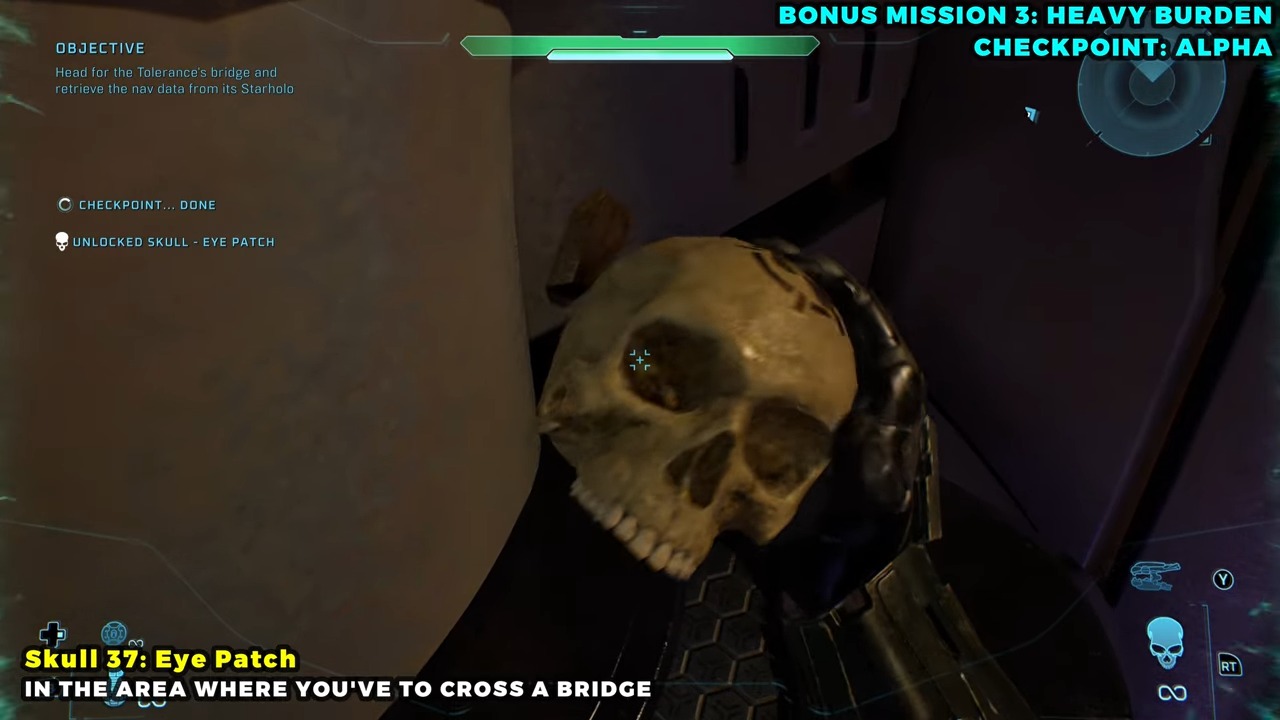
Target
Eye Patch
- Checkpoint
- Route to Tolerance’s bridge
- Landmark
- The side corridor beside the suspended bridge, ending at a locked door.
Do this
- 1Do not cross the suspended bridge when you reach it.
- 2Use the open side door on the entry side and follow the corridor to the Skull by the sealed door.
Confirmation
Eye Patch is recorded after the final step is completed.
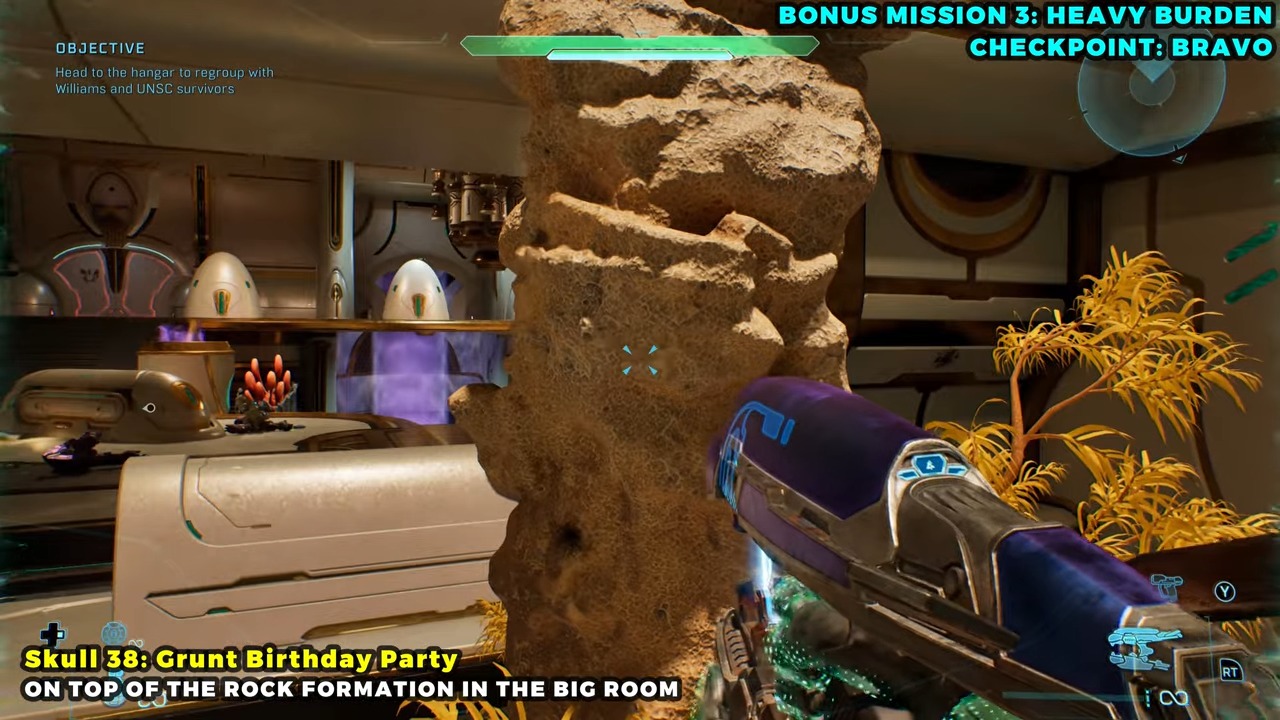
Target
Grunt Birthday Party
- Checkpoint
- Marine survivor regroup
- Landmark
- The yellow-foliage rock formation in the center of the multilevel room.
Do this
- 1Enter from the top floor and locate the purple brazier on the level below.
- 2Use the brazier as a step to reach the central rock and collect the Skull on top.
Confirmation
Grunt Birthday Party is recorded after the final step is completed.
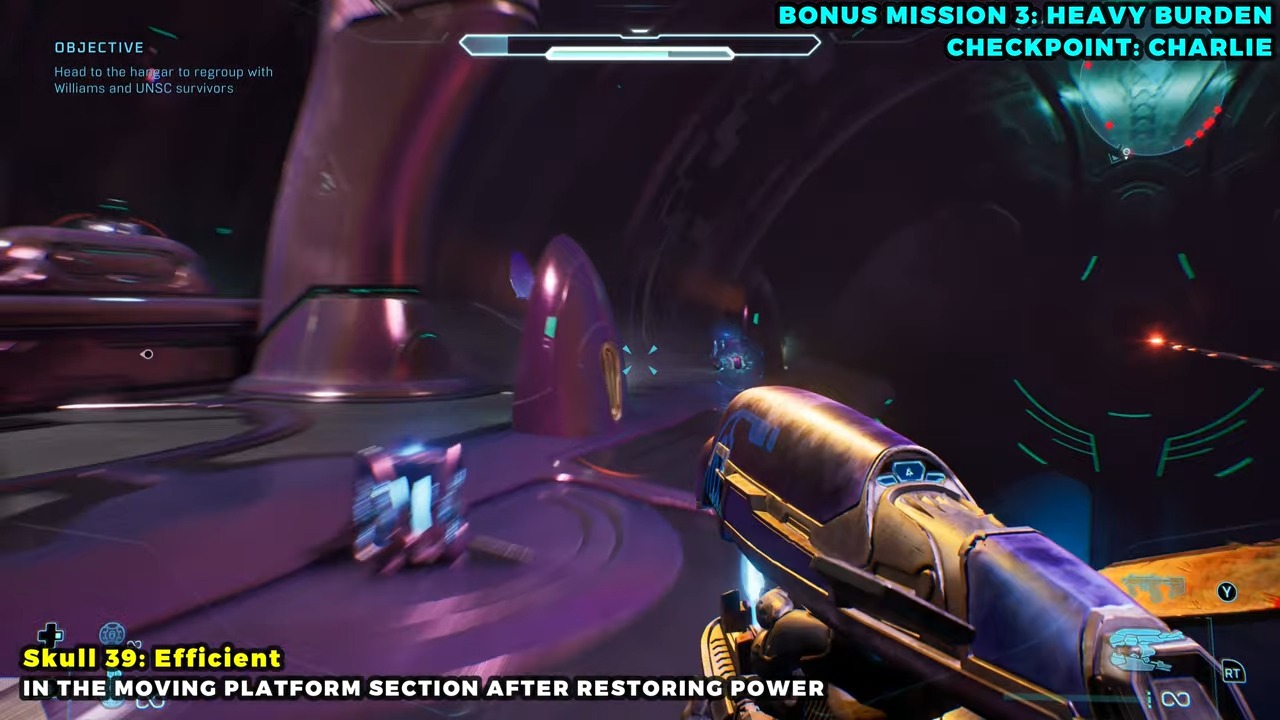
Target
Efficient
- Checkpoint
- Powered gondola ride
- Landmark
- The left out-of-bounds platform in the second stop after power is restored.
Do this
- 1Restart the gondola, continue through the next stop, and watch for the following pair of side platforms.
- 2Jump to the left platform and sprint to its rear-right corner; touching the Skull records it even if you fall afterward.
Confirmation
Efficient is recorded after the final step is completed.
Target
Adaptation
- Checkpoint
- Campaign Remix unlock
- Landmark
- The Campaign Remix menu after any three hidden Skulls have been collected.
Do this
- 1Collect any three hidden Skulls across the campaign.
- 2Return to Campaign Remix and confirm the modifier is available in the Skull list.
Confirmation
Adaptation is available as described. This modifier unlocks automatically with Campaign Remix and has no world pickup.
Target
Reload
- Checkpoint
- Campaign Remix unlock
- Landmark
- The Campaign Remix menu after any three hidden Skulls have been collected.
Do this
- 1Collect any three hidden Skulls across the campaign.
- 2Return to Campaign Remix and confirm the modifier is available in the Skull list.
Confirmation
Reload is available as described. This modifier unlocks automatically with Campaign Remix and has no world pickup.
Target
Armistice
- Checkpoint
- Campaign Remix unlock
- Landmark
- The Campaign Remix menu after any three hidden Skulls have been collected.
Do this
- 1Collect any three hidden Skulls across the campaign.
- 2Return to Campaign Remix and confirm the modifier is available in the Skull list.
Confirmation
Armistice is available as described. This modifier unlocks automatically with Campaign Remix and has no world pickup.