
Guide briefing
Complete 13-Target Campaign Walkthrough
♪♪♪ ♪♪♪ ♪♪♪ ♪♪♪ ♪♪♪ ♪♪♪ ♪♪♪ ♪♪♪ ♪♪♪ ♪♪♪ ♪♪♪ ♪♪♪ ♪♪♪ ♪♪♪ ♪♪♪ ♪♪♪ ♪♪♪ ♪♪♪ ♪♪♪ ♪♪♪ ♪♪♪ ♪♪♪ ♪♪♪ ♪♪♪ ♪♪♪ ♪♪♪ ♪♪♪ ♪♪♪ ♪♪♪ ♪♪♪ ♪♪♪ ♪♪♪ ♪♪♪ ♪♪♪ ♪♪♪ ♪♪♪ ♪♪♪
Target
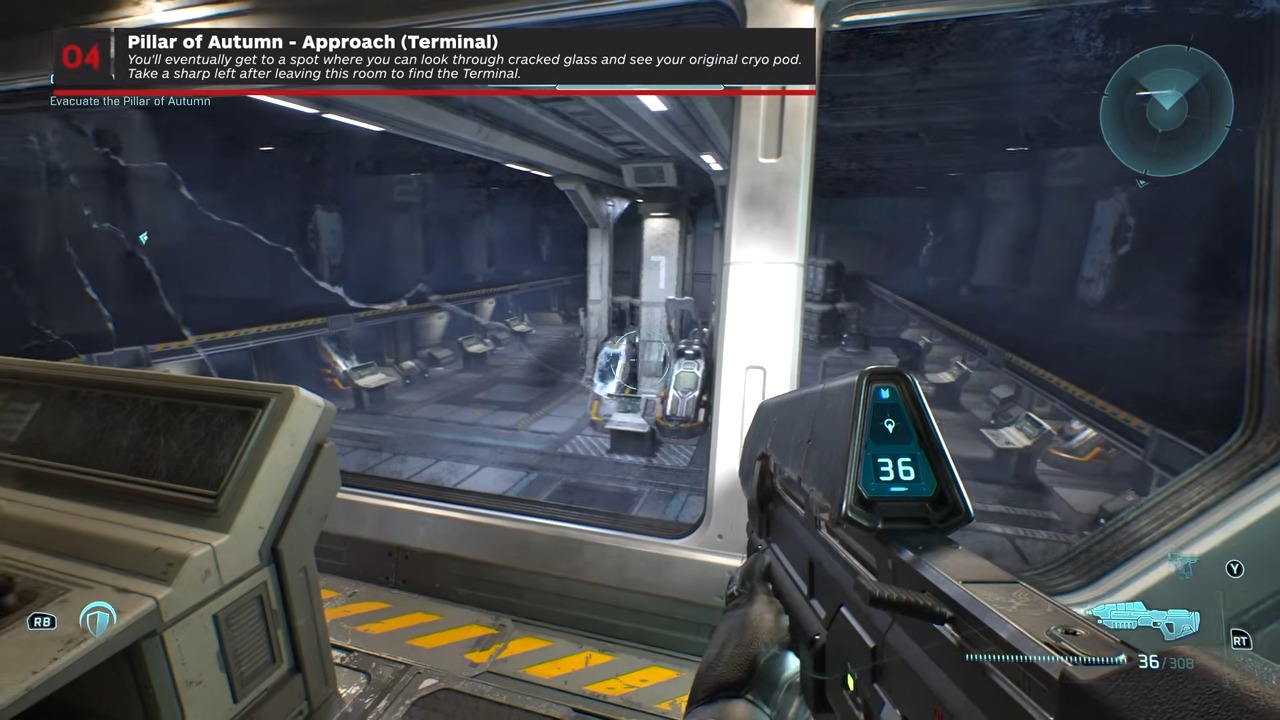
Approach
- Checkpoint
- During evacuation
- Landmark
- During evacuation, leave the control room with the broken window, turn left into the room behind it, and check the rear-right corner.
Do this
- 1Leave the control room with the broken window.
- 2Turn left into the room behind it.
- 3Check the rear-right corner.
- 4Interact with the Approach Terminal at the end of the route.
Confirmation
Approach is available as described. During evacuation, leave the control room with the broken window, turn left into the room behind it, and check the rear-right corner.
Target
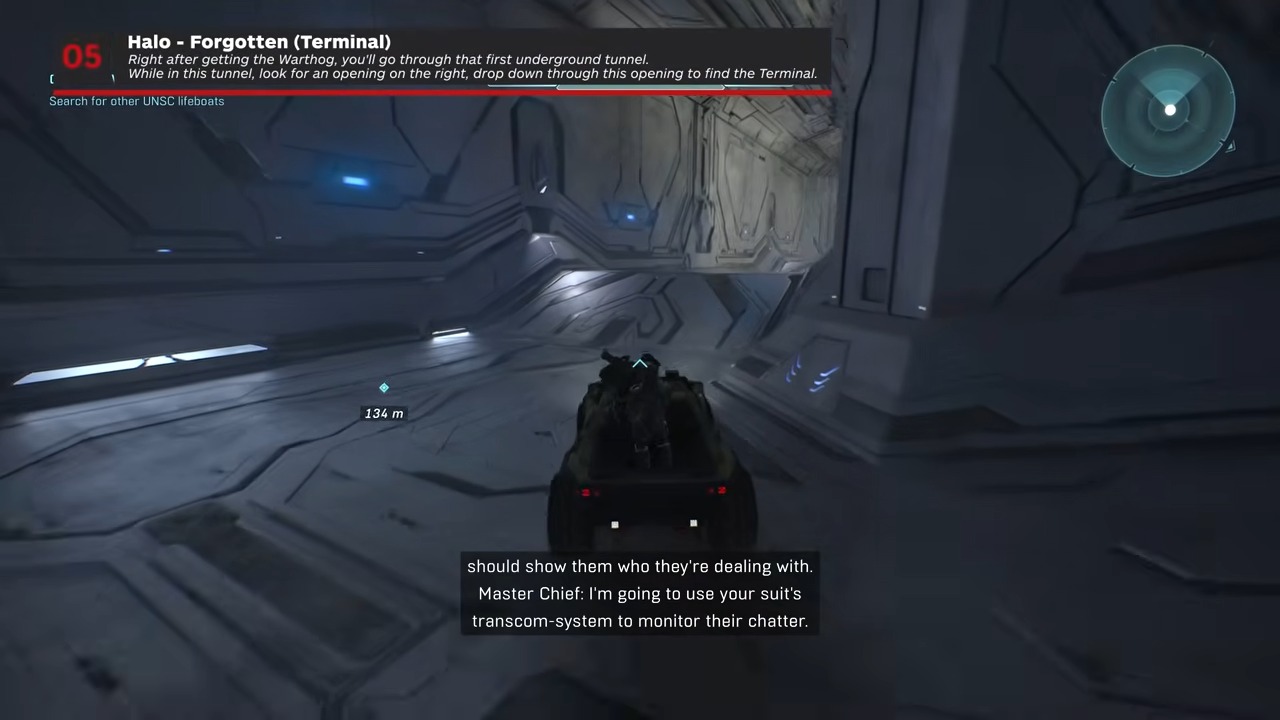
Forgotten
- Checkpoint
- In the first Warthog tunnel
- Landmark
- In the first Warthog tunnel, stop after the first ramp, climb the right ledge, and lower yourself onto the hidden shelf.
Do this
- 1Stop after the first ramp.
- 2Climb the right ledge.
- 3Lower yourself onto the hidden shelf.
- 4Interact with the Forgotten Terminal at the end of the route.
Confirmation
Forgotten is available as described. In the first Warthog tunnel, stop after the first ramp, climb the right ledge, and lower yourself onto the hidden shelf.
Target
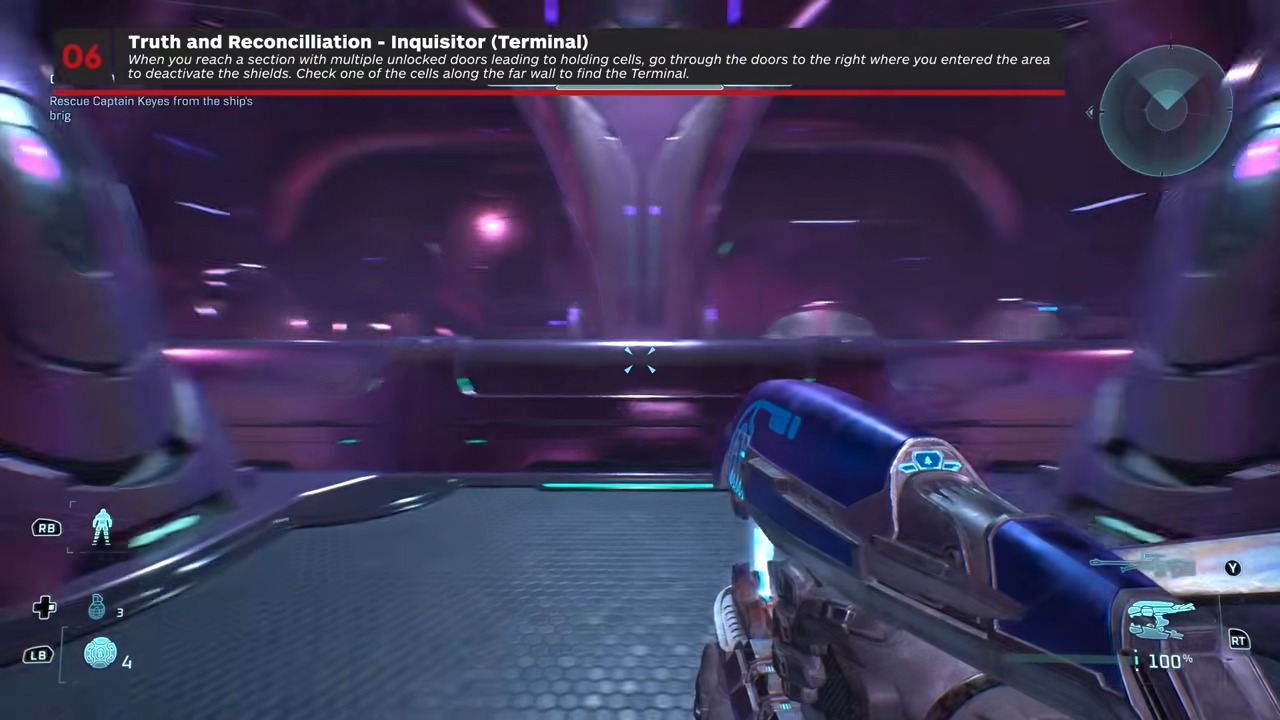
Inquisitor
- Checkpoint
- On the Keyes-cell route
- Landmark
- On the Keyes-cell route, take the right-hand door, open the prison cells, and enter the cell containing the fallen Marine.
Do this
- 1Take the right-hand door.
- 2Open the prison cells.
- 3Enter the cell containing the fallen Marine.
- 4Interact with the Inquisitor Terminal at the end of the route.
Confirmation
Inquisitor is available as described. On the Keyes-cell route, take the right-hand door, open the prison cells, and enter the cell containing the fallen Marine.
Target
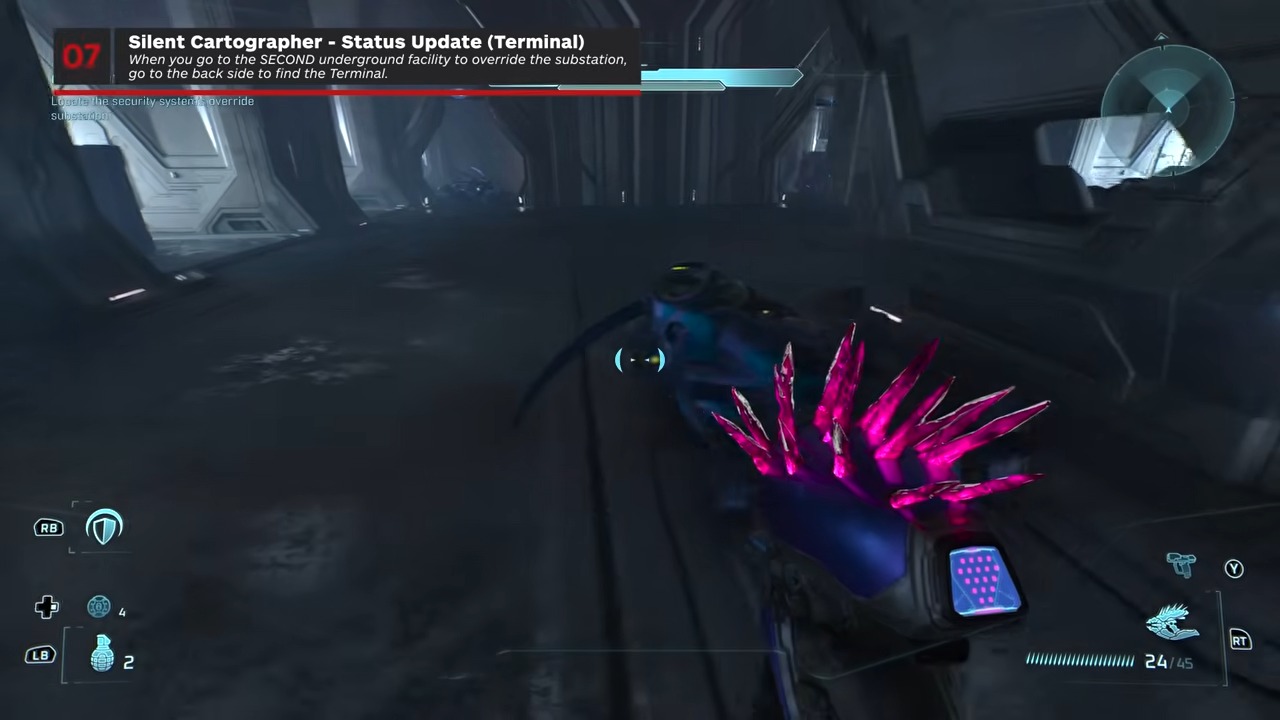
Status Update
- Checkpoint
- Inside the system-override room
- Landmark
- Inside the system-override room, pass the objective device, go to the far wall, and turn around to reveal the terminal.
Do this
- 1Pass the objective device.
- 2Go to the far wall.
- 3Turn around to reveal the terminal.
- 4Interact with the Status Update Terminal at the end of the route.
Confirmation
Status Update is available as described. Inside the system-override room, pass the objective device, go to the far wall, and turn around to reveal the terminal.
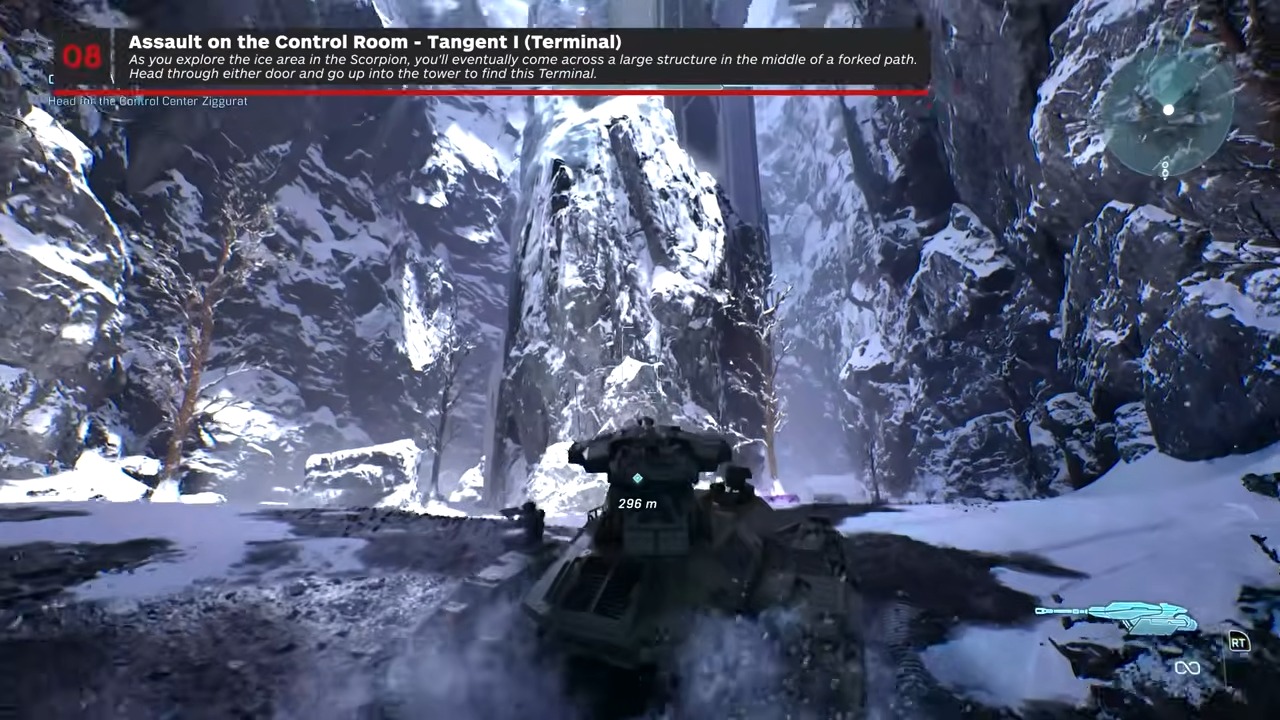
Target
Tangent I
- Checkpoint
- After the ice cave
- Landmark
- After the ice cave, enter either side of the tower, climb the interior ramp, and follow the upper walkway right.
Do this
- 1Enter either side of the tower.
- 2Climb the interior ramp.
- 3Follow the upper walkway right.
- 4Interact with the Tangent I Terminal at the end of the route.
Confirmation
Tangent I is available as described. After the ice cave, enter either side of the tower, climb the interior ramp, and follow the upper walkway right.
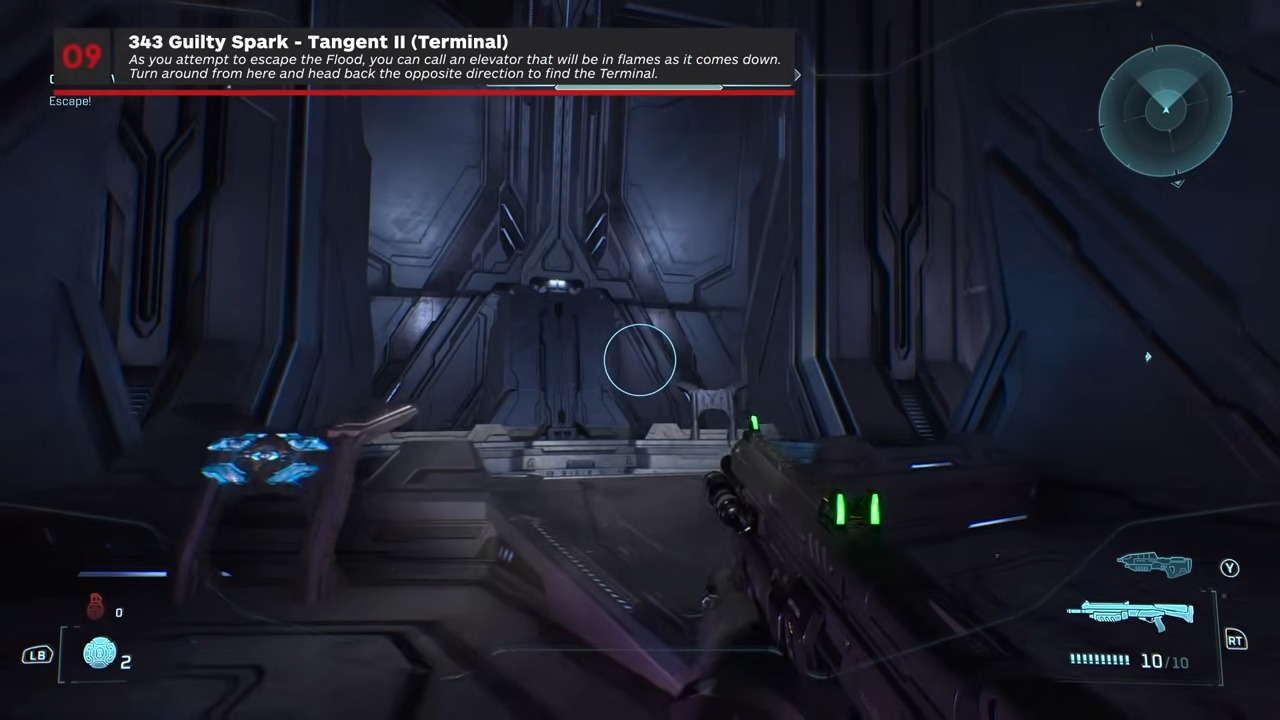
Target
Tangent II
- Checkpoint
- During the escape
- Landmark
- During the escape, cross the gap beside the light bridge into the enemy doorway, then turn right twice at the end of the narrow hall.
Do this
- 1Cross the gap beside the light bridge into the enemy doorway.
- 2Turn right twice at the end of the narrow hall.
- 3Interact with the Tangent II Terminal at the end of the route.
Confirmation
Tangent II is available as described. During the escape, cross the gap beside the light bridge into the enemy doorway, then turn right twice at the end of the narrow hall.
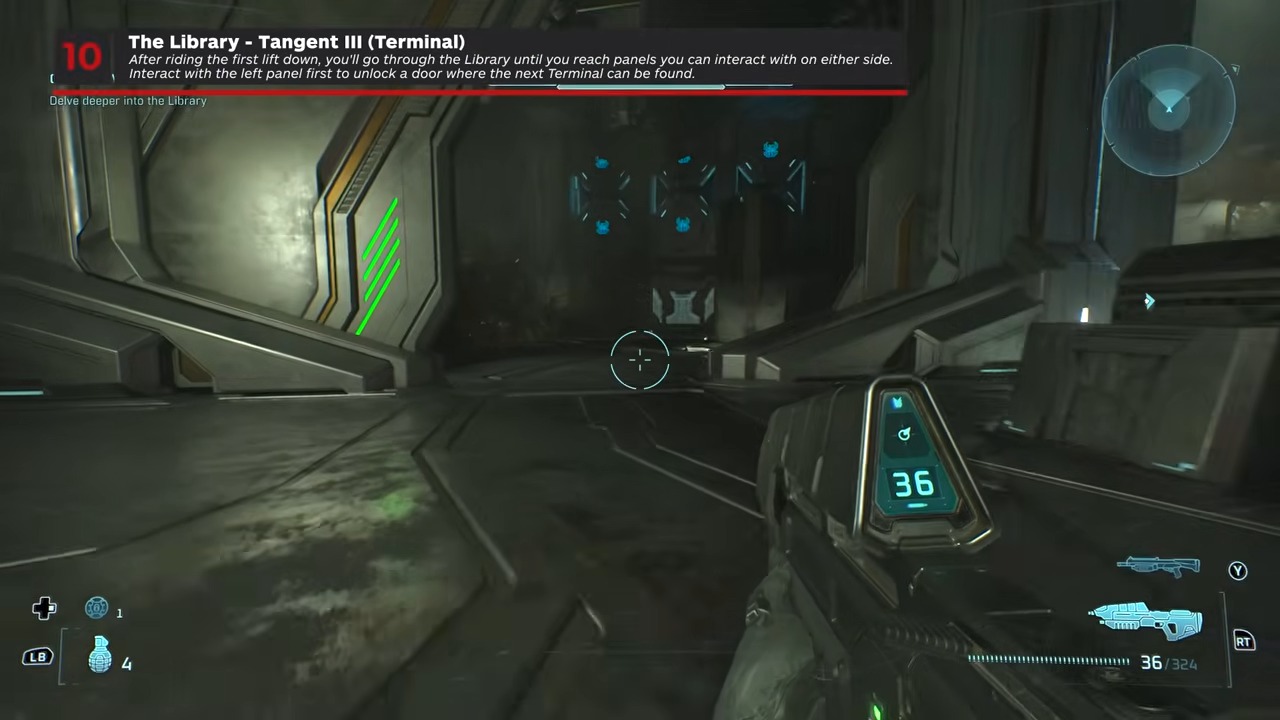
Target
Tangent III
- Checkpoint
- After the Pop Skull door opens
- Landmark
- After the Pop Skull door opens, use the left console, clear the biomass blocking the wall opening, and crawl through.
Do this
- 1Use the left console.
- 2Clear the biomass blocking the wall opening.
- 3Crawl through.
- 4Interact with the Tangent III Terminal at the end of the route.
Confirmation
Tangent III is available as described. After the Pop Skull door opens, use the left console, clear the biomass blocking the wall opening, and crawl through.
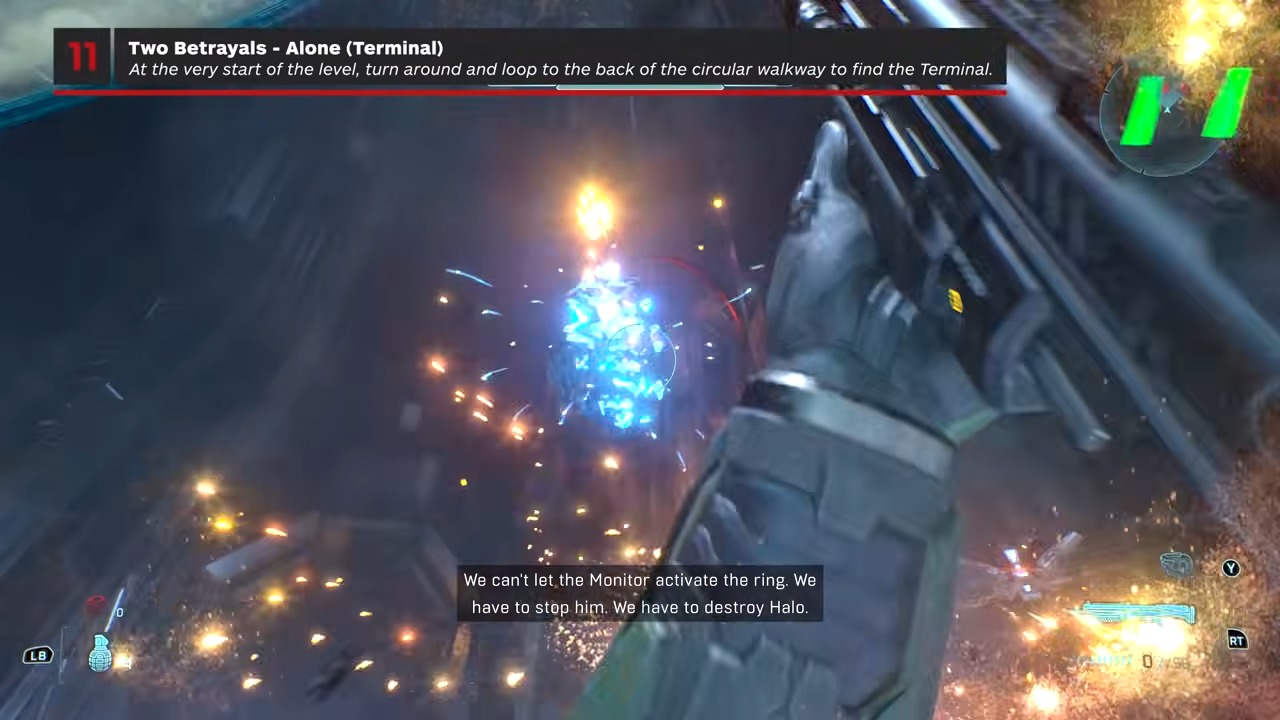
Target
Alone
- Checkpoint
- Immediately after gaining control
- Landmark
- Immediately after gaining control, turn around and circle to the opposite side of the starting ring.
Do this
- 1Turn around and circle to the opposite side of the starting ring.
- 2Interact with the Alone Terminal at the end of the route.
Confirmation
Alone is available as described. Immediately after gaining control, turn around and circle to the opposite side of the starting ring.
Target
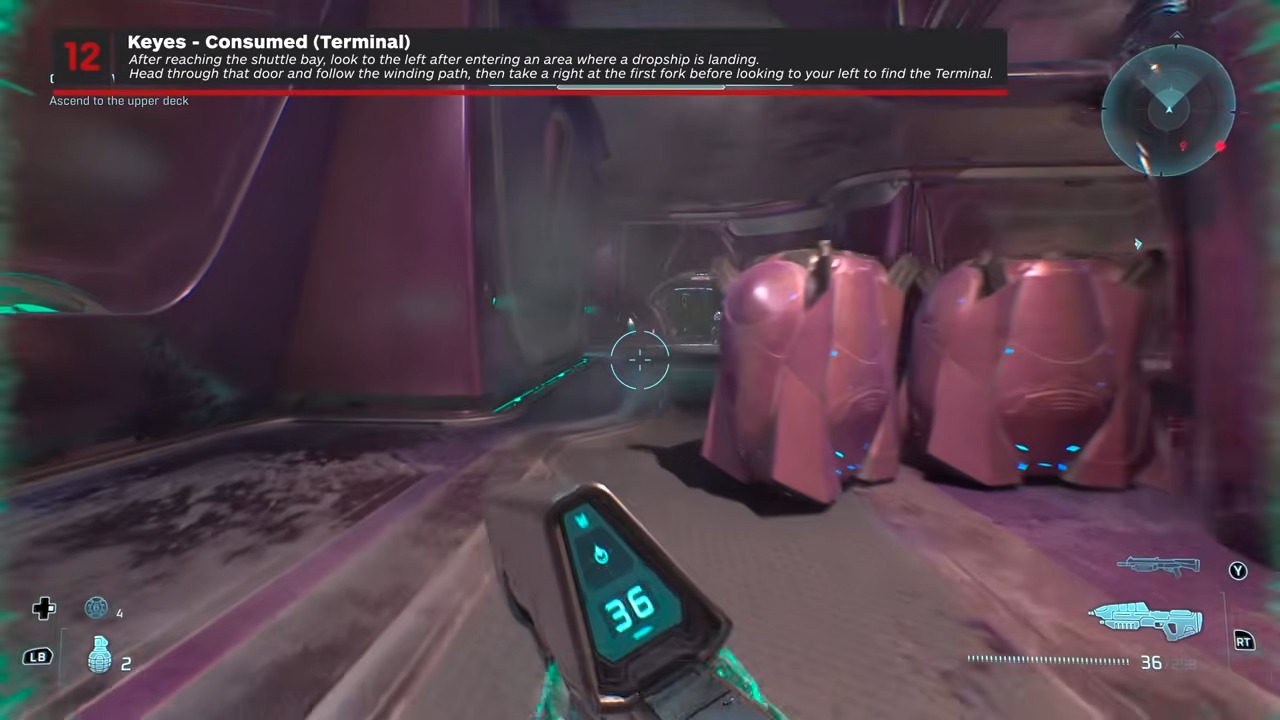
Consumed
- Checkpoint
- From the shuttle-bay entrance
- Landmark
- From the shuttle-bay entrance, take the left door, then follow the corridor sequence left, left, right, left.
Do this
- 1Take the left door.
- 2Follow the corridor sequence left.
- 3Left.
- 4Right.
- 5Left.
- 6Interact with the Consumed Terminal at the end of the route.
Confirmation
Consumed is available as described. From the shuttle-bay entrance, take the left door, then follow the corridor sequence left, left, right, left.
Target
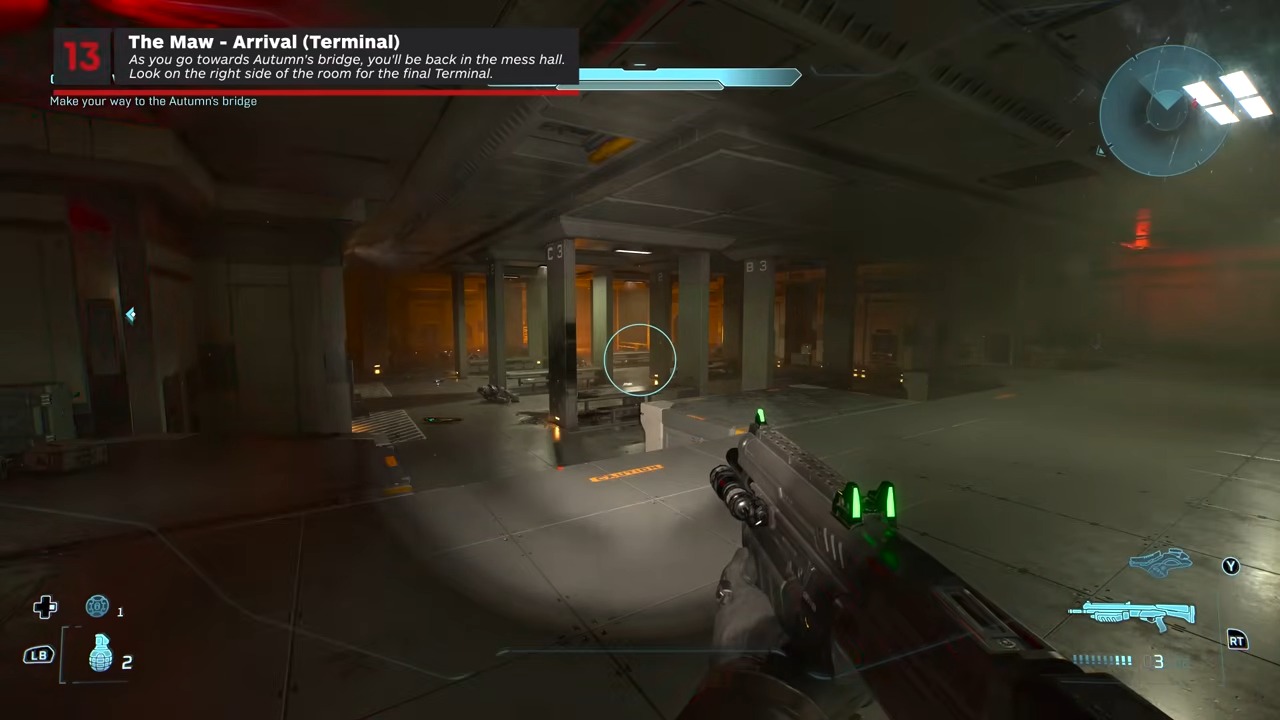
Arrival
- Checkpoint
- On the objective route
- Landmark
- On the objective route, enter the fire-lit mess hall and check the right side beyond the rows of tables.
Do this
- 1Enter the fire-lit mess hall and check the right side beyond the rows of tables.
- 2Interact with the Arrival Terminal at the end of the route.
Confirmation
Arrival is available as described. On the objective route, enter the fire-lit mess hall and check the right side beyond the rows of tables.
Target
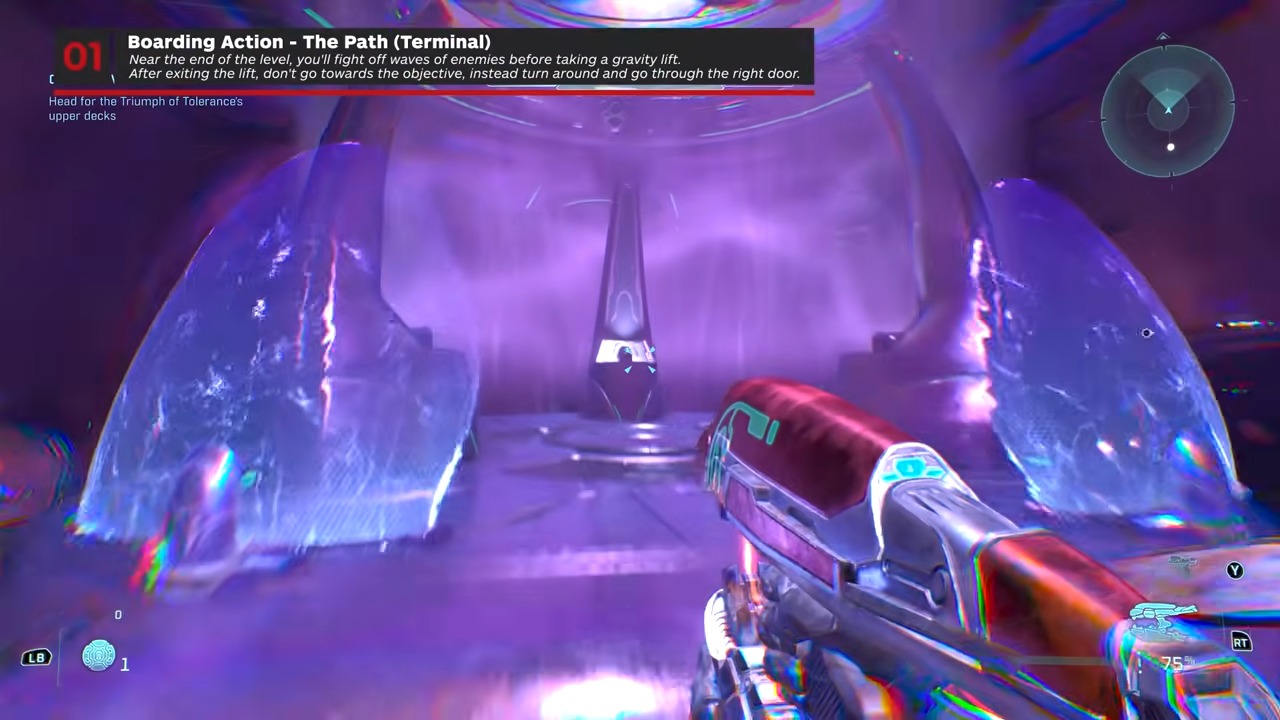
The Path
- Checkpoint
- Ride the lift immediately after Leadhead
- Landmark
- Ride the lift immediately after Leadhead, turn left at the top, use the rear-corner door, and check the right wall.
Do this
- 1Turn left at the top.
- 2Use the rear-corner door.
- 3Check the right wall.
- 4Interact with the The Path Terminal at the end of the route.
Confirmation
The Path is available as described. Ride the lift immediately after Leadhead, turn left at the top, use the rear-corner door, and check the right wall.
Target
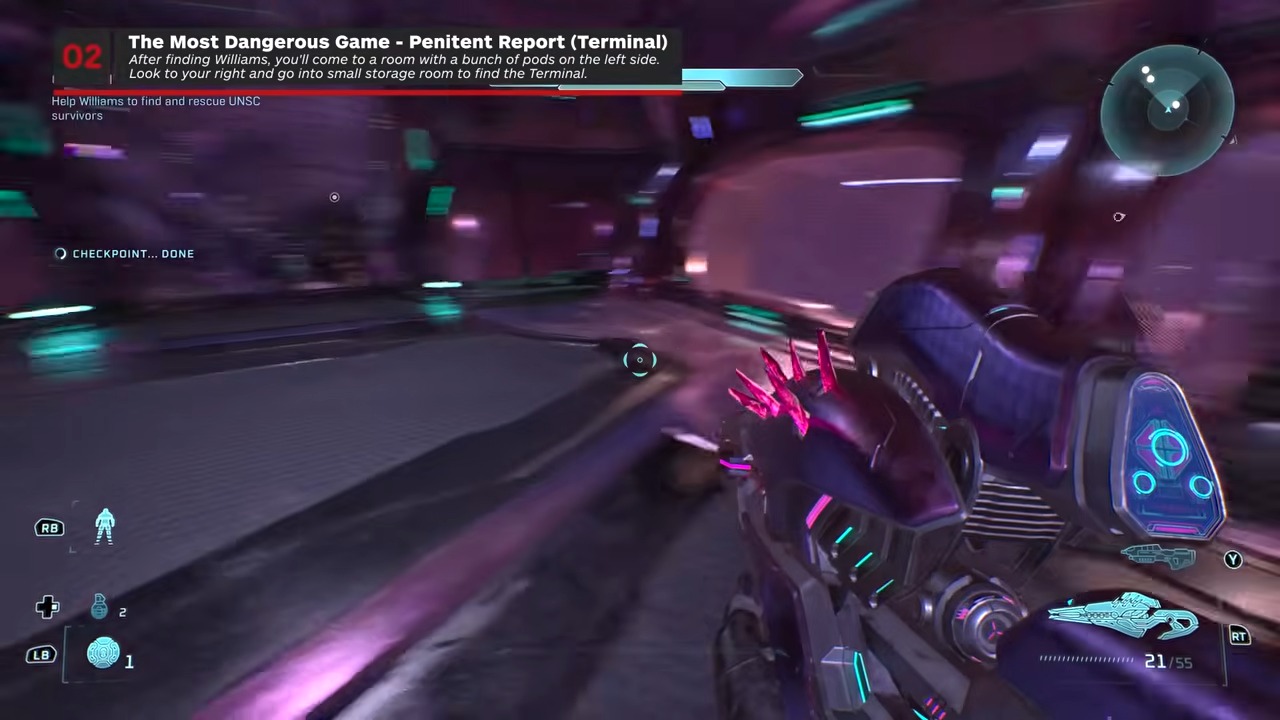
Penitent Report
- Checkpoint
- After freeing the Marines
- Landmark
- After freeing the Marines, find the room with pink windows and take the right-hand door into the terminal room.
Do this
- 1Find the room with pink windows and take the right-hand door into the terminal room.
- 2Interact with the Penitent Report Terminal at the end of the route.
Confirmation
Penitent Report is available as described. After freeing the Marines, find the room with pink windows and take the right-hand door into the terminal room.
Target
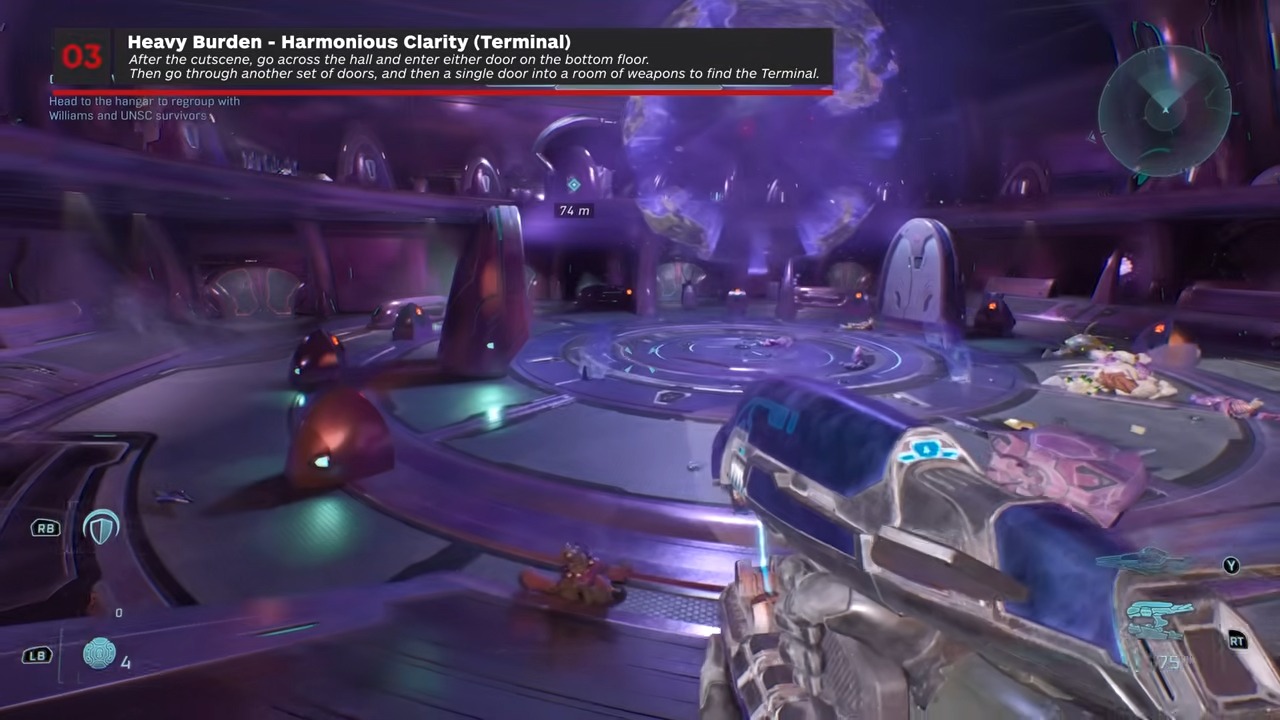
Harmonious Clarity
- Checkpoint
- In the planet-hologram room
- Landmark
- In the planet-hologram room, take either rear door, continue to the final room, and search its left side.
Do this
- 1Take either rear door.
- 2Continue to the final room.
- 3Search its left side.
- 4Interact with the Harmonious Clarity Terminal at the end of the route.
Confirmation
Harmonious Clarity is available as described. In the planet-hologram room, take either rear door, continue to the final room, and search its left side.