
Guide briefing
Arm’s Length: Complete the First Floor Without Taking a Hit
Start 343 Guilty Spark from Rally Point Alpha on Easy, keep range outdoors, use grenades around blind corners, clear the Flood-spore room with large magazines, and reload the checkpoint immediately if any hit lands.
Before you start
- — Start 343 Guilty Spark from Rally Point Alpha.
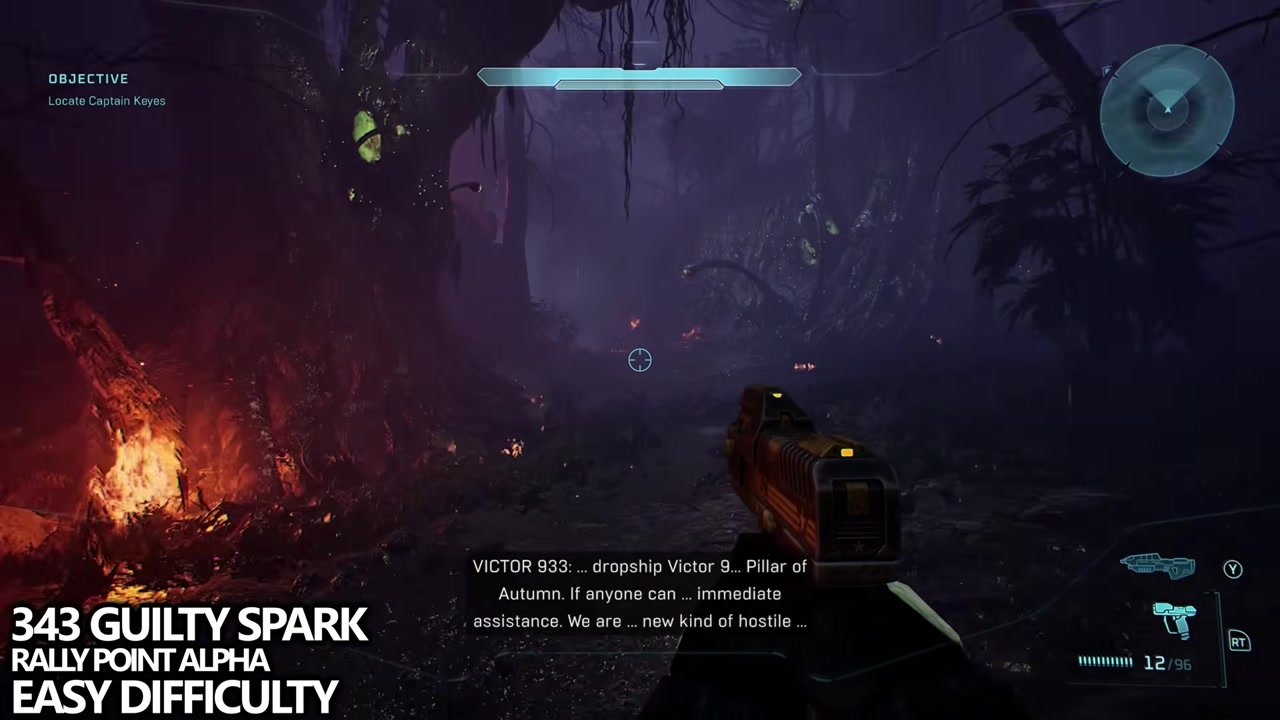
Target
Start the valid route
- Checkpoint
- Rally Point Alpha
- Landmark
- Beginning of the mission, before the outdoor approach.
Do this
- 1Select Rally Point Alpha from the beginning of 343 Guilty Spark.
- 2Choose Easy difficulty for the widest error margin.
- 3Begin with the Magnum ready and treat the outdoor section as part of the no-hit requirement.
Confirmation
You are at the mission start with no damage taken.
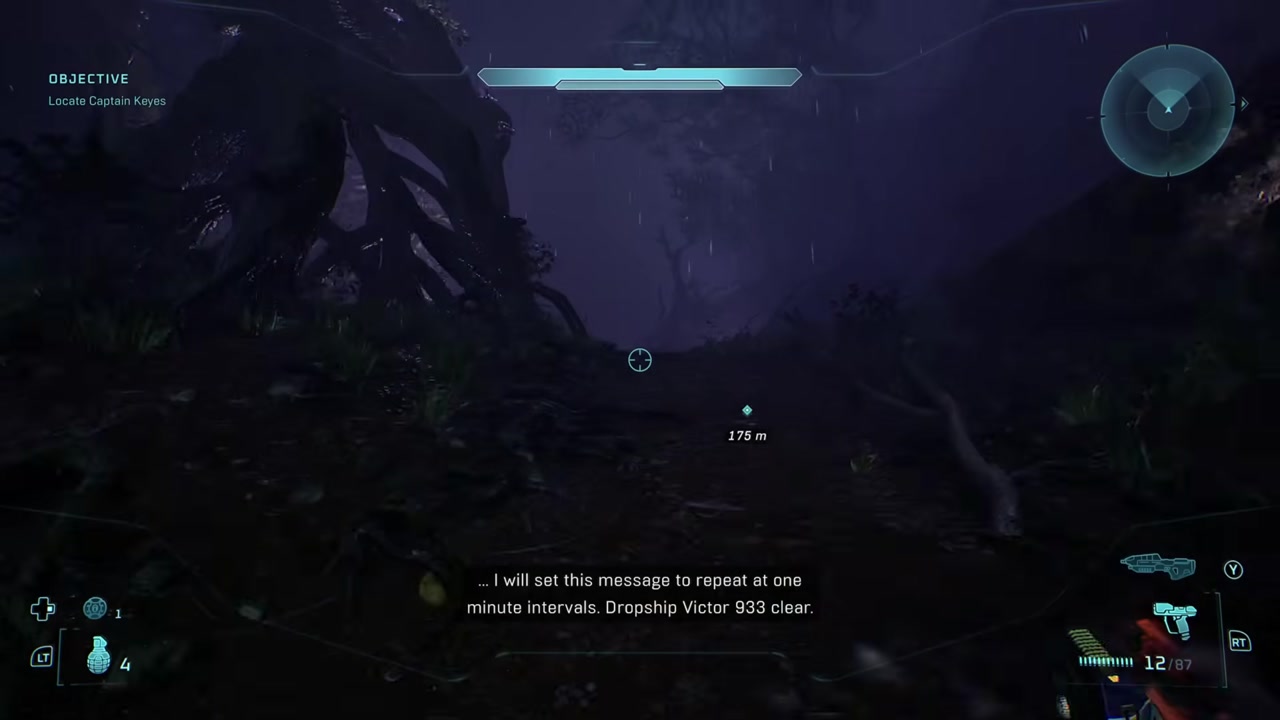
Target
Cross the outdoor section untouched
- Checkpoint
- Opening swamp
- Landmark
- The log crossing and facility entrance.
Do this
- 1Use the Magnum at range instead of approaching enemy positions.
- 2Sidestep incoming plasma while maintaining distance.
- 3Cross the log and stop before the entrance so the interior enemies cannot surprise you.
Confirmation
You reach the facility door without a shield-loss or hit reaction.
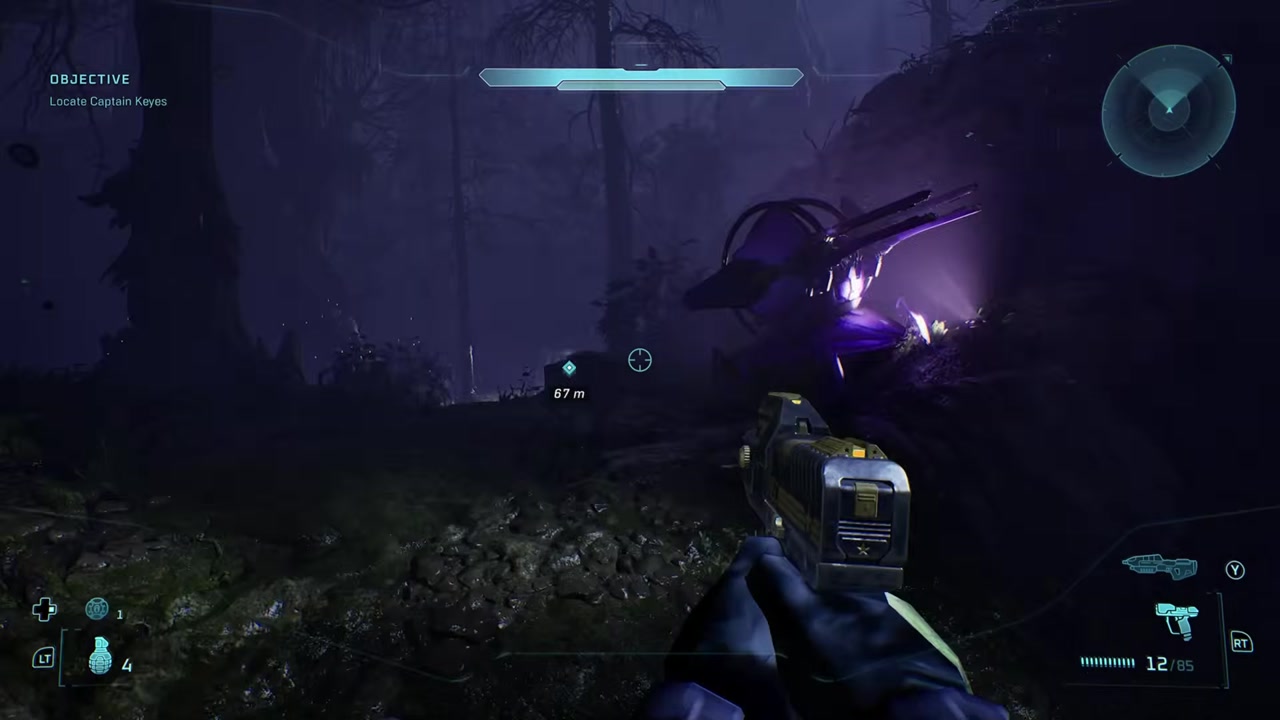
Target
Secure the entrance
- Checkpoint
- Facility doorway
- Landmark
- The first enemy group immediately inside.
Do this
- 1Place a grenade through the doorway before crossing the threshold.
- 2Wait for the blast, then clear any survivor from outside the room.
- 3Advance slowly, use radar at each corner, and allow the checkpoint to register.
Confirmation
The entrance room is clear and the checkpoint saves.
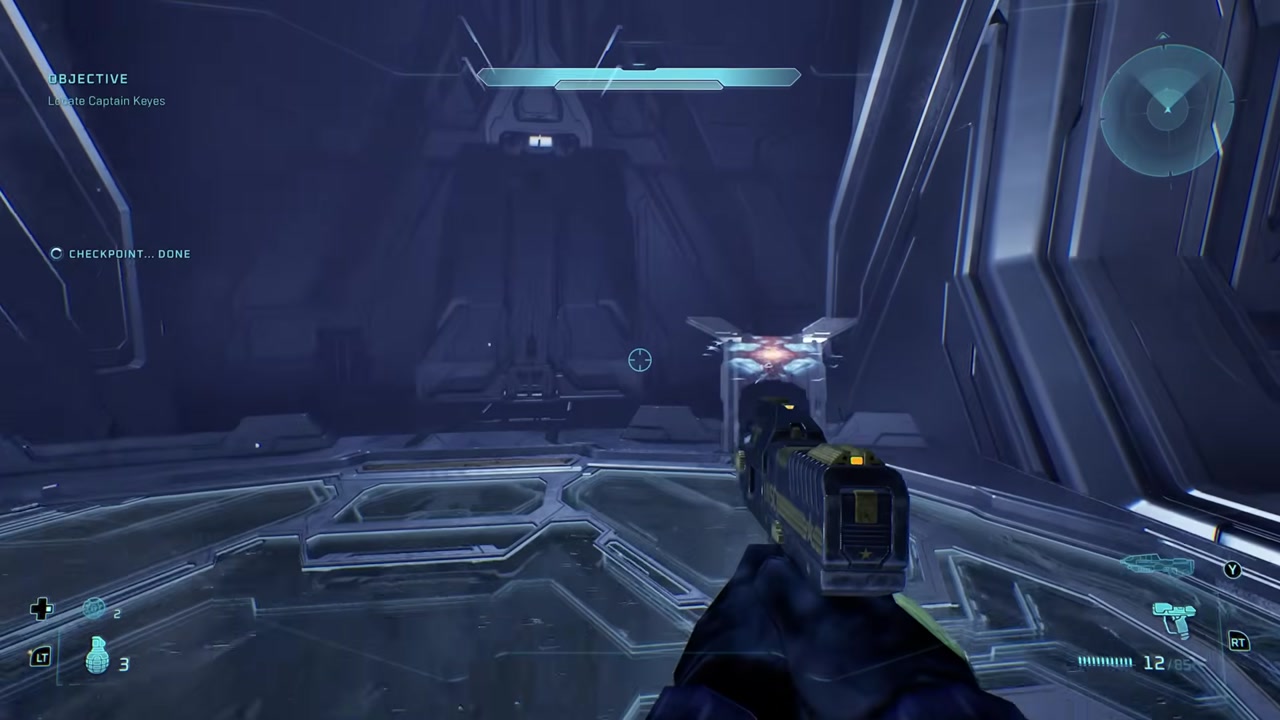
Target
Reach the first floor safely
- Checkpoint
- Top of the lift
- Landmark
- The corner immediately after the elevator ride.
Do this
- 1Activate the lift and wait through the ride without rushing the exit.
- 2Listen for enemy chatter around the corner.
- 3Use a well-placed grenade on the shielded enemy, then confirm the corridor is clear before moving.
Confirmation
You enter the first-floor route with no damage taken.
Target
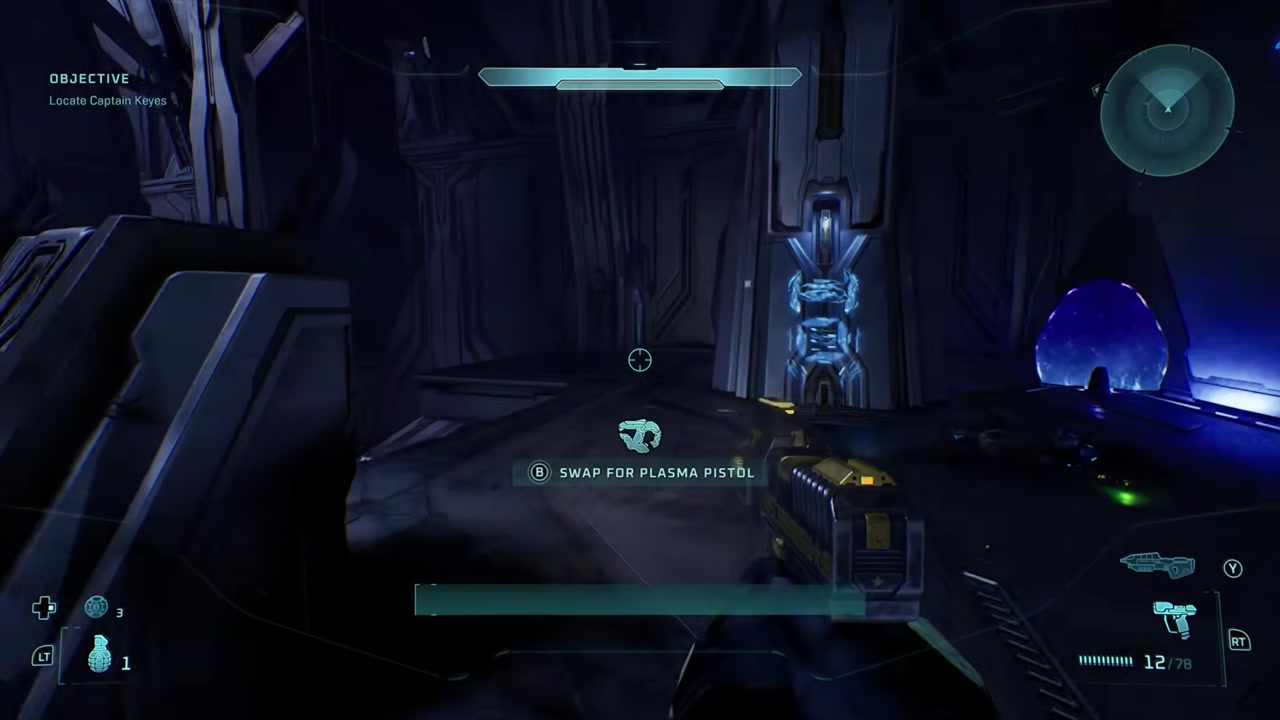
Skip the paranoid-Marine room
- Checkpoint
- First-floor interior
- Landmark
- A Shade turret below the light-bridge ledge.
Do this
- 1Follow the mission marker until the Shade turret is below the ledge.
- 2Jump onto the turret and then onto the nearby ledge.
- 3Activate the light bridge and continue, skipping the room with the paranoid Marine.
Confirmation
The light bridge is active and the skipped room remains behind you.
Target
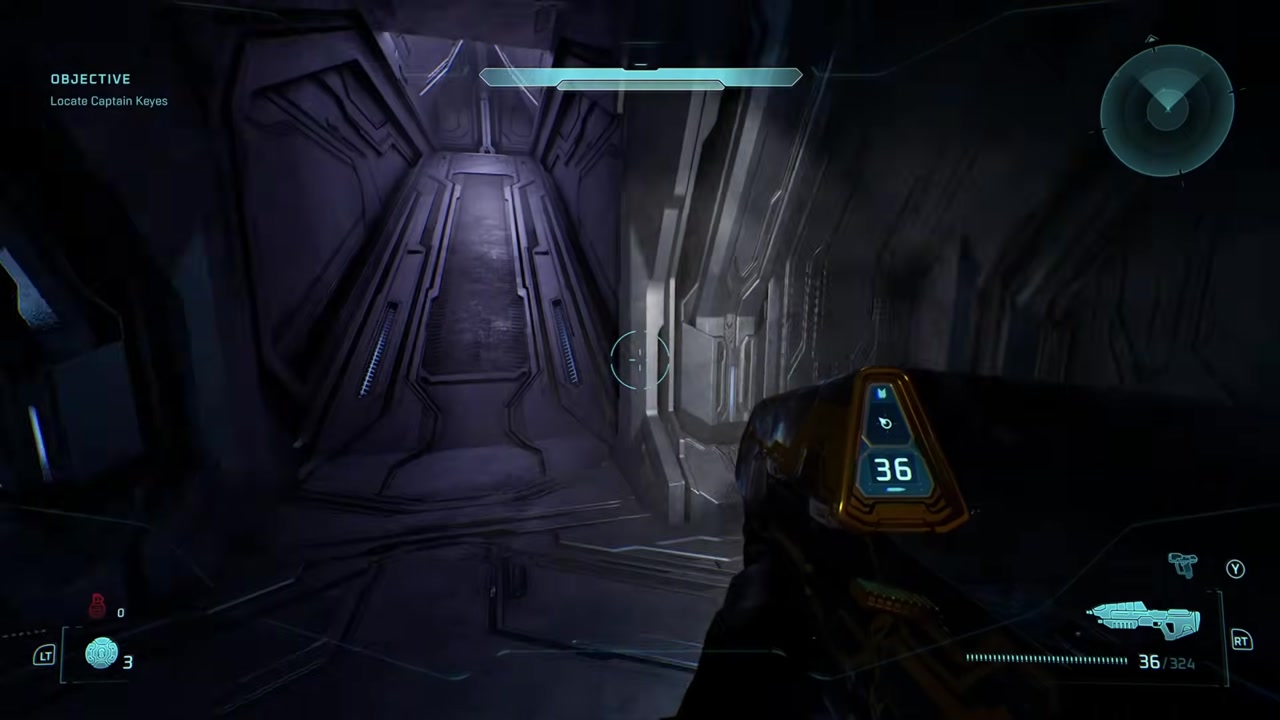
Clear the hardest room
- Checkpoint
- Large Flood-spore room
- Landmark
- The descending ramp into the room with many infection forms.
Do this
- 1Equip the Assault Rifle and SMG before entering so both weapons have large magazines.
- 2Use a grenade on the first dense cluster and stay near the room’s center.
- 3Walk backward while sweeping infection forms, using radar to maintain orientation.
- 4Alternate weapons instead of reloading while spores are in melee range, then reload both before leaving.
Confirmation
The room is completely clear and both weapons are reloaded.
Target
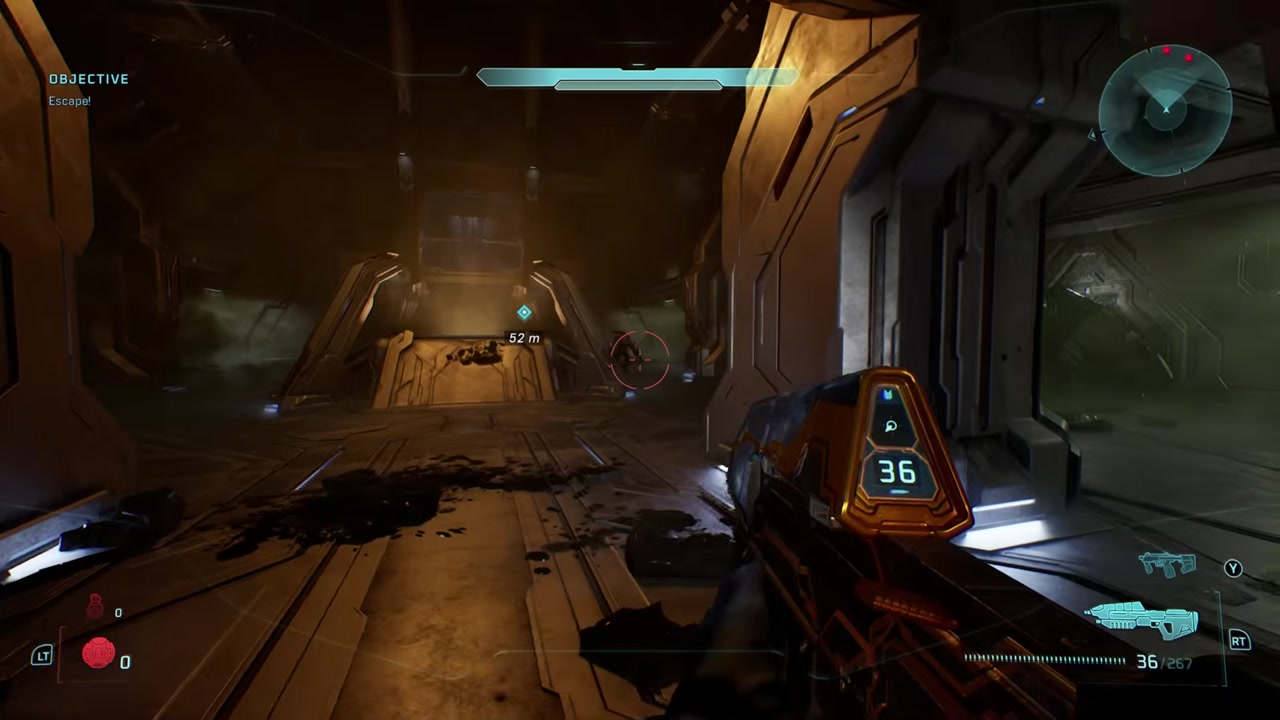
Preserve the no-hit attempt
- Checkpoint
- Any registered checkpoint
- Landmark
- Immediate pause menu after damage.
Do this
- 1If any projectile or melee connects, pause immediately.
- 2Choose Reload Last Checkpoint before the game creates a newer save state.
- 3Repeat the section and verify shields remain untouched.
Confirmation
The restored checkpoint resumes before the hit occurred.
Target
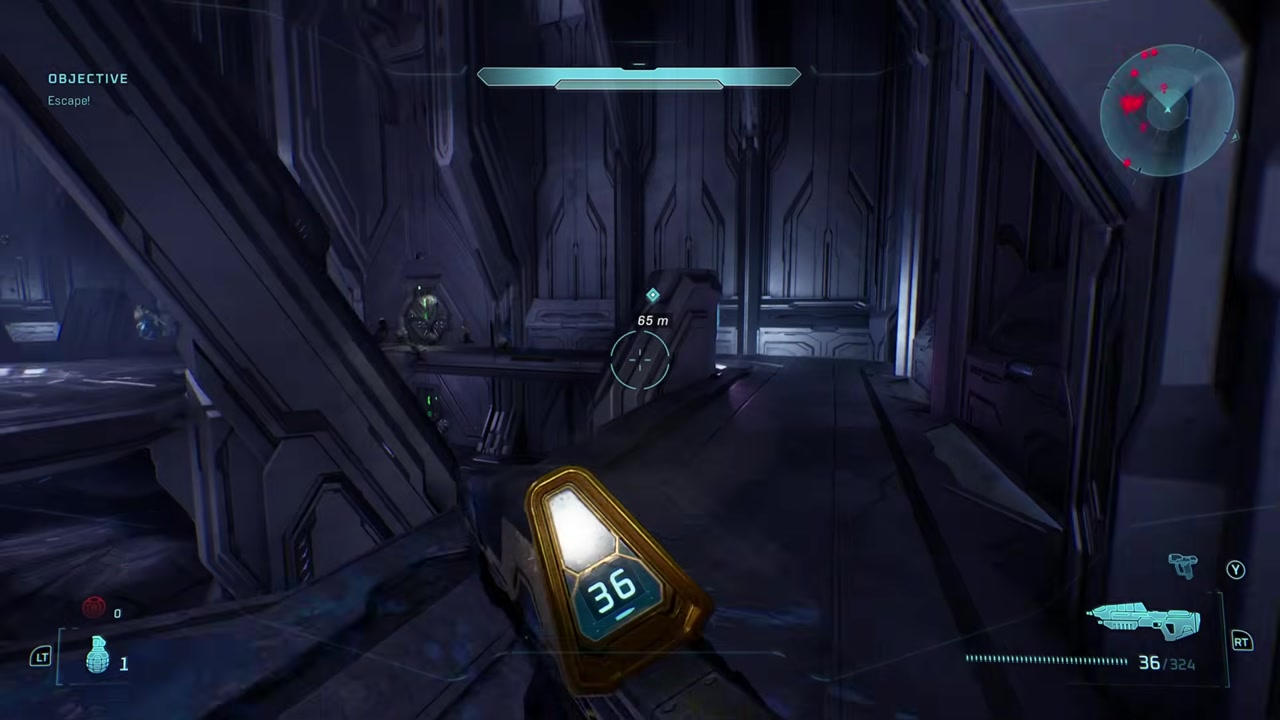
Reach the unlock point
- Checkpoint
- After the Flood-spore room
- Landmark
- The objective lift and final corridor.
Do this
- 1Swap the SMG back to the Magnum before leaving the cleared room.
- 2Sprint past melee-only infection forms that cannot close the gap.
- 3Activate the lift, eliminate the two Flood at the next door, and prevent spores from reviving them.
- 4Cross toward the objective while ignoring radar contacts that remain on the floor below.
Confirmation
Arm’s Length unlocks as you reach the final lift area.