
Guide briefing
Map Quest and Frugal Fire: One Silent Cartographer Run
Equip Famine, Recession, and Johnny Ammo Seed, then complete The Silent Cartographer on Easy without shooting, grenades, melee, death, or restart. Use a Warthog, overshields, objective skips, and a reversed escape route.
Before you start
- — Unlock Famine, Recession, and Johnny Ammo Seed.
- — Use a controller layout whose fire, grenade, melee, and vehicle-brake bindings you understand.
Target
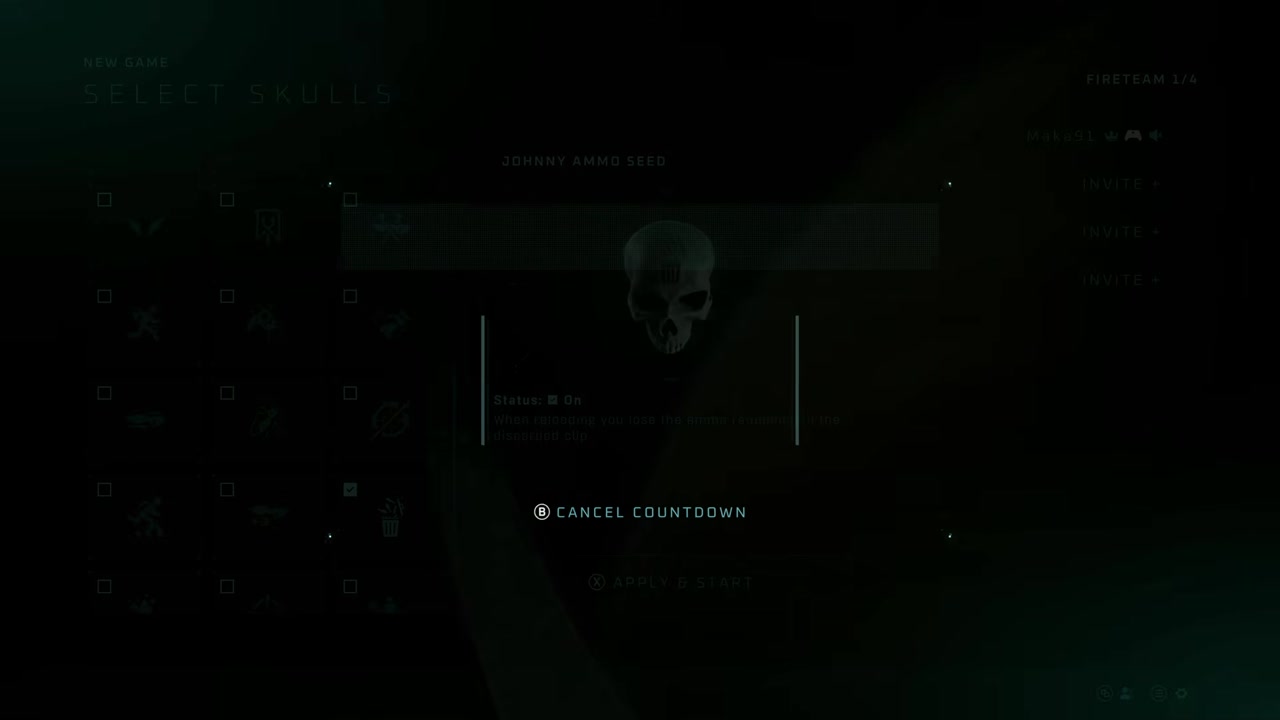
Configure both achievement conditions
- Checkpoint
- Mission selection
- Landmark
- Famine, Recession, and Johnny Ammo Seed enabled.
Do this
- 1Select The Silent Cartographer on Easy.
- 2Enable Famine, Recession, and Johnny Ammo Seed.
- 3Start from the beginning and commit to no fire, grenade, or melee input for the full run.
Confirmation
The beach landing begins with all three Skulls active.
Target
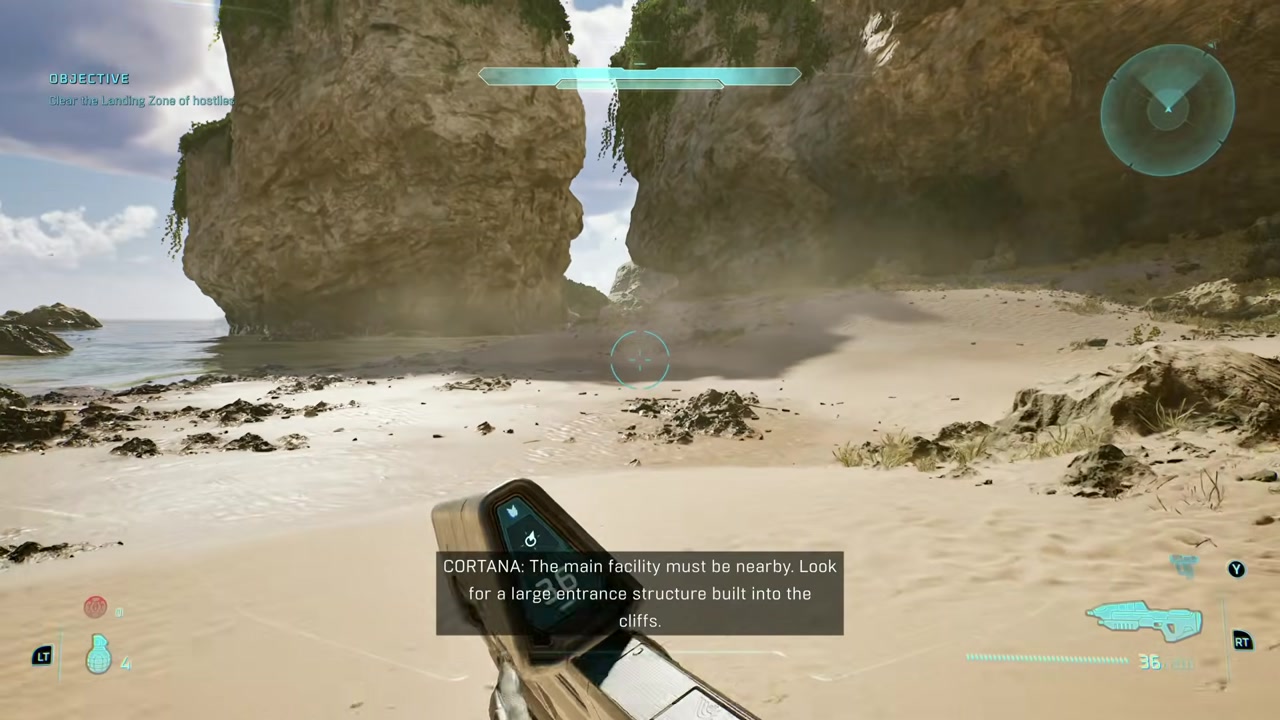
Identify forbidden buttons
- Checkpoint
- Opening beach
- Landmark
- Your controller or keyboard binding screen.
Do this
- 1Identify every binding for fire, grenade, and melee.
- 2Check whether any of those same buttons control the Warthog; the cited layout maps grenade and vehicle brake to the same trigger.
- 3Avoid the physical buttons entirely, including while driving.
Confirmation
You can name the three forbidden inputs and any overlapping vehicle controls.
Target
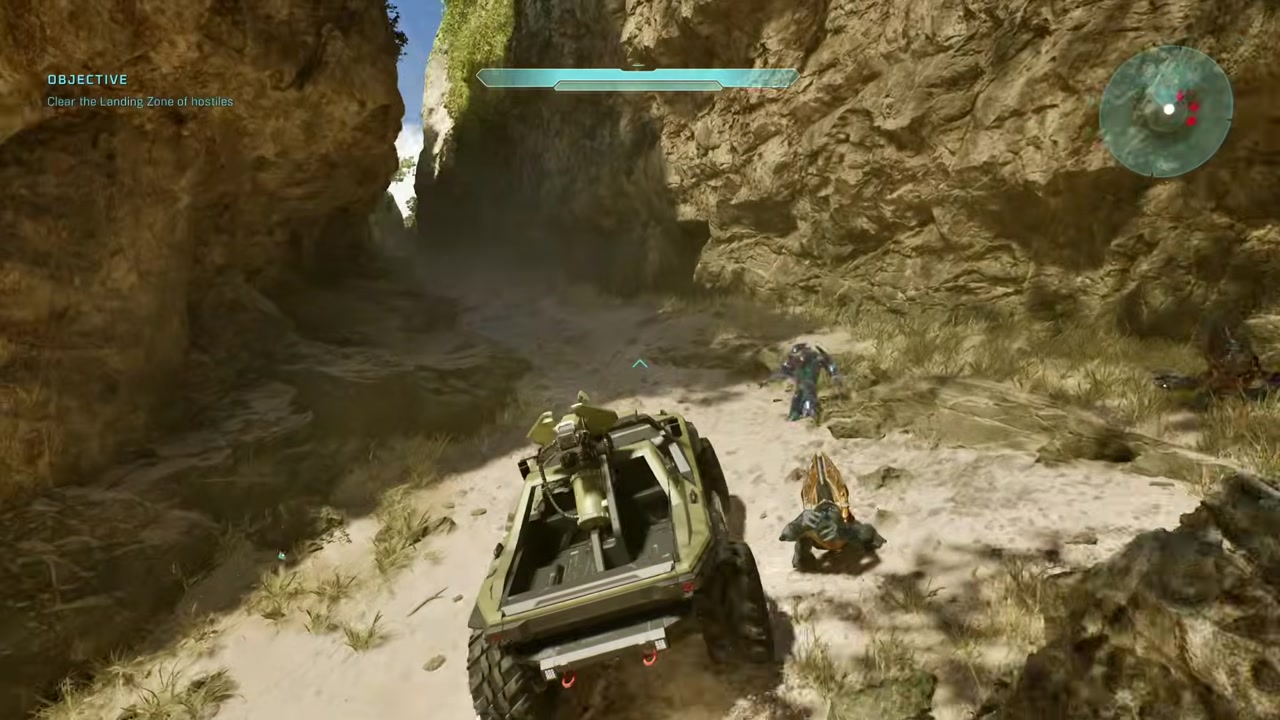
Skip the normal beach fight
- Checkpoint
- Dropship landing
- Landmark
- The Warthog behind the landing direction.
Do this
- 1Jump out of the dropship and immediately turn away from the normal objective.
- 2Run to the nearby Warthog and take the driver seat.
- 3Drive past the Hunters and continue around the corner toward the shield-control facility.
Confirmation
You bypass the first map checkpoint and arrive at the shield objective.
Target
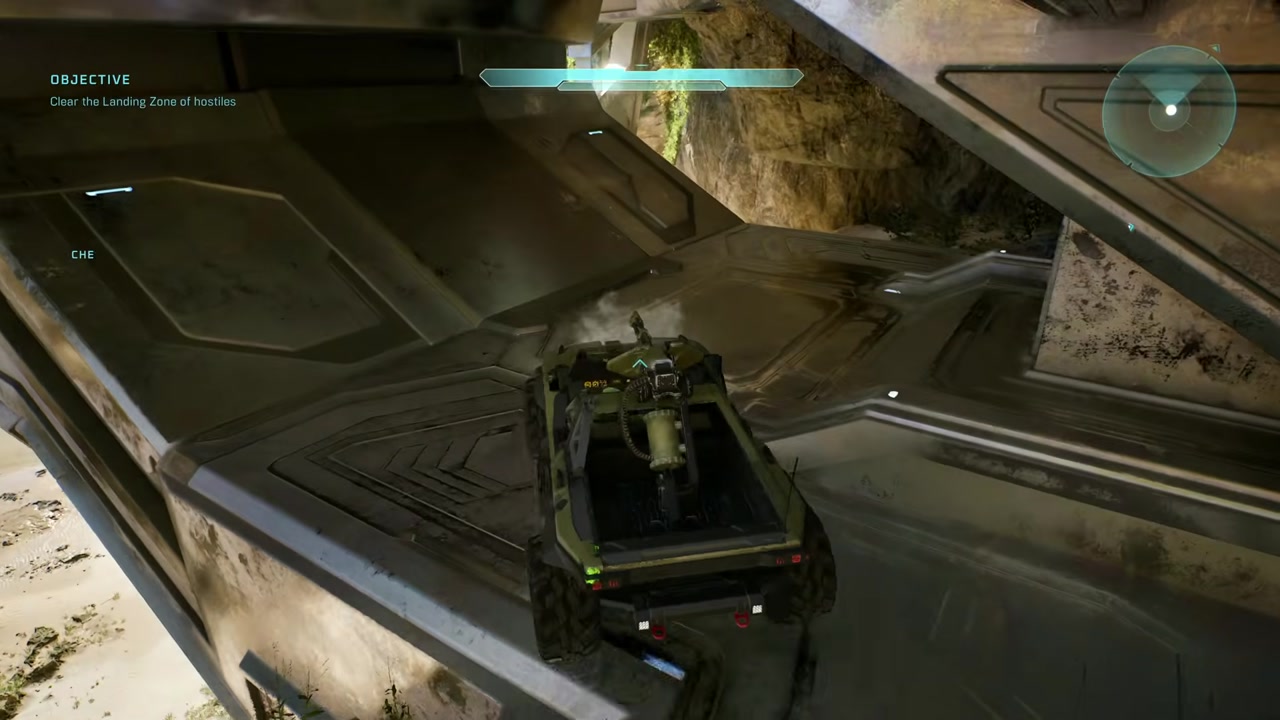
Disable facility shields without attacking
- Checkpoint
- Shield-control entrance
- Landmark
- An overshield above the stairs and two Hunters below.
Do this
- 1Park outside and collect the overshield near the entrance.
- 2Activate it while descending if the Hunters begin landing hits.
- 3Dodge between the Hunters without attacking and interact with the shield console.
- 4Skip the cutscene and retrace the route to the entrance.
Confirmation
The shield objective is complete and the route back outside is open.
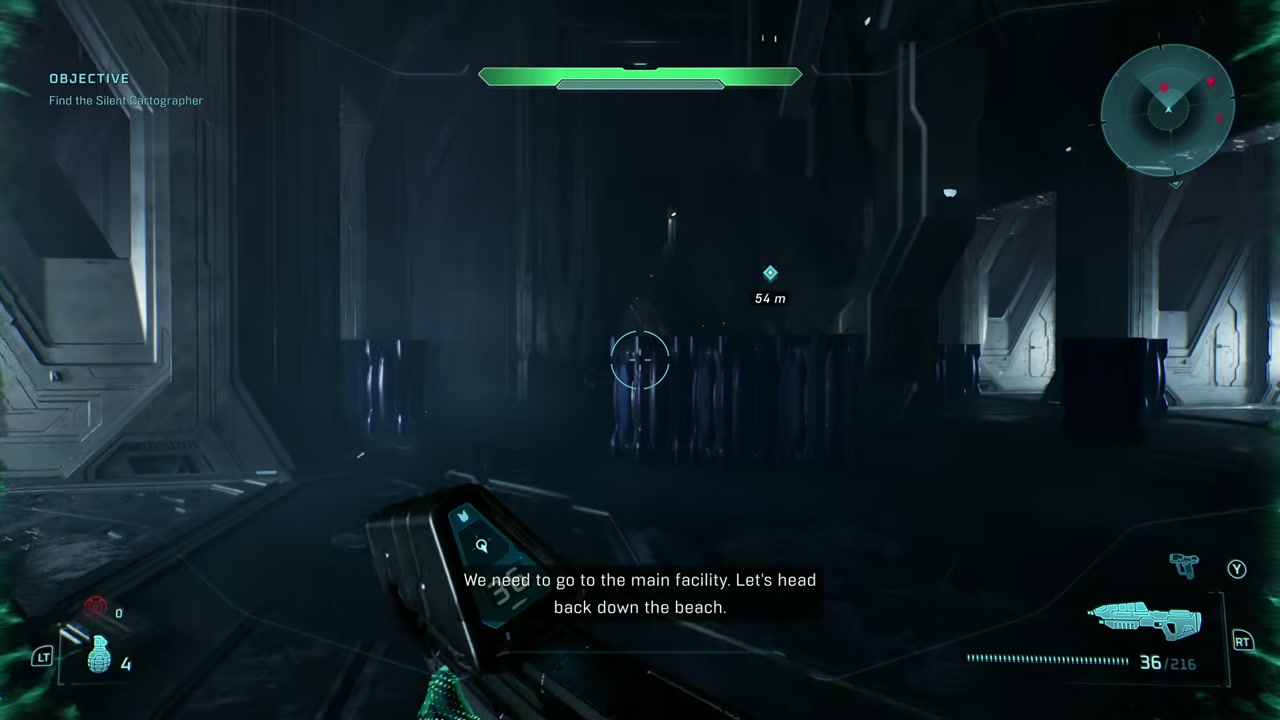
Target
Prepare the interior run
- Checkpoint
- Leaving shield control
- Landmark
- The overshield on the upward ramp.
Do this
- 1Collect the second overshield and keep it in reserve.
- 2Return to the Warthog without using fire, grenade, melee, or any overlapping brake input.
- 3Drive off the cliff, turn right, and follow the beach clockwise to the Cartographer structure.
Confirmation
You reach the next structure with an unused overshield available.
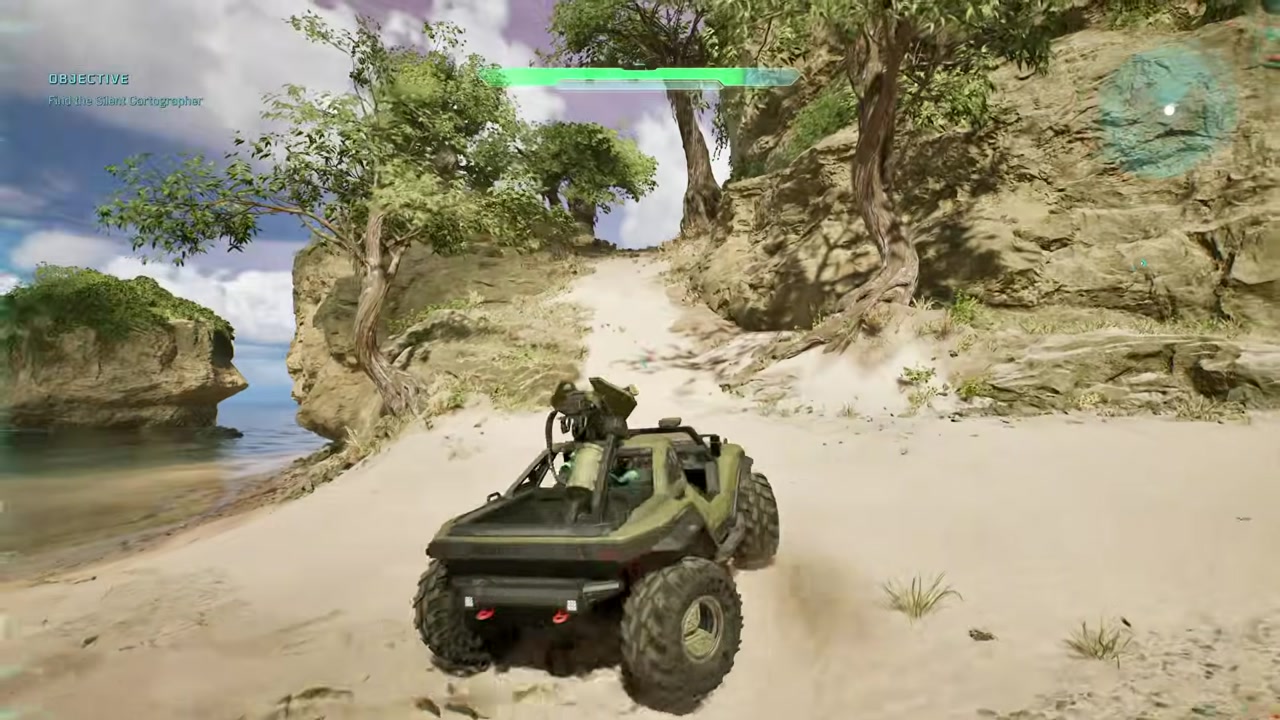
Target
Reach the Cartographer console
- Checkpoint
- Cartographer structure entrance
- Landmark
- The far interior parking point and blue floor arrows.
Do this
- 1Drive inside to the far end, turn the Warthog around, and park it facing the exit.
- 2Leave the vehicle and follow the blue arrows downward.
- 3Ignore enemies, use the center drop to skip part of the stairs, and continue to the bottom console.
- 4Interact with the console and skip the cutscene.
Confirmation
The Cartographer objective completes and the escape marker appears.
Target
Escape the interior
- Checkpoint
- Immediately after the Cartographer cutscene
- Landmark
- Blue floor arrows now pointing opposite your travel direction.
Do this
- 1Follow the arrows in reverse until the first room, take its ramp, and turn right.
- 2Cross the next room diagonally to the far ramp.
- 3Continue along the balconies and dodge the two Hunters near the upper route.
- 4Take the far-right doorway back toward the entrance.
Confirmation
You reach the upper doorway leading to the staged Warthog.
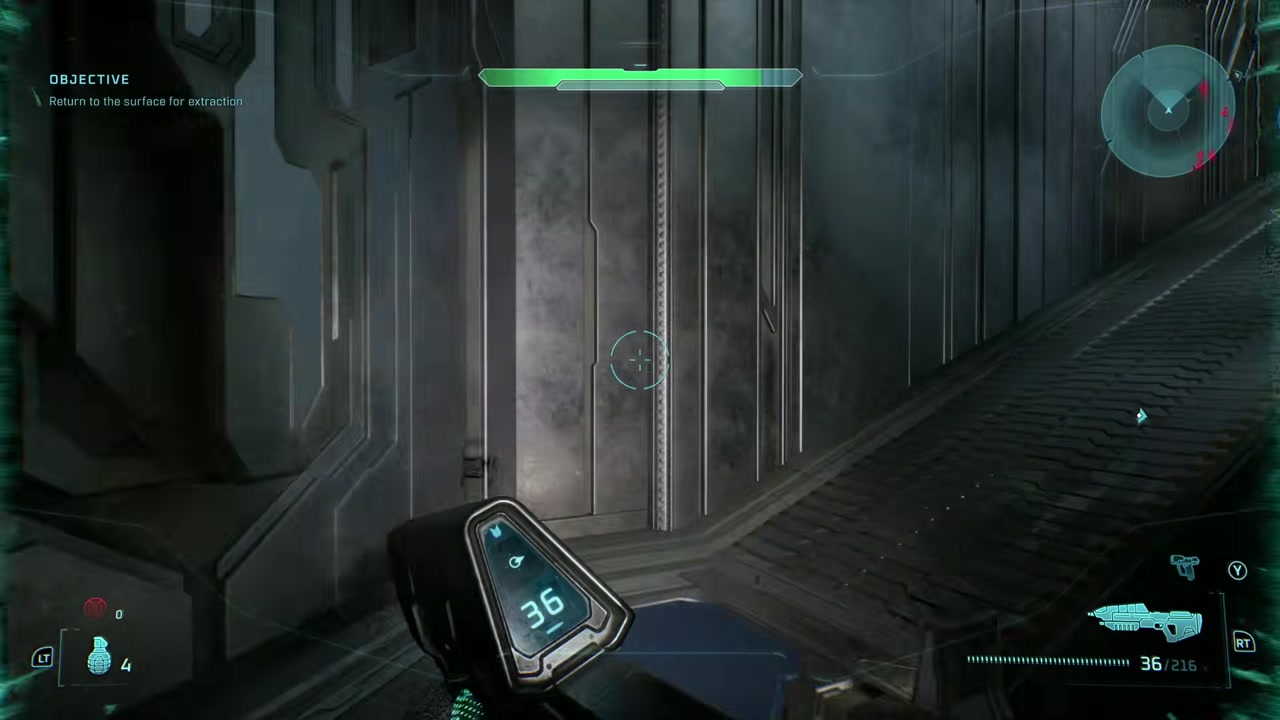
Target
Finish without invalidating either achievement
- Checkpoint
- Final interior and beach escape
- Landmark
- The sword Elite near the exit and the Warthog at the top of the stairs.
Do this
- 1Activate the reserved overshield before passing the sword Elite.
- 2Sprint past him, enter the staged Warthog, and drive straight out to the beach.
- 3Pass the Covenant dropship, collect the final overshield if needed, and wait for the Pelican.
- 4Drive into the Pelican without pressing fire, grenade, melee, or overlapping vehicle controls.
Confirmation
Map Quest and Frugal Fire unlock at mission completion.