
Guide briefing
Unlock Third Person with the Perspective Skull
Collect the Perspective Skull on The Pillar of Autumn, enable it before a campaign or bonus mission, and account for the over-the-shoulder camera before entering combat.
Before you start
- — Start The Pillar of Autumn and reach Captain Keyes on the bridge.
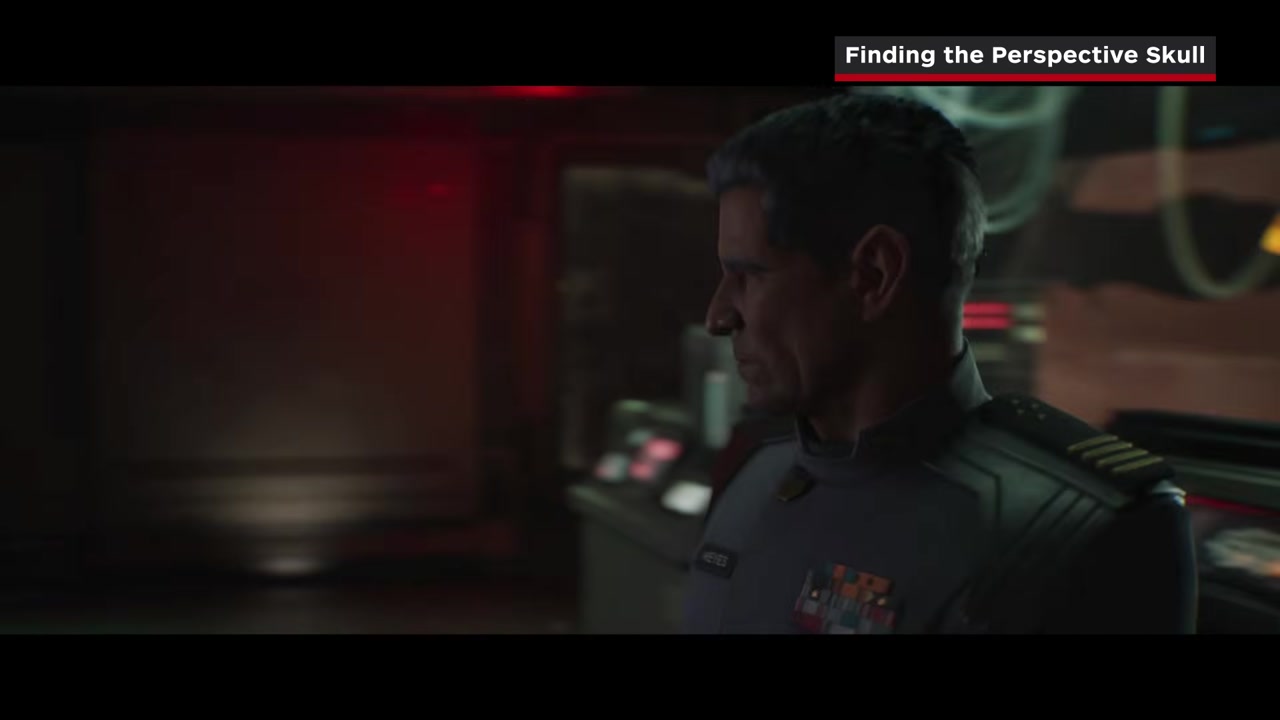
Target
Return to the bridge
- Checkpoint
- Immediately after Captain Keyes gives you Cortana
- Landmark
- Captain Keyes and the two forward pilot stations.
Do this
- 1After the cutscene, turn around instead of following the normal exit route.
- 2Walk back past Captain Keyes toward the two pilots at the front of the bridge.
Confirmation
You are standing directly behind the pilot stations.
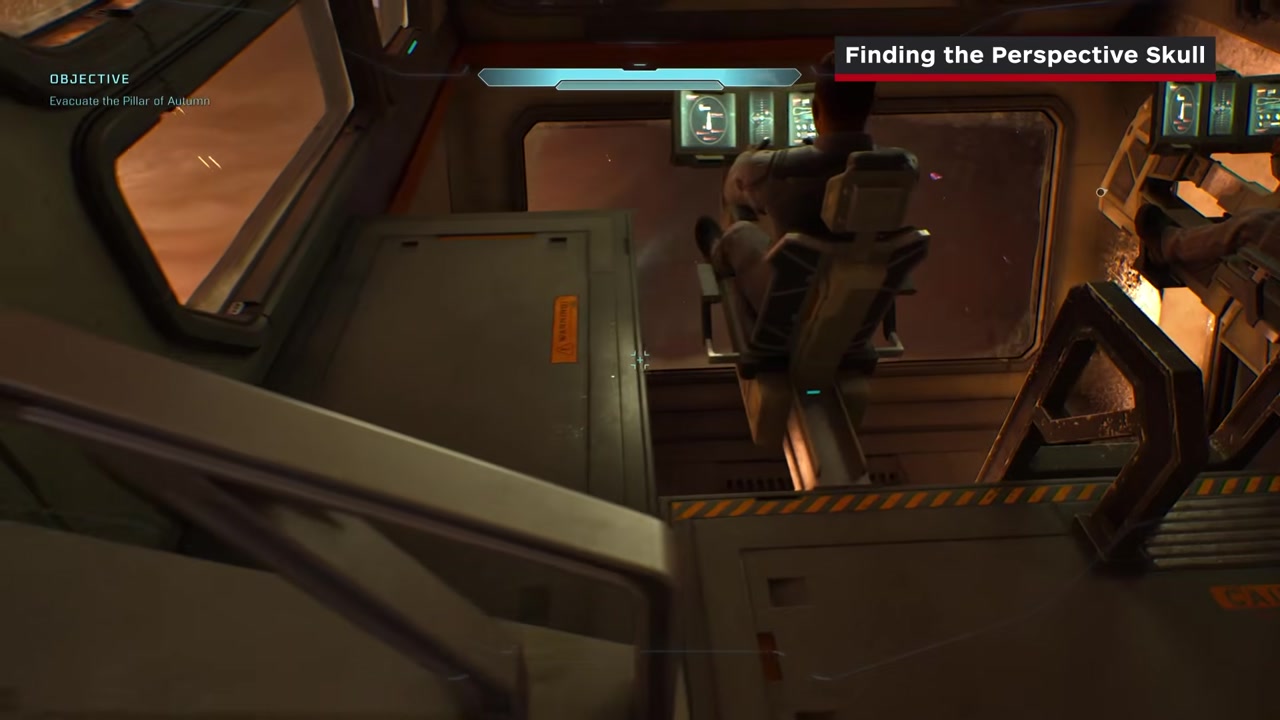
Target
Collect the Perspective Skull
- Checkpoint
- Front of the bridge
- Landmark
- The recessed pit below the pilots, beside its ladder.
Do this
- 1Drop into the recessed cockpit area beneath the pilot stations.
- 2Move to the ladder and collect the Perspective Skull beside it.
Confirmation
The Perspective collectible notification appears.
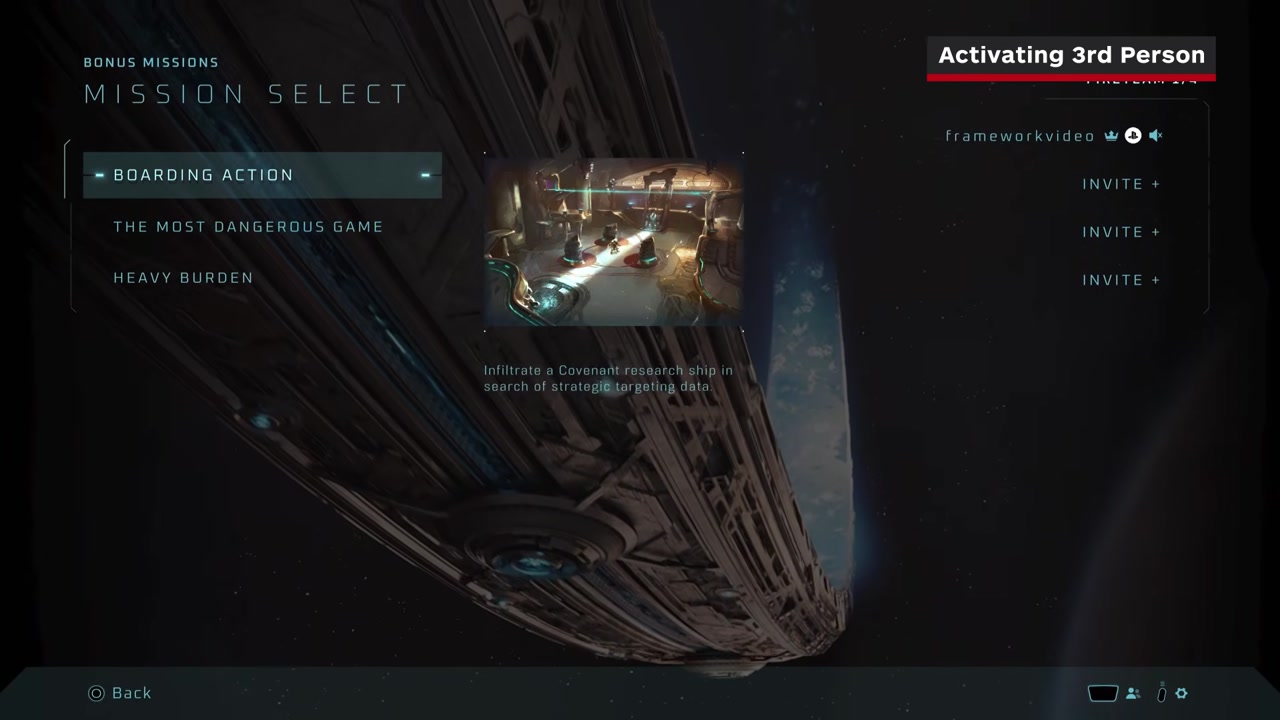
Target
Enable Perspective
- Checkpoint
- Mission setup screen
- Landmark
- The Skull selection panel shown before the level launches.
Do this
- 1Choose the main campaign or Bonus Missions from the menu.
- 2Select the mission you want to play.
- 3Open the Skull list, enable Perspective, and start the level.
Confirmation
Gameplay begins with the camera behind Master Chief.
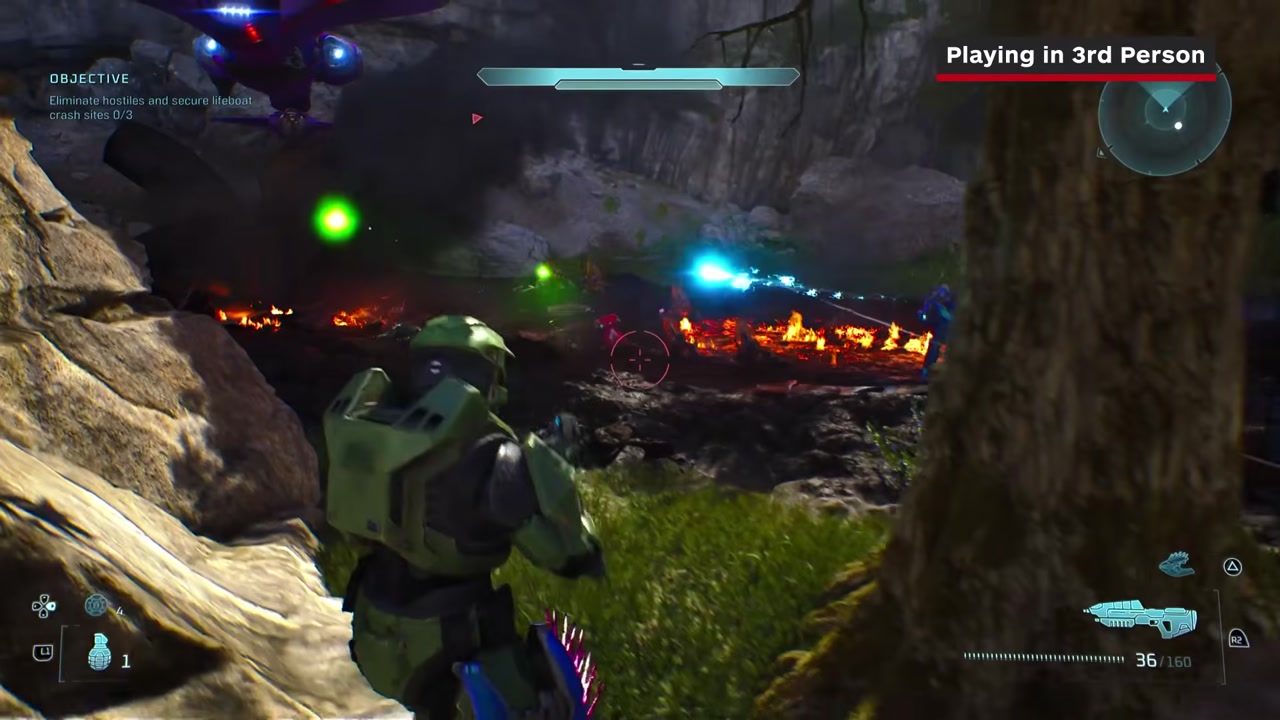
Target
Verify camera and aiming behavior
- Checkpoint
- First controllable combat space
- Landmark
- Master Chief’s armored body visible in the foreground.
Do this
- 1Move and jump once in a safe area to learn how the wider character model affects visibility.
- 2Aim down sights and note that the camera moves closer over Chief’s shoulder.
- 3Keep targets on the side not blocked by Chief’s armor and use wider peeks around cover.
Confirmation
Movement, hip fire, and aim-down-sights all remain in third person.