
Guide briefing
20 Things to Know Before Starting Halo: Campaign Evolved
A practical field manual that turns twenty short tips into ten decisions you can apply during a mission: what to carry, how to steal vehicles, when to spend equipment, how to finish shielded targets, and how to divide work in co-op.
Before you start
- — Any campaign mission; no collectibles or special mode required.
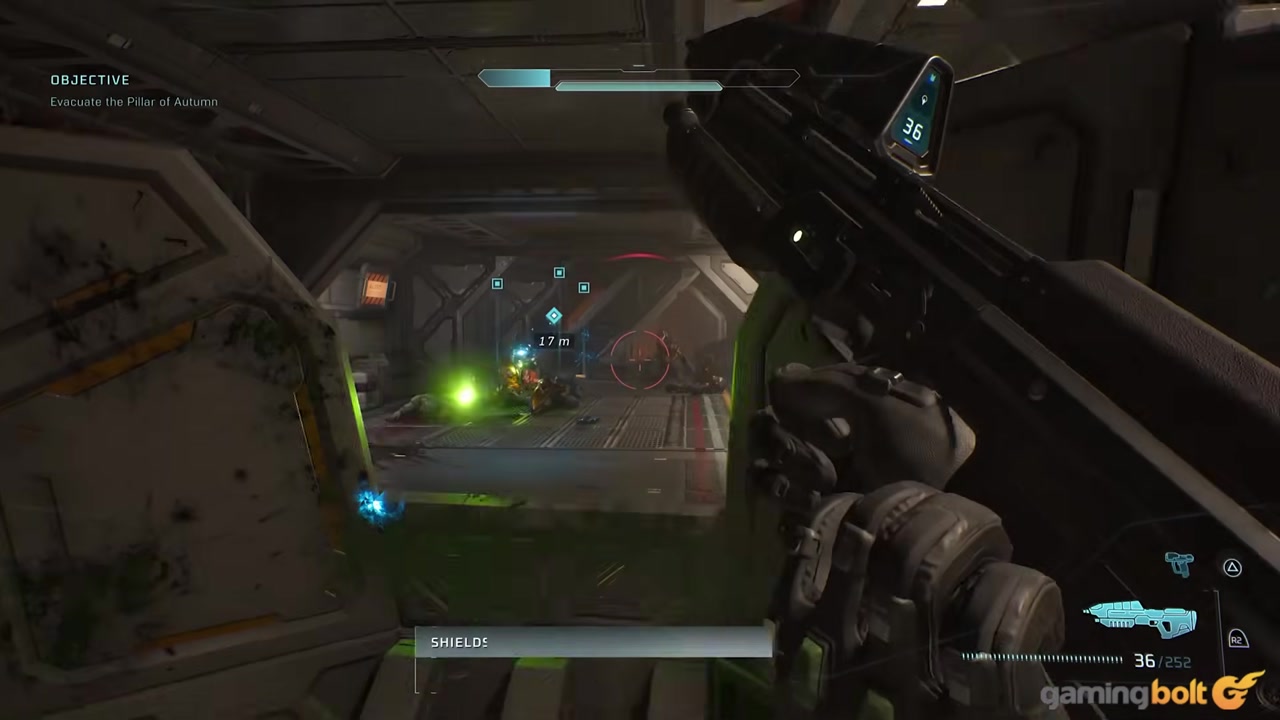
Prepare before one-way transitions
Doorways, elevators, drops, and major objective changes can close the route behind you. Entering the next encounter with an empty weapon is avoidable if you treat every obvious transition as a resupply checkpoint.
How it works
- Before activating an elevator, console, or loading door, scan the room for ammunition and fresh weapons.
- Replace a nearly empty weapon rather than carrying it into an area you may not be able to leave.
- Keep one shield-breaking option and one precise finishing weapon whenever the floor gives you a choice.
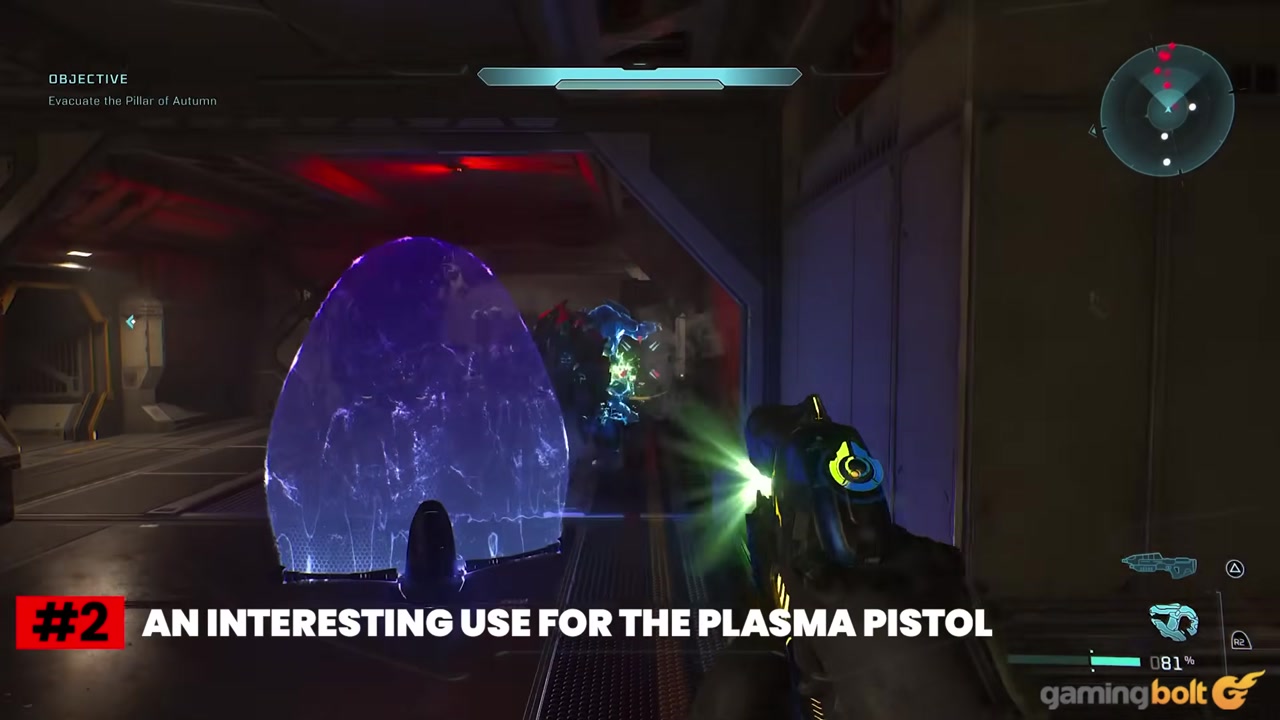
Disable a vehicle before boarding it
A fully charged Plasma Pistol shot temporarily disables Ghosts, Wraiths, and other vehicles. The stopped vehicle creates a safe boarding window that is far more reliable than trying to catch a moving target.
How it works
- Hold the Plasma Pistol trigger until the shot is fully charged, then lead the vehicle and release.
- Sprint toward the disabled vehicle as soon as the EMP lands; do not wait for it to recover.
- Use the board or hijack prompt to remove the driver and turn the vehicle against the Covenant.
Source boundary: A missed charged shot consumes charge and leaves you exposed, so fire from cover and close the distance only after the EMP connects.
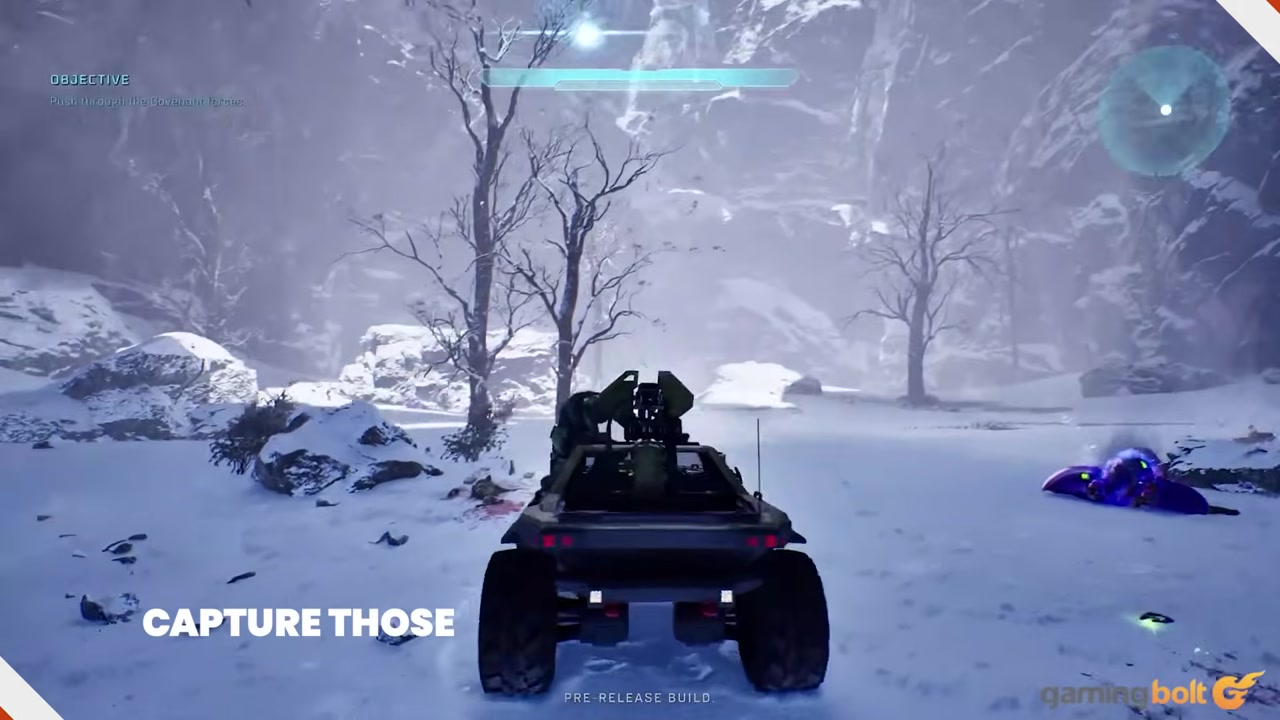
Turn Wraiths into assets and prevent counter-boarding
A hostile Wraith is both a threat and a source of heavy armor. Once captured, it remains vulnerable to infantry boarding, so the same space-control habits used during the hijack must continue after you take the seat.
How it works
- EMP the Wraith, board it, and immediately move away from nearby infantry.
- Keep momentum while fighting in a captured vehicle instead of stopping inside a crowd.
- Prioritize enemies running directly toward the hull; they are the most likely boarding threat.
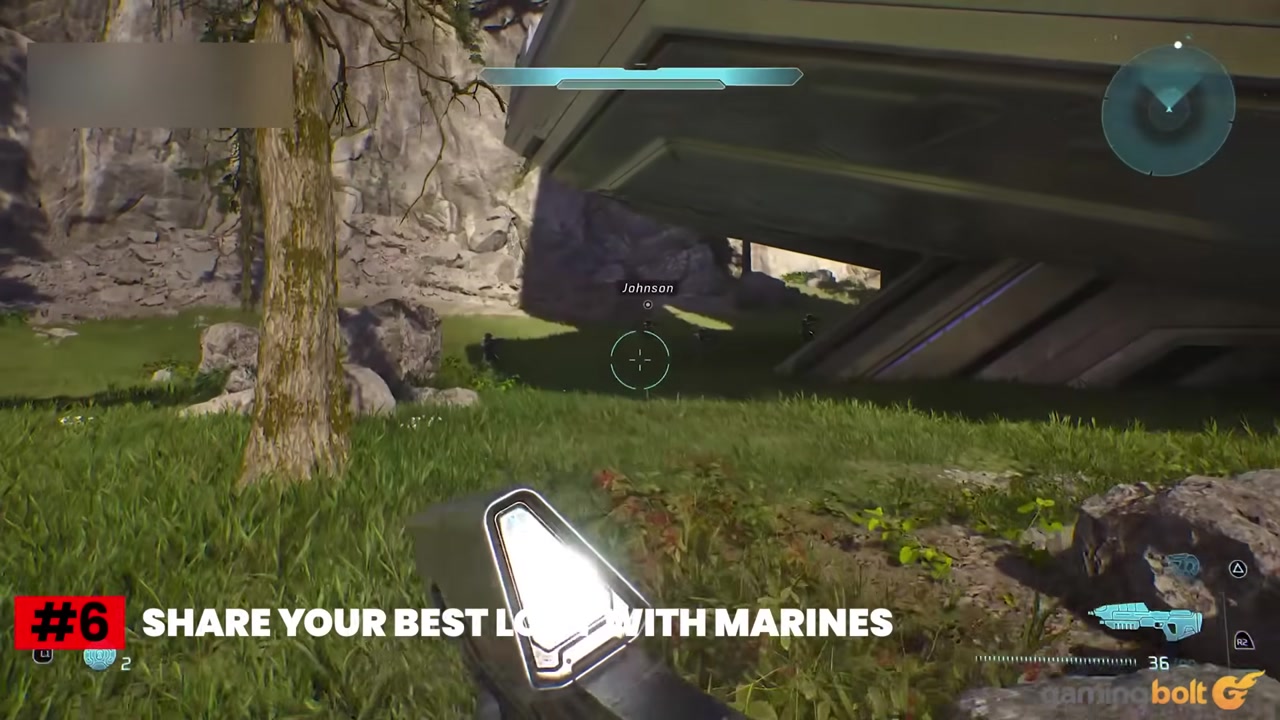
Give Marines power weapons before they mount up
Marines keep exchanged weapons when they board a Scorpion or other transport. A Marine with a rocket launcher or precision weapon turns the vehicle into a mobile squad, but only while that Marine survives.
How it works
- Before boarding the Scorpion, trade strong spare weapons to the Marines who will ride with you.
- Wait for the armed Marines to take their seats before driving away.
- Use measured movement and the tank’s armor to keep the passengers alive instead of charging into boarding range.
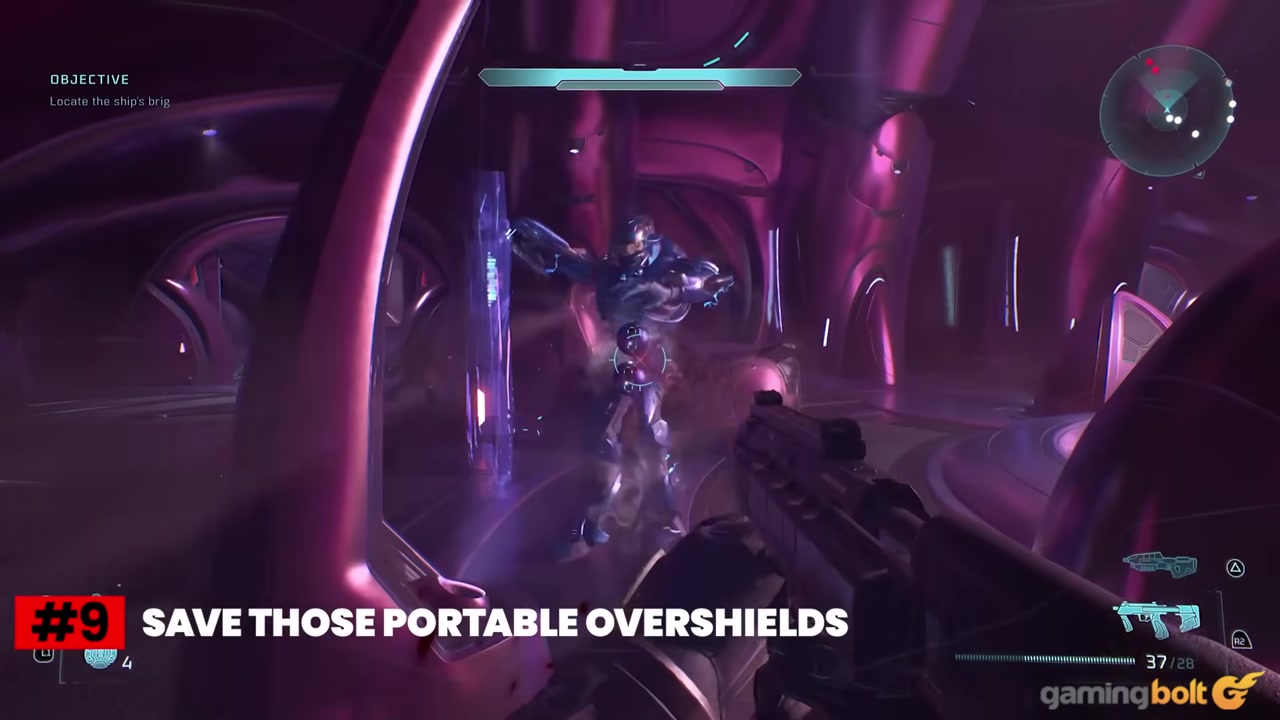
Carry equipment until it solves a specific problem
Overshields and Active Camouflage can be saved instead of activating immediately. Their value comes from choosing the encounter: an overshield absorbs a dangerous push, while camouflage creates time to reposition or remove a priority target.
How it works
- Pick up the equipment and keep it unused while the current room is under control.
- Use an overshield just before crossing exposed ground or entering concentrated fire.
- Use Active Camouflage before a flank, retreat, or attack on a dangerous target rather than during routine cleanup.
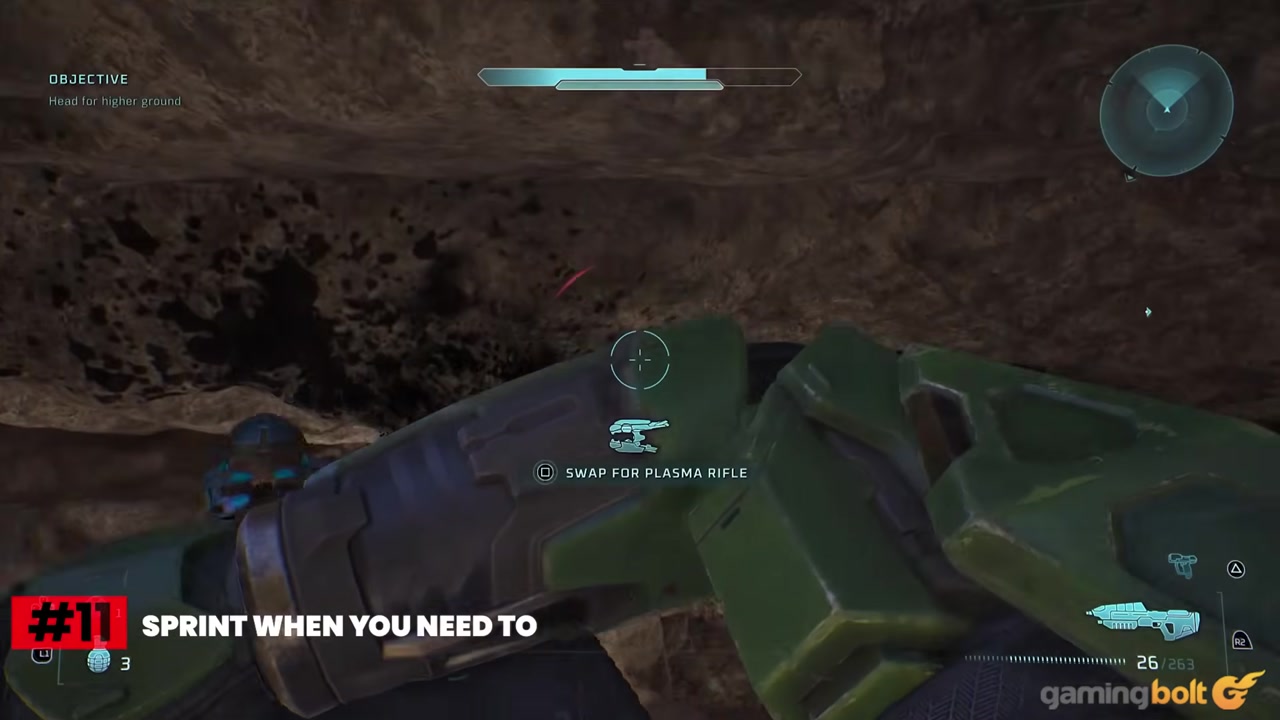
Sprint to known cover, not into unknown rooms
Sprint is excellent for crossing a firing lane or breaking contact, but it removes the time you need to read a new room. The safe pattern is to identify the destination first and sprint only across the exposed gap.
How it works
- From cover, identify the next wall, doorway edge, or solid object that can stop incoming fire.
- Sprint across the open space and release sprint before entering an unfamiliar interior.
- Pause at the new cover to locate Elites, Jackals, and alternate routes before pushing again.
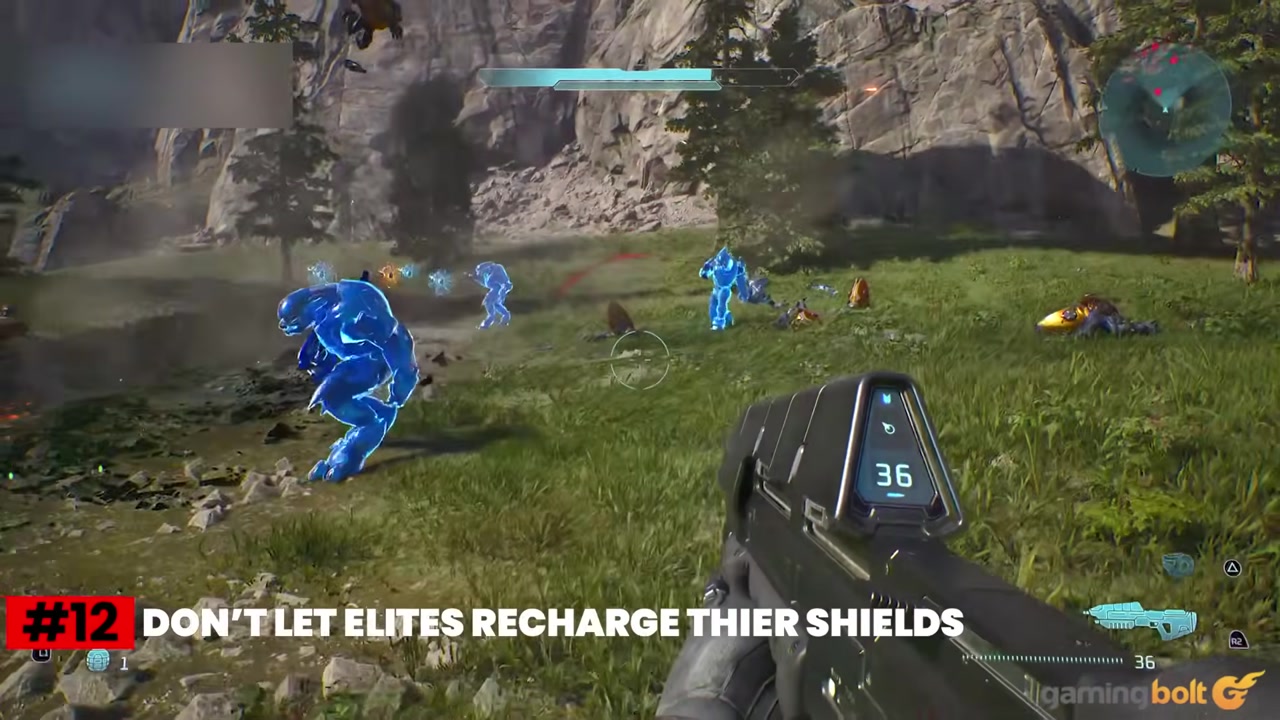
Finish broken Elites while rotating between cover points
Elites retreat to restore shields and may flank while Grunts and Jackals pin you down. Letting a shield-broken Elite escape resets your work, while staying behind one object makes your position predictable.
How it works
- Once an Elite’s shield breaks, maintain accurate pressure until it is eliminated.
- Before the fight starts, identify at least two cover positions connected by a short safe route.
- Rotate when the Elite starts flanking or when supporting fire fixes your current position.
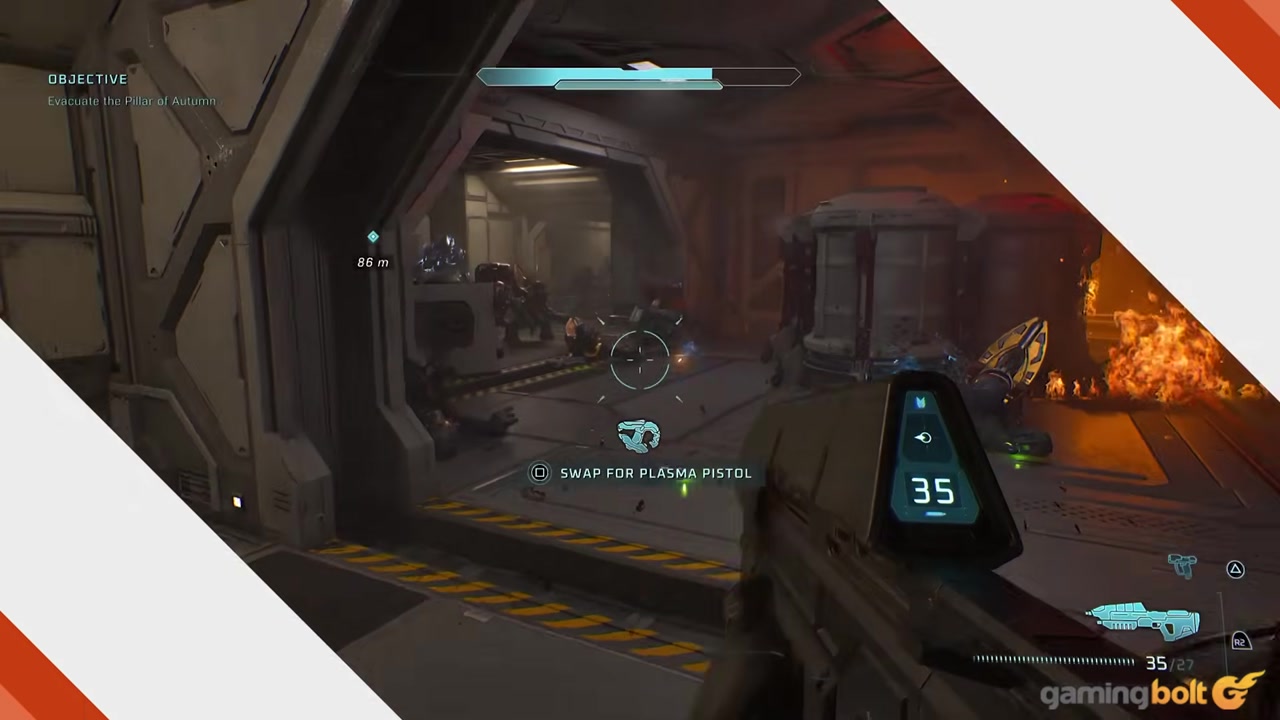
Pair a shield breaker with the Magnum
The Magnum is a precise finisher rather than a last-resort sidearm. It becomes most efficient when another weapon has already removed shields or exposed a weak target.
How it works
- Use plasma or sustained fire to remove an Elite’s shield.
- Swap immediately to the Magnum and place a deliberate headshot instead of continuing to spray.
- Replace depleted Covenant weapons from fresh enemy drops so the shield-breaking half of the pair remains available.
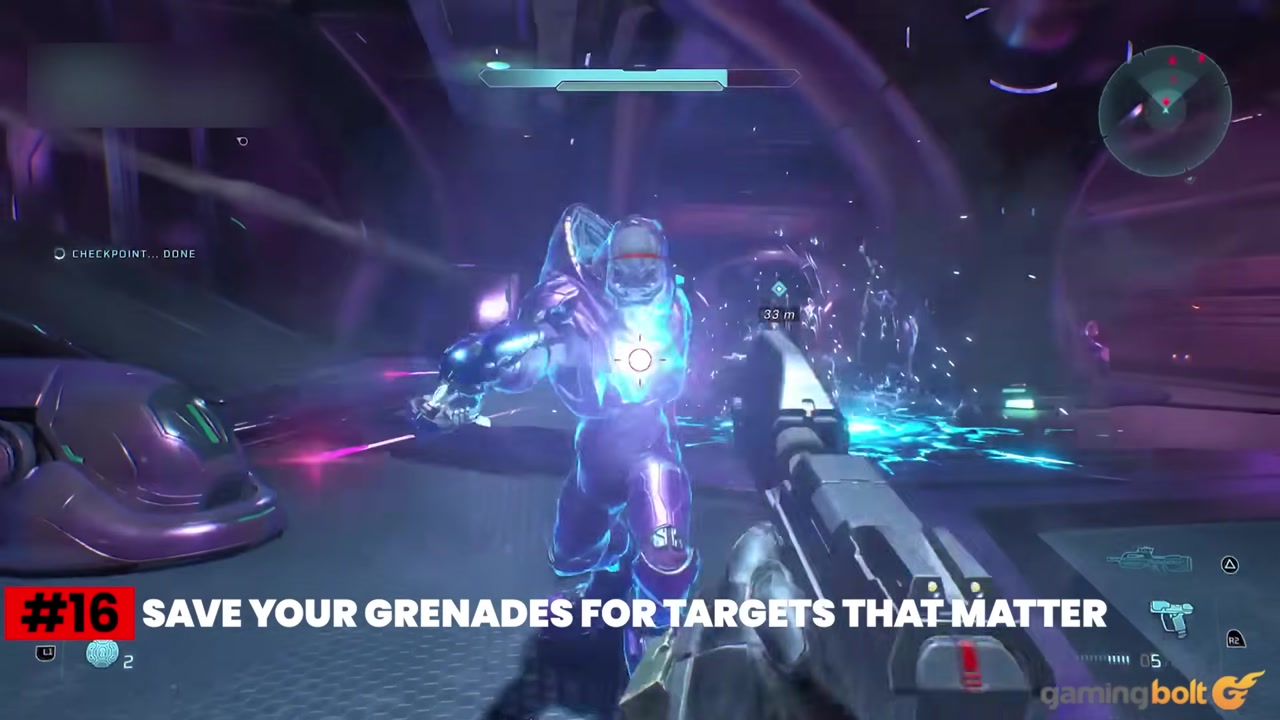
Spend scarce explosives on groups and hard positions
Grenades create the most value against clustered enemies, fortified positions, and bosses—not isolated Grunts. The same rule applies to heavy vehicles: choose the Scorpion for direct armor and cannon fire, or the Wraith for long-range bombardment.
How it works
- Use gunfire for lone weak enemies and retain grenades for a group you cannot safely separate.
- Place grenades behind cover or inside a cluster so the area damage affects multiple targets.
- In a Scorpion, engage vehicles and fortifications directly; in a Wraith, maintain distance and arc plasma onto groups.
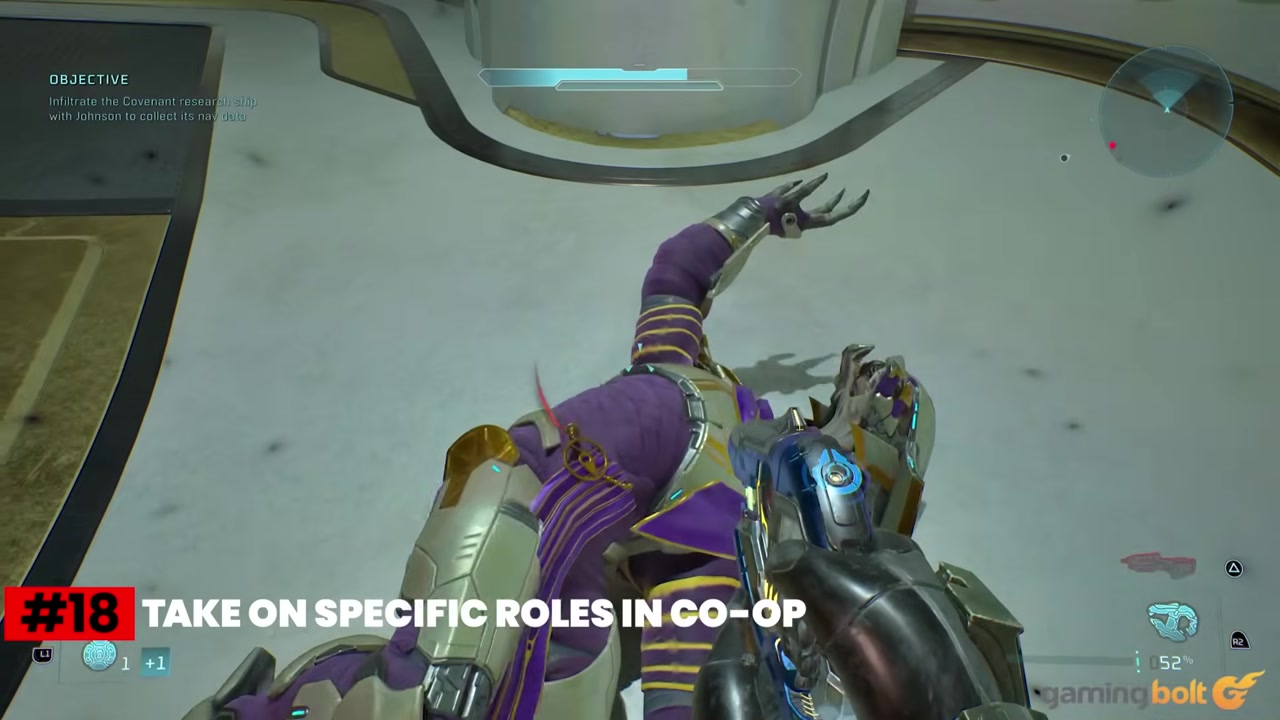
Divide co-op roles and use personal assists deliberately
Co-op scales enemy pressure and behavior with the party. A team performs better when shield removal, precision fire, explosives, and close-range control are assigned instead of every player competing for the same weapons.
How it works
- Assign one player to strip shields, one to precision finishes, one to explosives, and one to close-range control.
- Give each player the weapons and equipment that match the agreed role.
- Use personal modifiers such as damage resistance or shield recharge when a less experienced player needs help, then disable them before challenge achievements that prohibit assists.
Source boundary: Some challenge achievements do not count while personal modifiers are active.