
Quick answer
Reach the bottom of the facility to see the Flood cut scene, then follow Guilty Spark into the monitor chamber.
Guide briefing
Halo Campaign Evolved: 343 Guilty Spark Legendary Walkthrough
Reach the bottom of the facility to see the Flood cut scene, then follow Guilty Spark into the monitor chamber.
Applies to
- — Halo Campaign Evolved on Legendary difficulty
- — Mission 6: 343 Guilty Spark
- — Players seeking a streamlined path through the mission
Target
Reach the bottom of the facility to see the Flood cut scene
- Checkpoint
- Start of mission
- Landmark
- Drop ship landing zone
Do this
- 1Take cover after landing and listen to the captain's transmission about locating Captain Keys.
- 2Move forward toward the facility entrance while avoiding enemy engagement.
Confirmation
Reach the bottom of the facility to see the Flood cut scene is available as described. Most of the mission can be run without fighting; only a few enemies appear early on.
Target
Investigate the locked door and assess the situation
- Checkpoint
- After landing at LZ
- Landmark
- Locked facility entrance
Do this
- 1Wait for the captain and his squad at the designated location.
- 2Attempt to open the door; if it resists, prepare for potential combat.
Confirmation
Investigate the locked door and assess the situation is available as described. The door is heavily secured; no immediate breach is possible without assistance.
Target
Examine the dead Covenant patrol and identify anomalies
- Checkpoint
- At the locked door
- Landmark
- Covenant patrol site
Do this
- 1Approach the area where the Covenant patrol was found.
- 2Inspect the bodies for signs of unusual activity such as plasma scoring.
Confirmation
Examine the dead Covenant patrol and identify anomalies is available as described. All Covenant units are KIA; their internal systems appear damaged.
Target
Respond to the emergency call and locate the source of the distress
- Checkpoint
- After examining the patrol
- Landmark
- Combat zone near the facility
Do this
- 1Follow Sarge’s order to return to second squad’s position.
- 2Listen for the source of the screaming and locate the threat.
Confirmation
Respond to the emergency call and locate the source of the distress is available as described. The environment becomes hostile quickly; stay alert and move strategically.
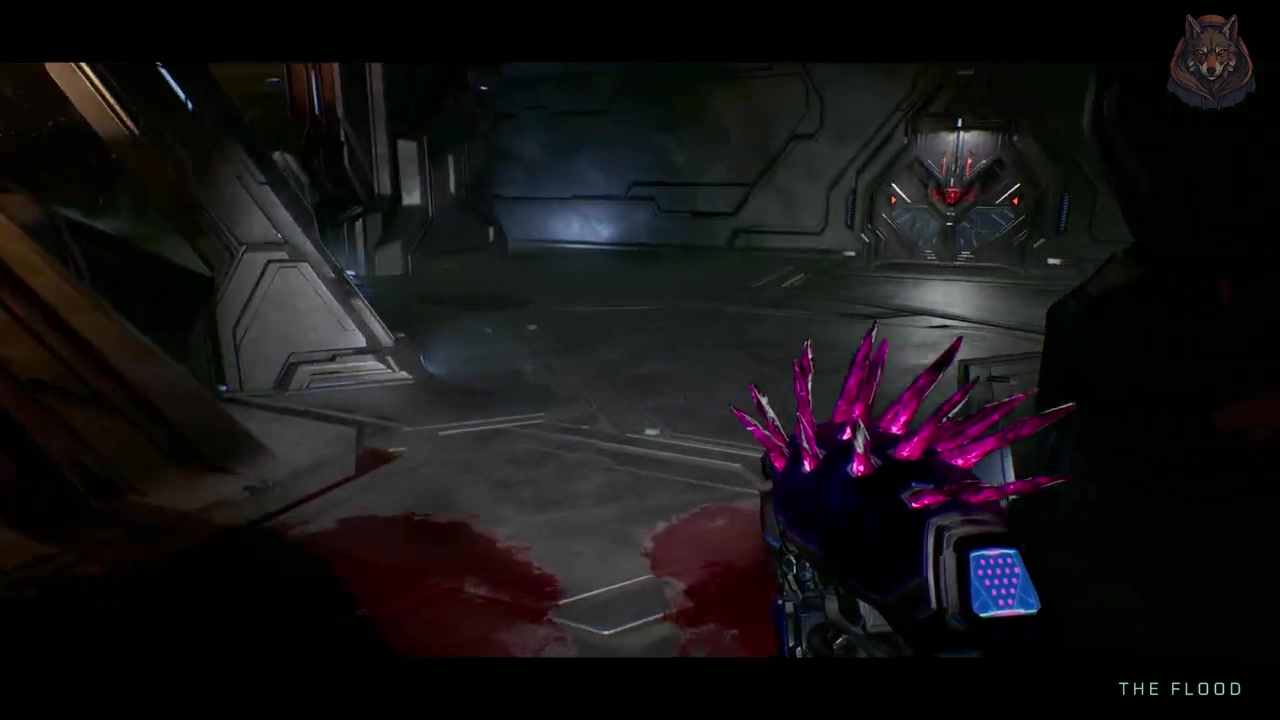
Target
Navigate through the Flood-infested room
- Checkpoint
- Inside the facility
- Landmark
- Flood room
Do this
- 1Walk backwards while shooting enemies.
- 2Continue moving toward the next section while maintaining distance from enemies.
Confirmation
Navigate through the Flood-infested room is available as described. Enemies are manageable; focus on mobility and positioning.
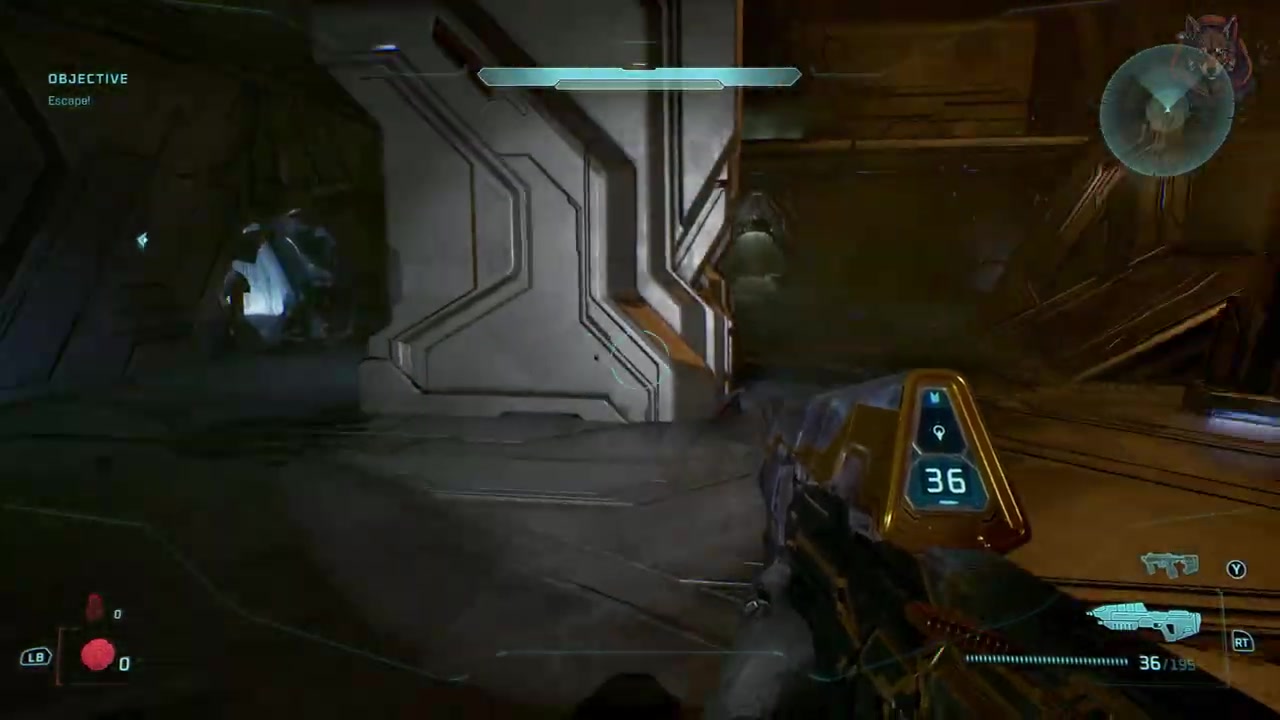
Target
Clear the path to the end of the mission
- Checkpoint
- Near the final barrier
- Landmark
- Room with impassable barrier
Do this
- 1Shoot enemies in the next couple of rooms.
- 2Stay at a distance and eliminate threats before advancing.
Confirmation
Clear the path to the end of the mission is available as described. Enemies are predictable; use environmental features for advantage.
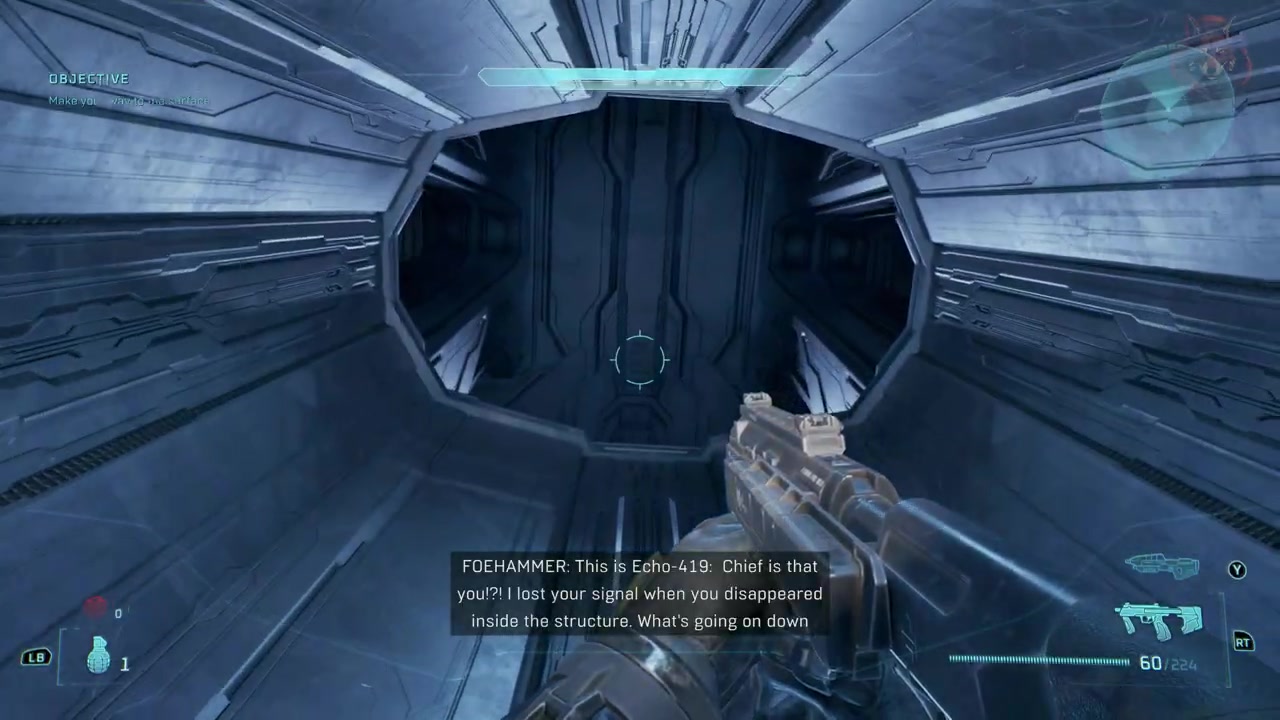
Target
Complete the mission by reaching the Flood cut scene
- Checkpoint
- Final approach to cut scene
- Landmark
- End of facility corridor
Do this
- 1Run all the way to the end of the mission after clearing the path.
- 2Watch the Flood cut scene upon arrival.
Confirmation
Complete the mission by reaching the Flood cut scene is available as described. The cut scene is triggered automatically upon reaching the end.
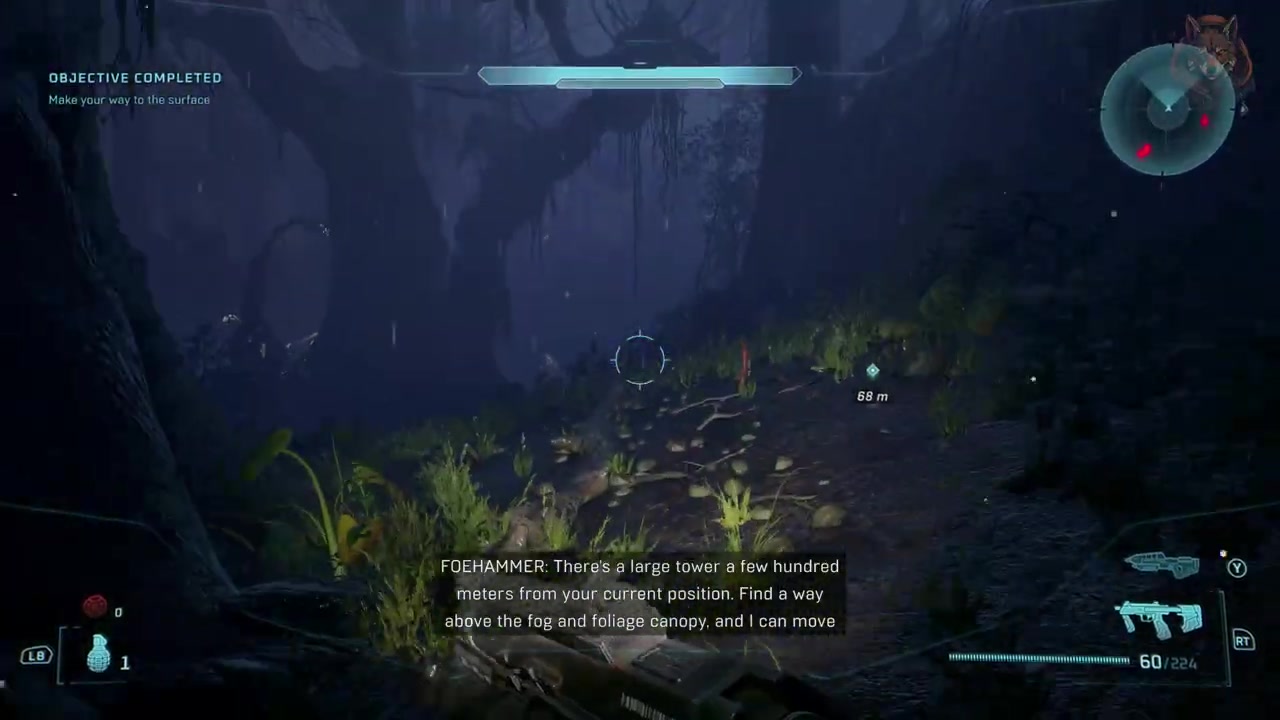
Target
Receive coordinates for extraction and plan escape route
- Checkpoint
- After contacting Chief
- Landmark
- RB point
Do this
- 1Listen to Chief’s message and confirm your location.
- 2Head toward the large tower to gain elevation for extraction.
Confirmation
Receive coordinates for extraction and plan escape route is available as described. The fog and foliage canopy must be cleared to allow aerial pickup.
Target
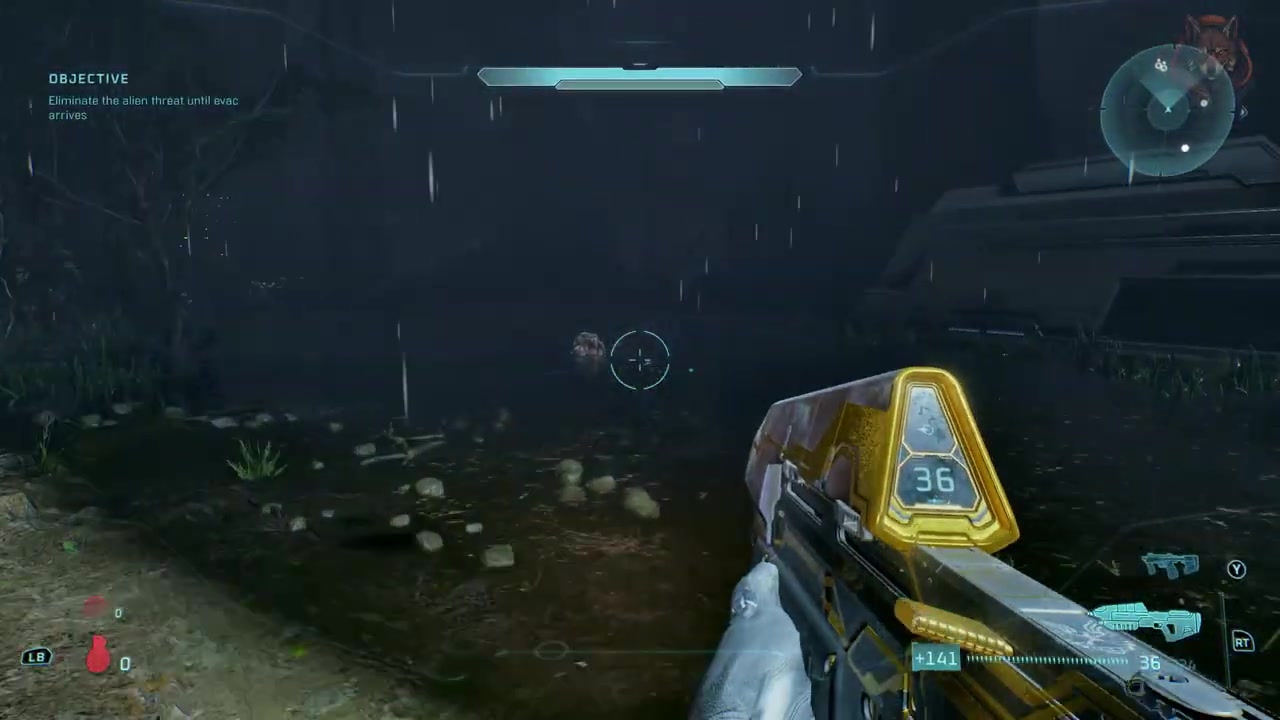
Defend the zone and manage enemy waves
- Checkpoint
- At the defensive zone
- Landmark
- Corner 70m from defense point
Do this
- 1Go around the corner 70m away from the zone you have to defend.
- 2Drip-feed enemies to make them easier to handle.
Confirmation
Defend the zone and manage enemy waves is available as described. Positioning is key—stay elevated and use long-range weapons.
Target
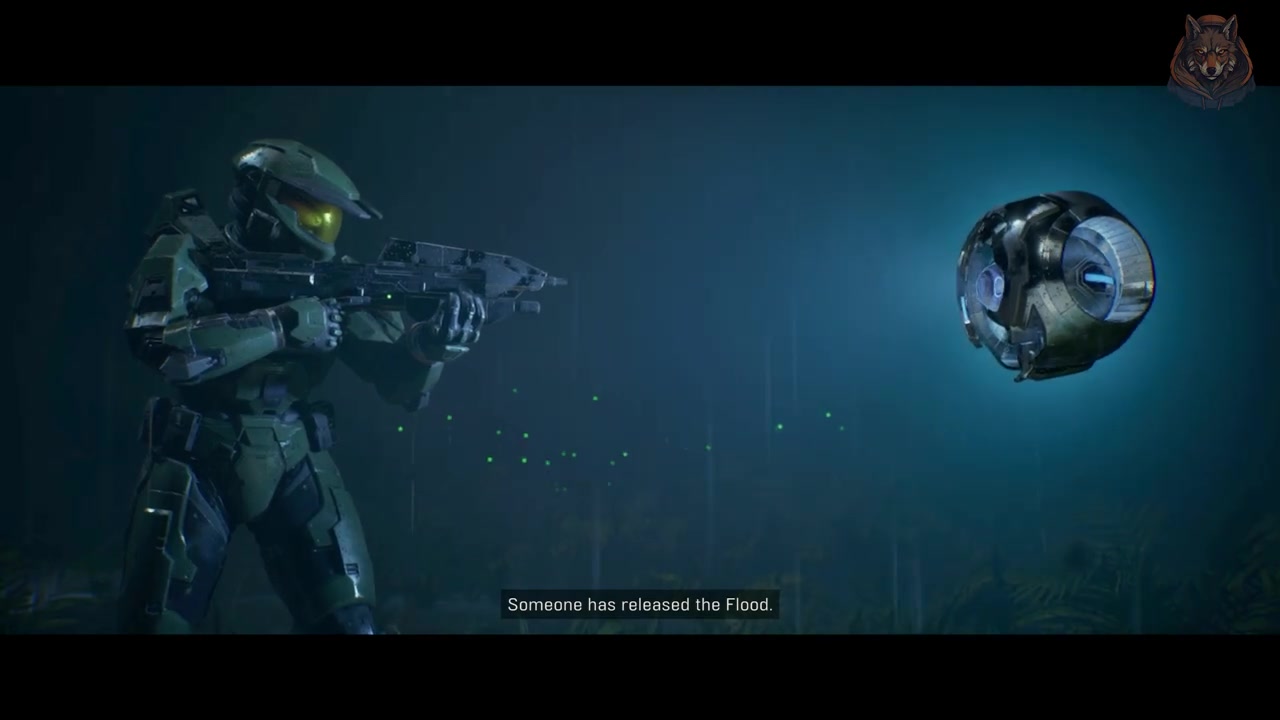
Interact with 343 Guilty Spark and begin the next phase
- Checkpoint
- After the cut scene
- Landmark
- Installation 04 monitor chamber
Do this
- 1Follow Guilty Spark’s instruction to come this way.
- 2Prepare for the next objective as he explains the dog release.
Confirmation
Interact with 343 Guilty Spark and begin the next phase is available as described. Guilty Spark initiates the next sequence; no combat is required here.