
Quick answer
Complete mission two 'Halo' in Halo Campaign Evolved on Legendary by prioritizing speed across the bridge, defending soldiers with long-range weapons, surviving aerial assaults, coordinating evac via radio, rescuing survivors at lifeboat zones, navigating a subterranean passage to gather intel, activating the light bridge while preserving the warthog, defending dropships using turrets, locating Captain Keyes, and reaching the final area safely.
Guide briefing
Halo Campaign Evolved: Complete 10-Target Campaign Walkthrough for Halo Legendary
Complete mission two 'Halo' in Halo Campaign Evolved on Legendary by prioritizing speed across the bridge, defending soldiers with long-range weapons, surviving aerial assaults, coordinating evac via radio, rescuing survivors at lifeboat zones, navigating a subterranean passage to gather intel, activating the light bridge while preserving the warthog, defending dropships using turrets, locating Captain Keyes, and reaching the final area safely.
Applies to
- — Halo Campaign Evolved
- — Legendary difficulty
- — Mission two: Halo
- — First-time players seeking structured guidance

Target
Complete mission two in Halo Legendary
- Checkpoint
- Start of mission
- Landmark
- Bridge area
Do this
- 1Run across the bridge and kill the enemies here.
- 2Be quick as you will get shot by the banshees.
Confirmation
Complete mission two in Halo Legendary is available as described. This is the initial combat phase; prioritize speed and cover.
Target
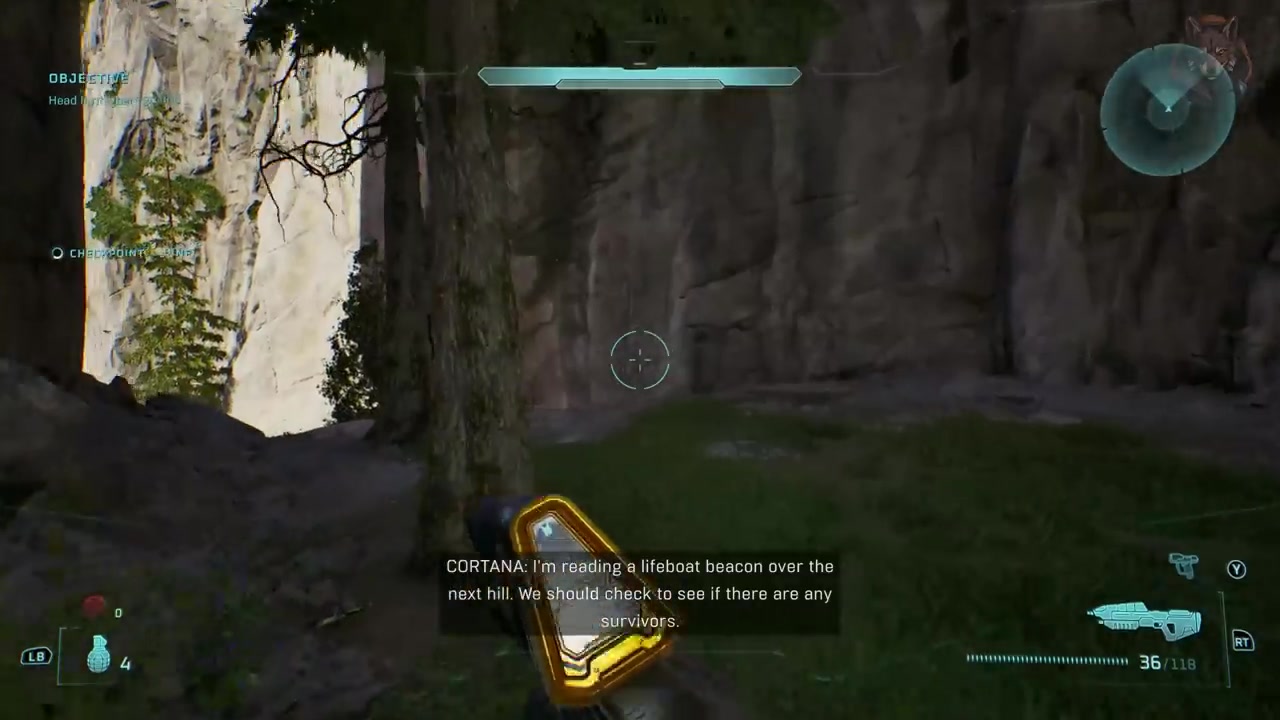
Defend the area with soldiers
- Checkpoint
- After bridge combat
- Landmark
- Valley area near hill
Do this
- 1Move toward the next hill where a life boat beacon is detected.
- 2Defend the area from enemy reinforcements using distance or magnum.
Confirmation
Defend the area with soldiers is available as described. Try to keep soldiers alive if possible; use long-range weapons like the magnum.
Target
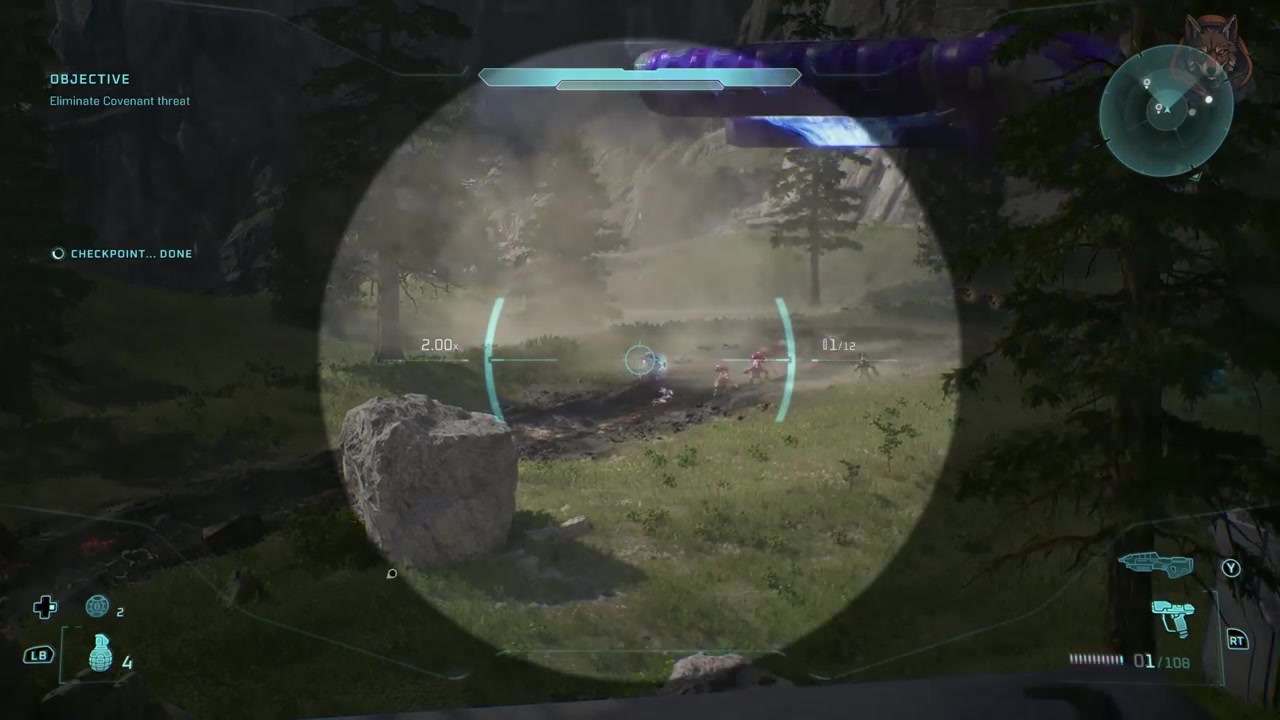
Survive aerial assault and locate survivors
- Checkpoint
- During dropship assault
- Landmark
- Valley near lifeboat beacons
Do this
- 1Respond to incoming Covenant dropships and banshees.
- 2Use the environment to evade and reposition safely.
Confirmation
Survive aerial assault and locate survivors is available as described. Cortana warns of air reinforcements; stay mobile and alert.
Target
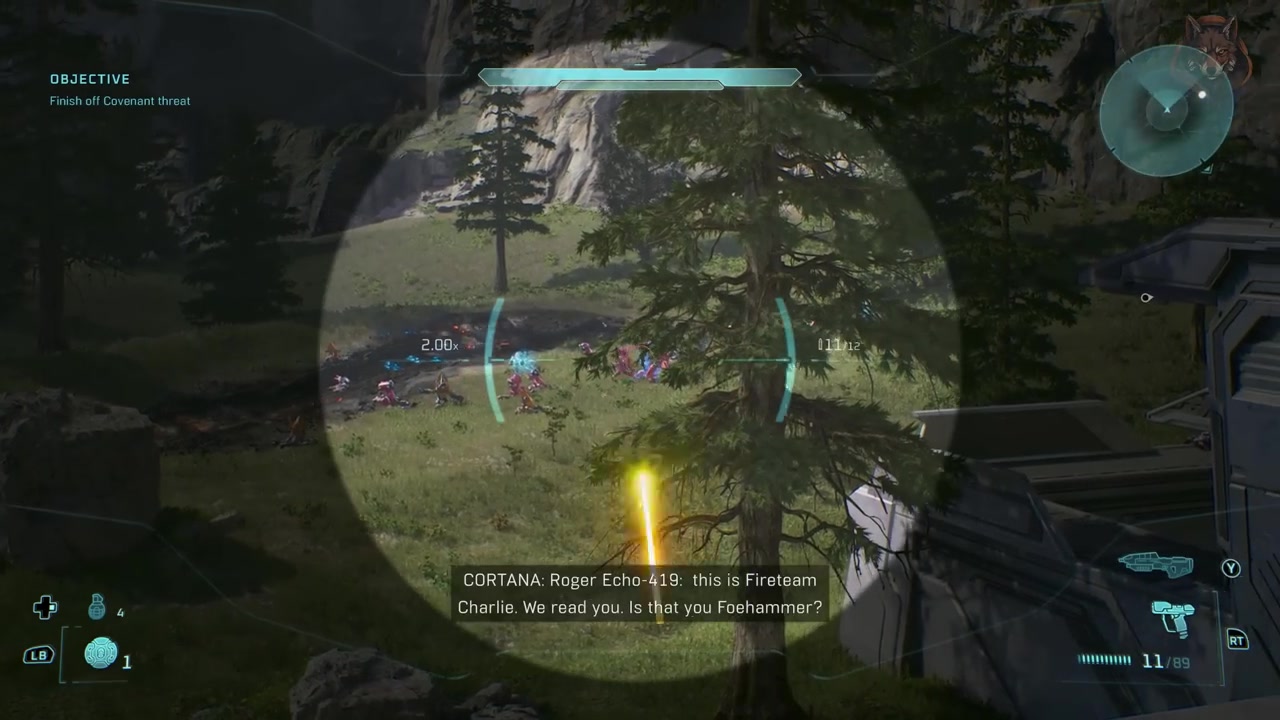
Coordinate evac with Pelican Echo 419
- Checkpoint
- After initial defense
- Landmark
- Near lifeboats and dropships
Do this
- 1Communicate with Pelican Echo 419 via radio.
- 2Confirm Fireteam Charlie’s location and readiness.
Confirmation
Coordinate evac with Pelican Echo 419 is available as described. Echo 419 confirms presence and offers evacuation support.
Target
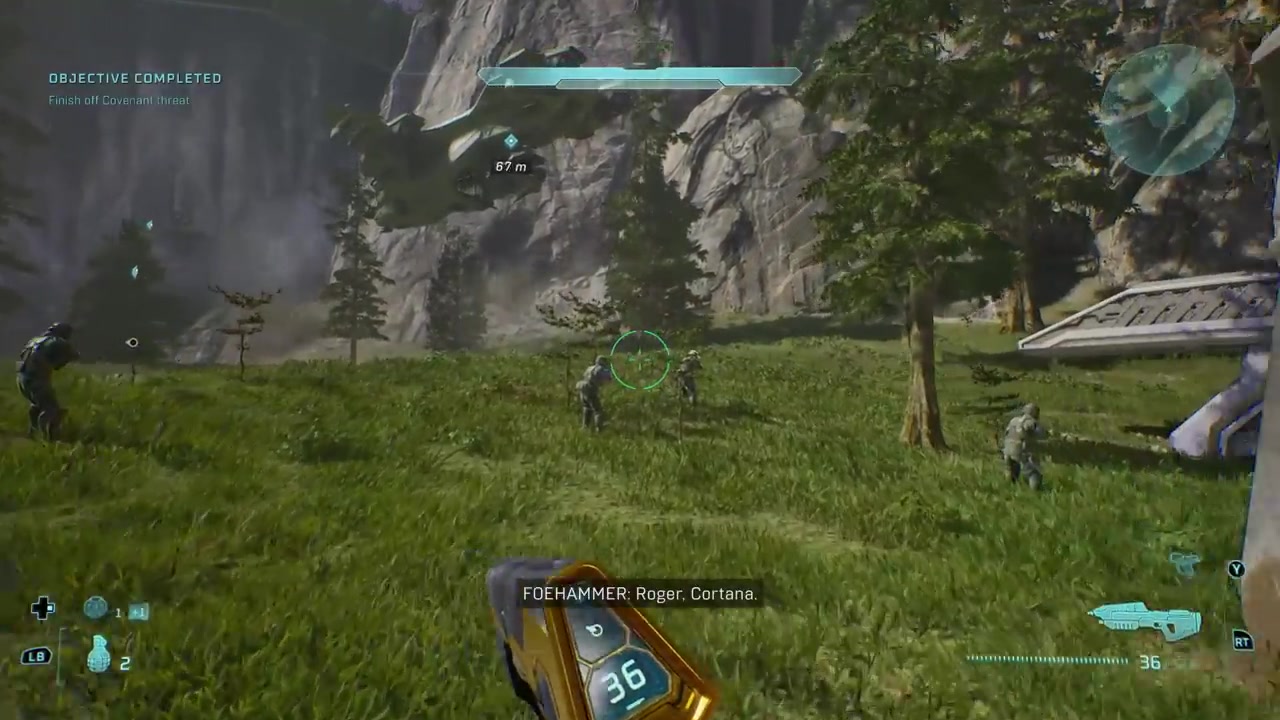
Rescue soldiers at lifeboat landing zones
- Checkpoint
- Lifeboat deployment phase
- Landmark
- Dropship area near river and cliff
Do this
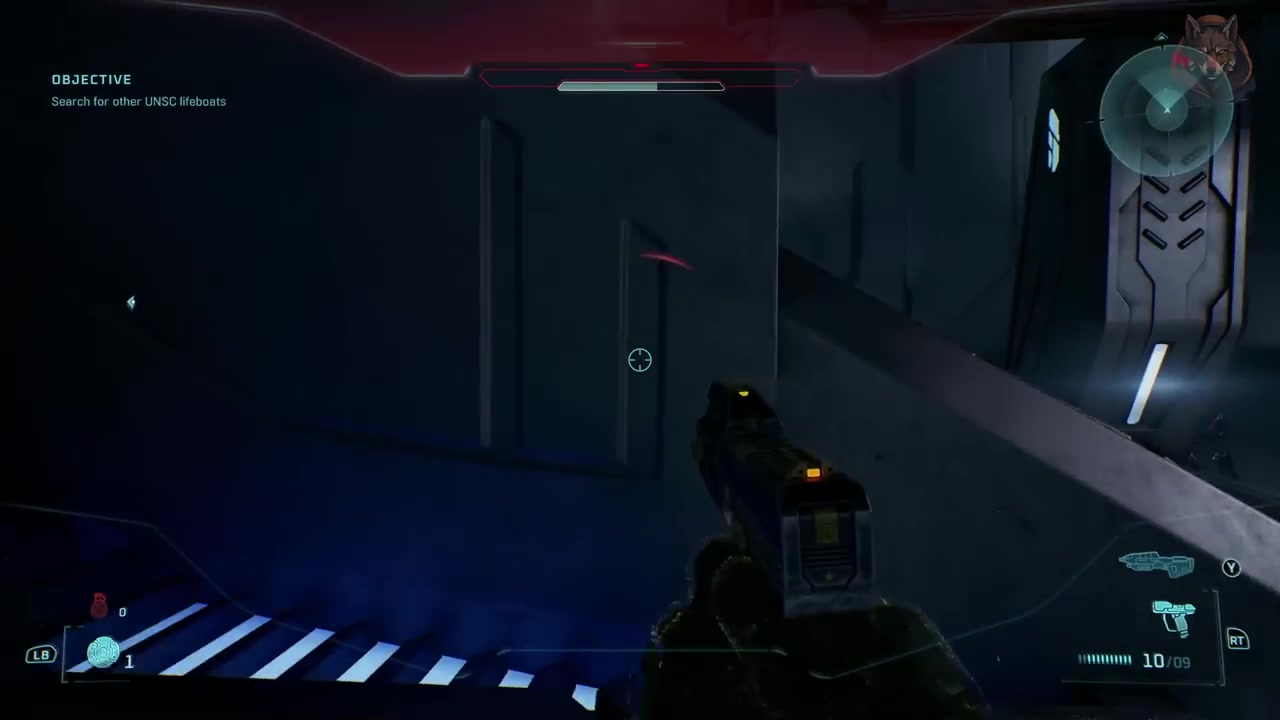
- 1Disengage warthog and proceed on foot to rescue points.
- 2Use turret and cover to eliminate enemies near lifeboats.
Confirmation
Rescue soldiers at lifeboat landing zones is available as described. The Master Chief and Cortana need backup; prioritize soldier rescue.
Target
Navigate subterranean passage and gather intel
- Checkpoint
- After lifeboat rescue
- Landmark
- Subterranean passage entrance
Do this
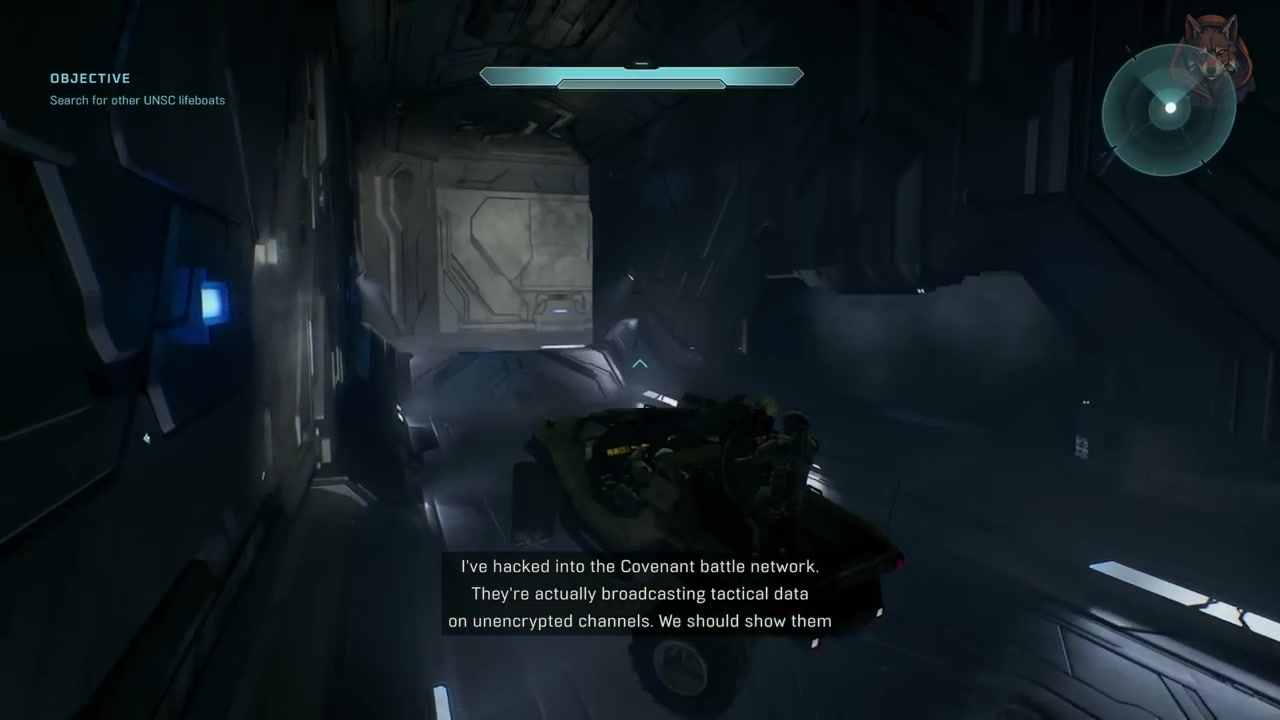
- 1Enter the nearby subterranean passage identified by topographical scans.
- 2Hack into Covenant battle network to monitor chatter.
Confirmation
Navigate subterranean passage and gather intel is available as described. Cortana gains tactical advantage through intercepted data.
Target
Activate light bridge and prepare for next zone
- Checkpoint
- Before light bridge activation
- Landmark
- Bridge controls ledge
Do this
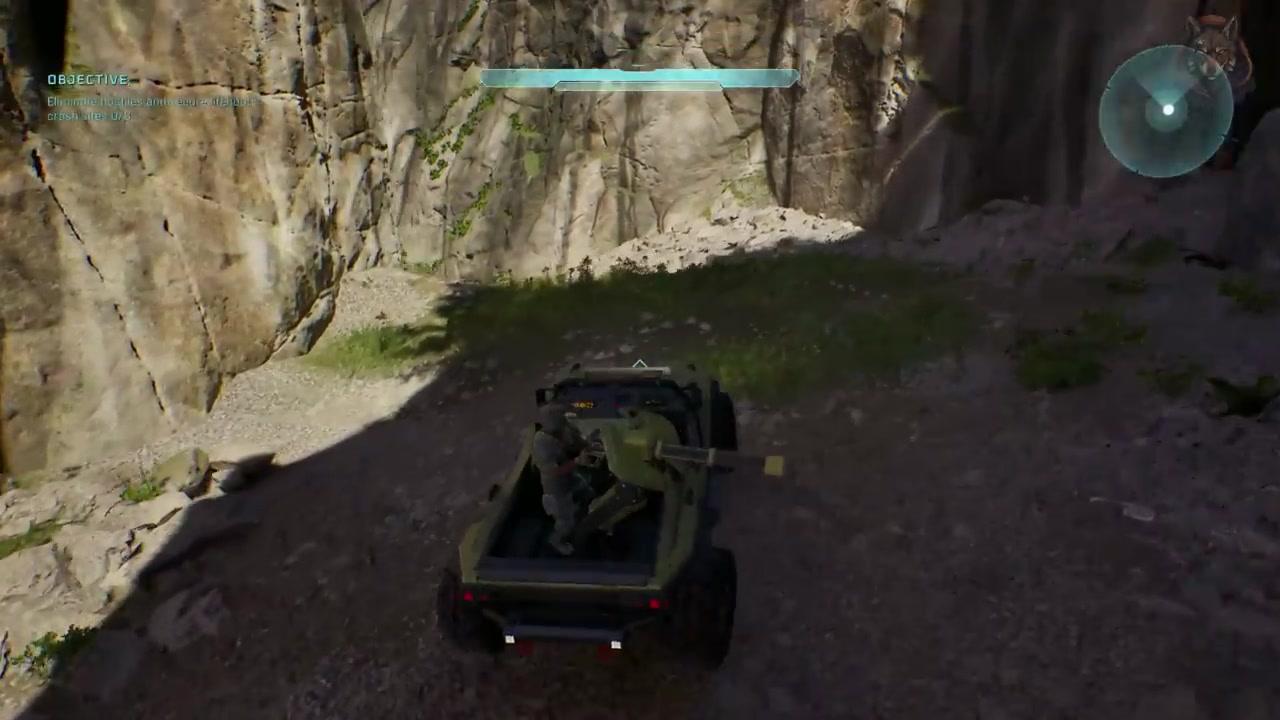
- 1Drive warthog to the next area with light bridge controls.
- 2Defeat enemies from a distance before engaging closer.
Confirmation
Activate light bridge and prepare for next zone is available as described. Use warthog strategically—don’t overuse it early.
Target
Defend dropships from enemy waves
- Checkpoint
- Final defense phase
- Landmark
- Hilltop with turrets and dropships
Do this
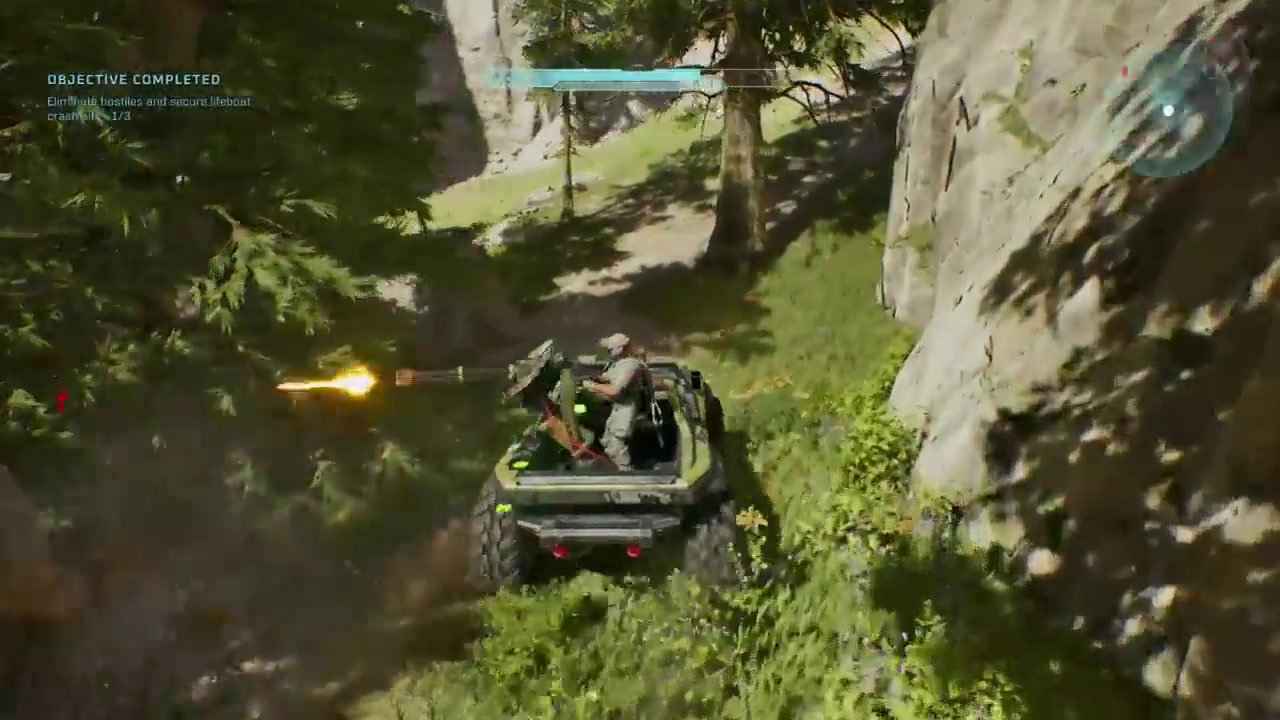
- 1Park warthog at top of hill next to soldiers.
- 2Use turret to eliminate enemies while protecting soldiers.
Confirmation
Defend dropships from enemy waves is available as described. Prioritize the right-side lifeboat first—it's most difficult.
Target
Rescue remaining soldiers and locate Captain Keyes
- Checkpoint
- Post-dropship defense
- Landmark
- Final lifeboat beacon location
Do this
- 1Head to the dropship on the hill and park warthog.
- 2Use cover and turret to handle elite-heavy waves.
Confirmation
Rescue remaining soldiers and locate Captain Keyes is available as described. Cortana locates Captain Keyes still alive on a captured cruiser.
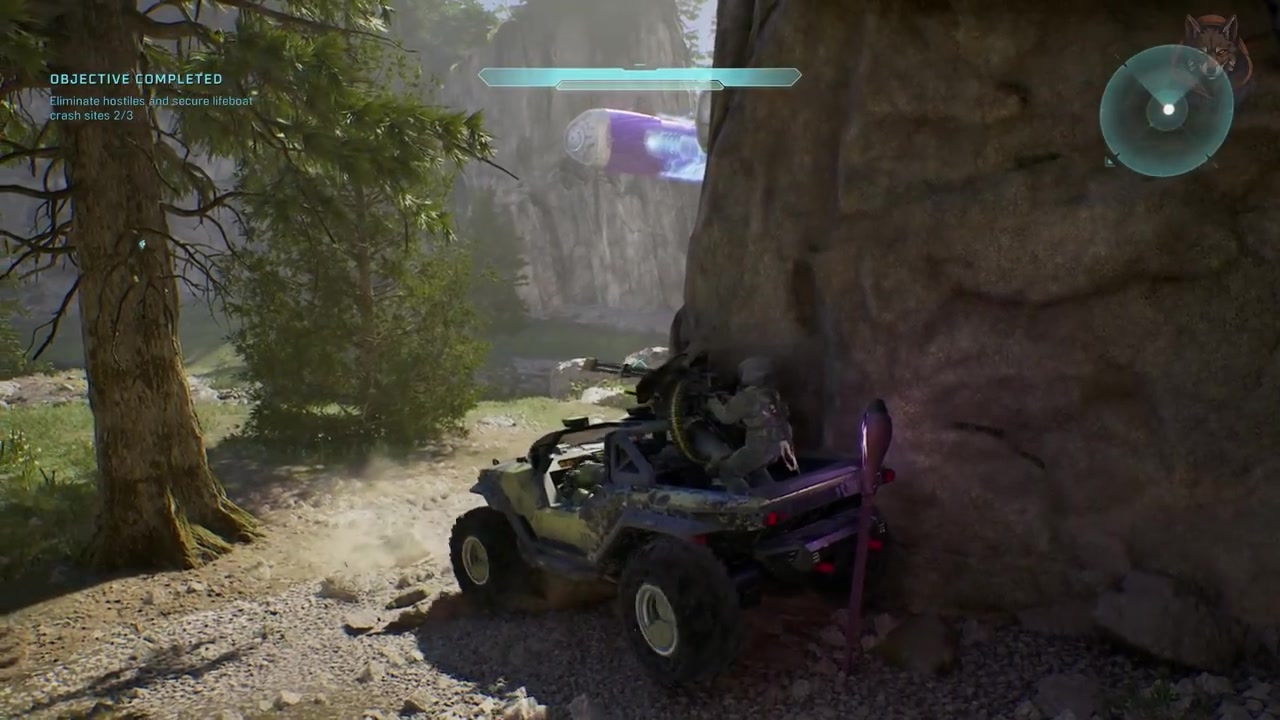
Target
Reach final area and prepare for next mission
- Checkpoint
- Final approach
- Landmark
- Path to final area avoiding dropship
Do this
- 1Avoid the dropship along the way to prevent explosion.
- 2Stay at a good distance from enemies for AI-assisted combat.
Confirmation
Reach final area and prepare for next mission is available as described. Easy area—let AI handle most of the fighting if equipped properly.