
Quick answer
Use the cloaking device to bypass early combat, then navigate tunnels and rooms while avoiding key enemies—especially the grunt with the rocket launcher—and finally reach the shuttle bay to board the Pillar of Autumn.
Guide briefing
Halo Campaign Evolved: Keyes Legendary Walkthrough
Use the cloaking device to bypass early combat, then navigate tunnels and rooms while avoiding key enemies—especially the grunt with the rocket launcher—and finally reach the shuttle bay to board the Pillar of Autumn.
Applies to
- — Halo Campaign Evolved
- — Legendary difficulty
- — Mission 9: Keyes
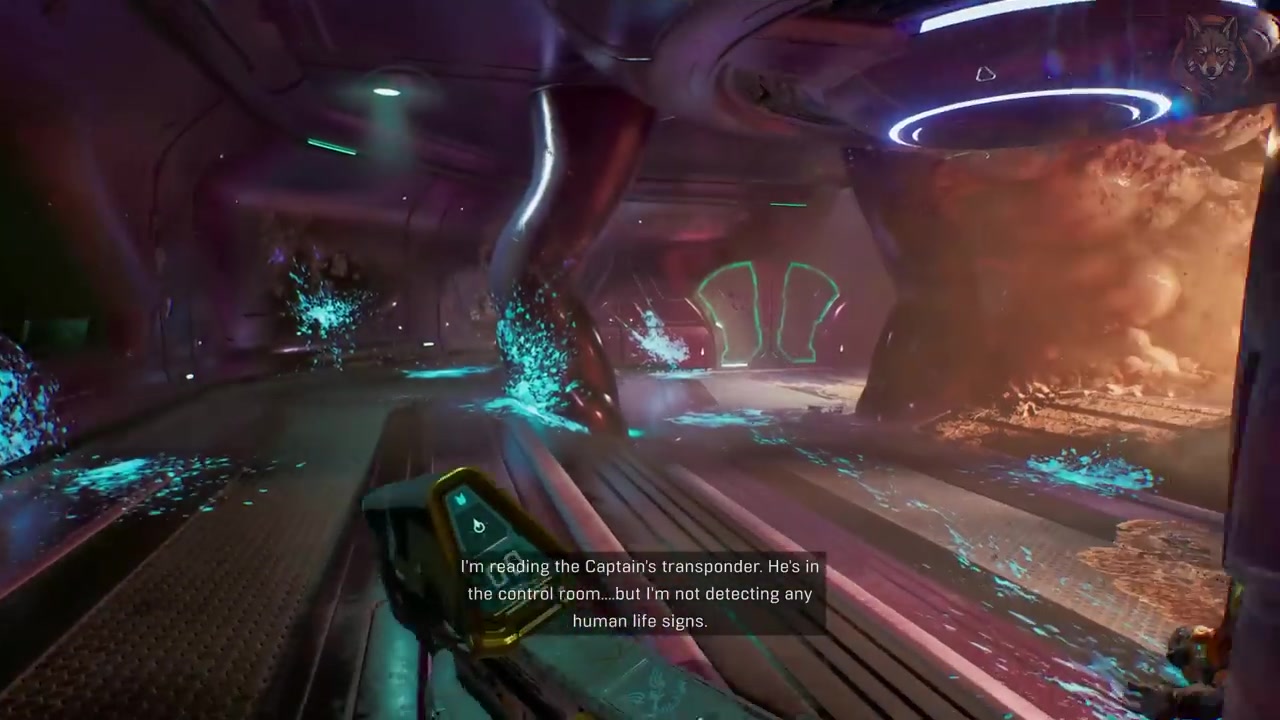
Target
Activate cloaking device and reach the first checkpoint
- Checkpoint
- First checkpoint after entering the room with the tank
- Landmark
- Room with tank and cloak activation point
Do this
- 1Enter the room from the start.
- 2Turn past the tank to activate the cloak.
Confirmation
Activate cloaking device and reach the first checkpoint is available as described. The cloak allows you to run past enemies into the cave below. It's recommended to kill enemies in the first room before attempting to run past them to avoid respawning far away.
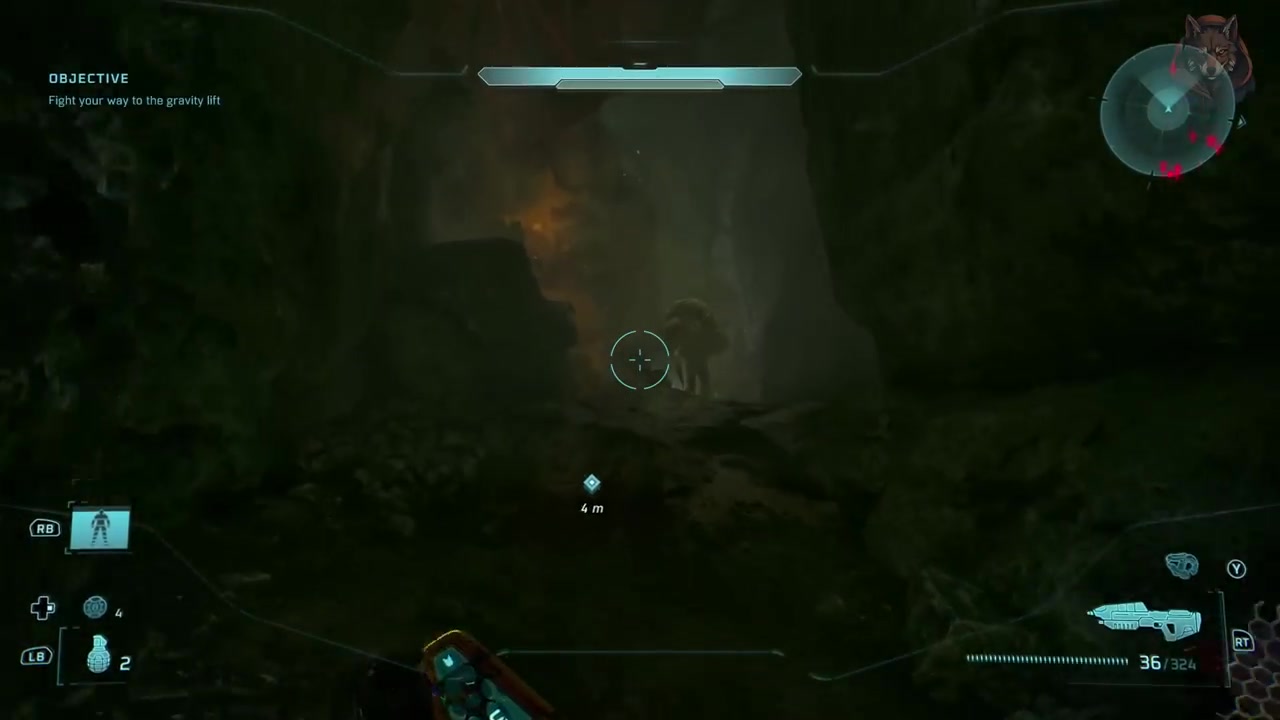
Target
Navigate the first tunnel section with carriers while maintaining cloak
- Checkpoint
- Second area with tunnels full of carriers
- Landmark
- Tunnels filled with carrier enemies
Do this
- 1Run toward the second area with tunnels.
- 2Jump over most enemies in the tunnel while cloaked.
Confirmation
Navigate the first tunnel section with carriers while maintaining cloak is available as described. Running past enemies with cloak is faster than fighting. The auto-save is unreliable if you die during this segment.
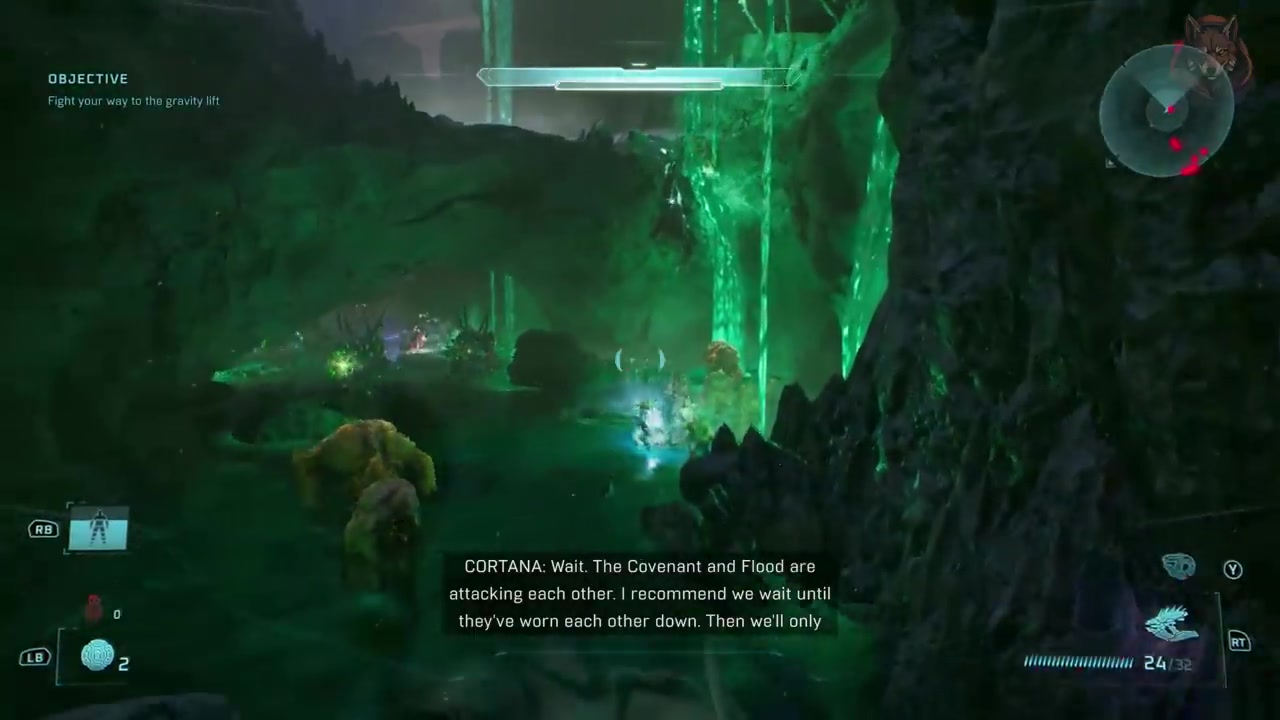
Target
Survive the room with tanks and hunters without engaging combat
- Checkpoint
- Room with tanks and hunters
- Landmark
- Room containing multiple tanks and hunters
Do this
- 1Enter the room with tanks and hunters.
- 2Run past all enemies without stopping or firing.
Confirmation
Survive the room with tanks and hunters without engaging combat is available as described. This section is designed to be bypassed with stealth. The enemies will not actively pursue unless provoked.
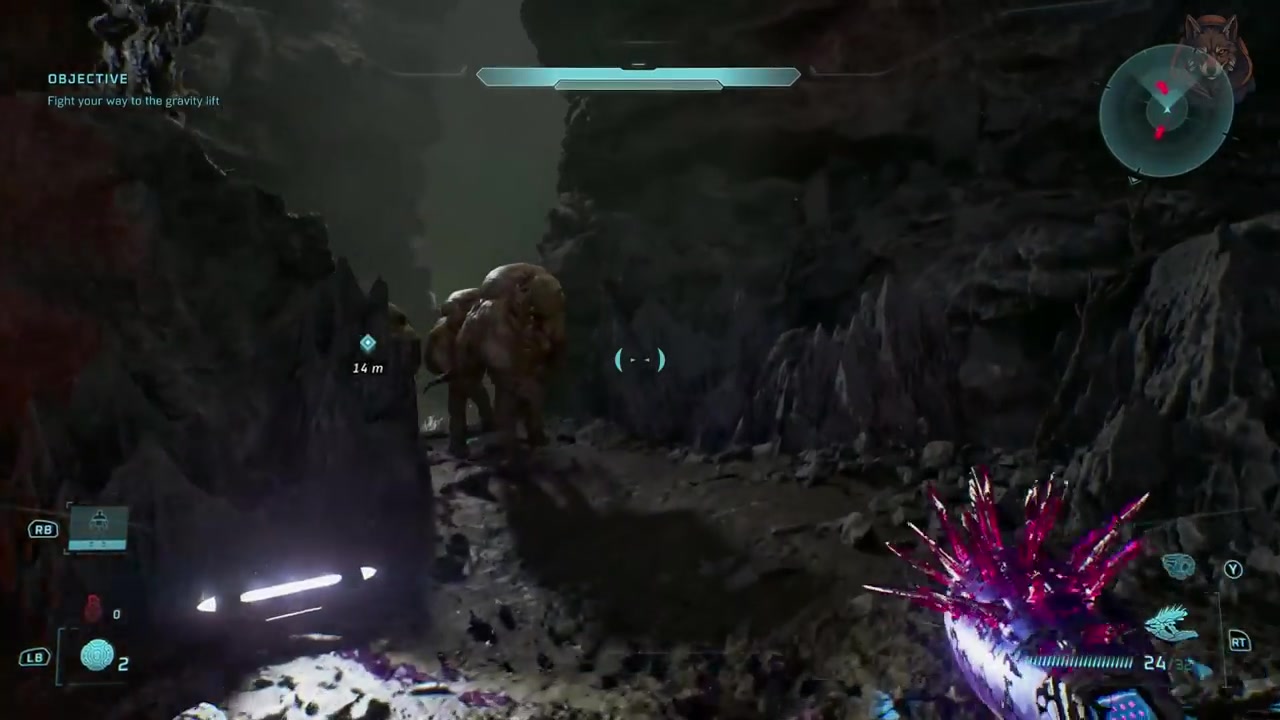
Target
Avoid the grunt with rocket launcher near the final checkpoint
- Checkpoint
- Final room before checkpoint
- Landmark
- Room with a grunt who fires rockets randomly
Do this
- 1Approach the final room carefully.
- 2Wait for the grunt to fire his rocket before moving past.
Confirmation
Avoid the grunt with rocket launcher near the final checkpoint is available as described. You can also try to get lucky like the guide author—run past just as he fires. Alternatively, wait for him to reload.
Target
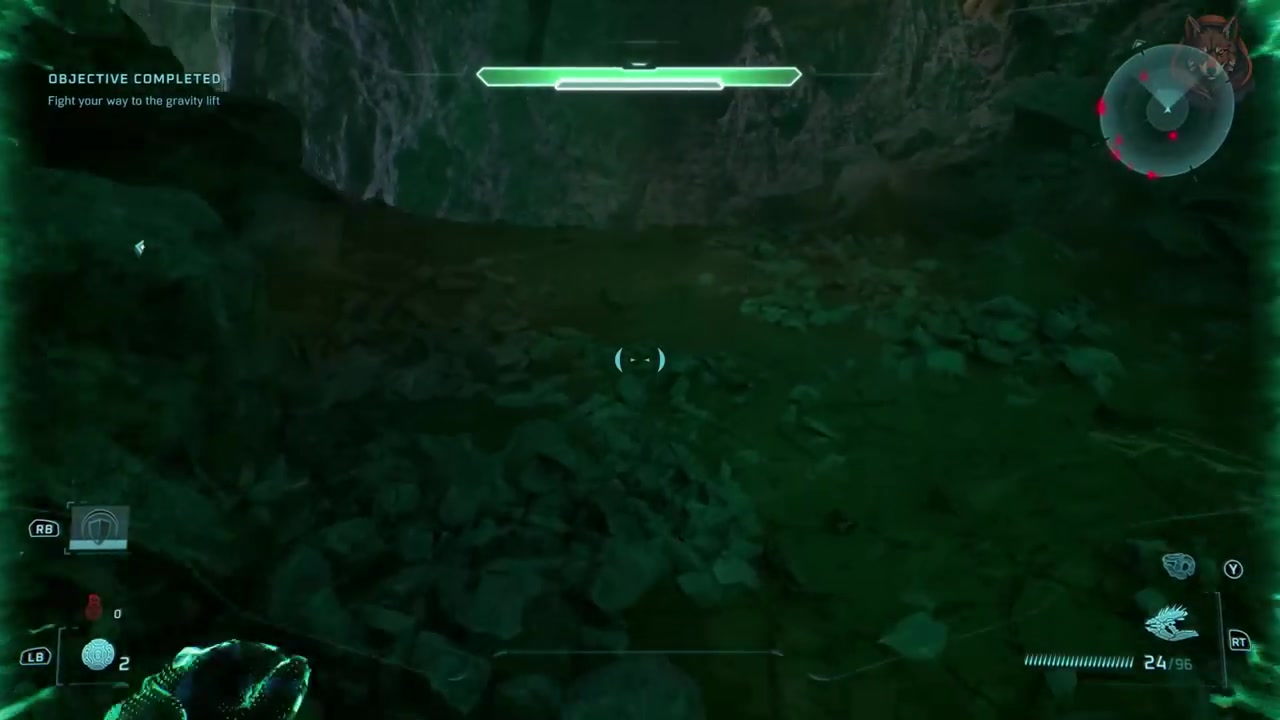
Reach the gravity lift and confirm checkpoint completion
- Checkpoint
- Gravity lift area
- Landmark
- Gravity lift platform
Do this
- 1Run up the gravity lift.
- 2Stand on the platform to mark elites on the map.
Confirmation
Reach the gravity lift and confirm checkpoint completion is available as described. Reaching the lift confirms the checkpoint. The guide recommends doing this to help track elite positions for later sections.
Target
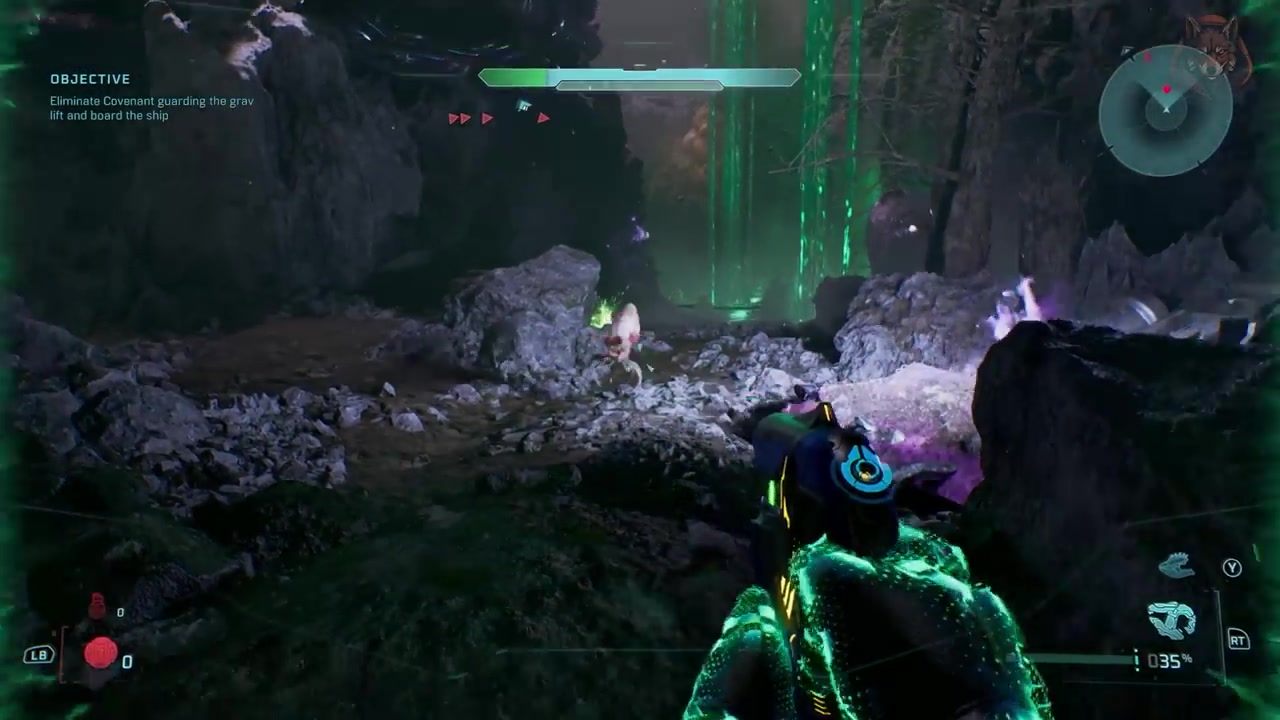
Clear the room with elites and eliminate all enemies
- Checkpoint
- After clearing the room with elites
- Landmark
- Room with multiple elites and a sword-wielding elite
Do this
- 1Enter the room and engage all enemies.
- 2Kill everything in the room to proceed.
Confirmation
Clear the room with elites and eliminate all enemies is available as described. This is the only room where killing is required. The guide notes it takes time but is necessary to advance.
Target
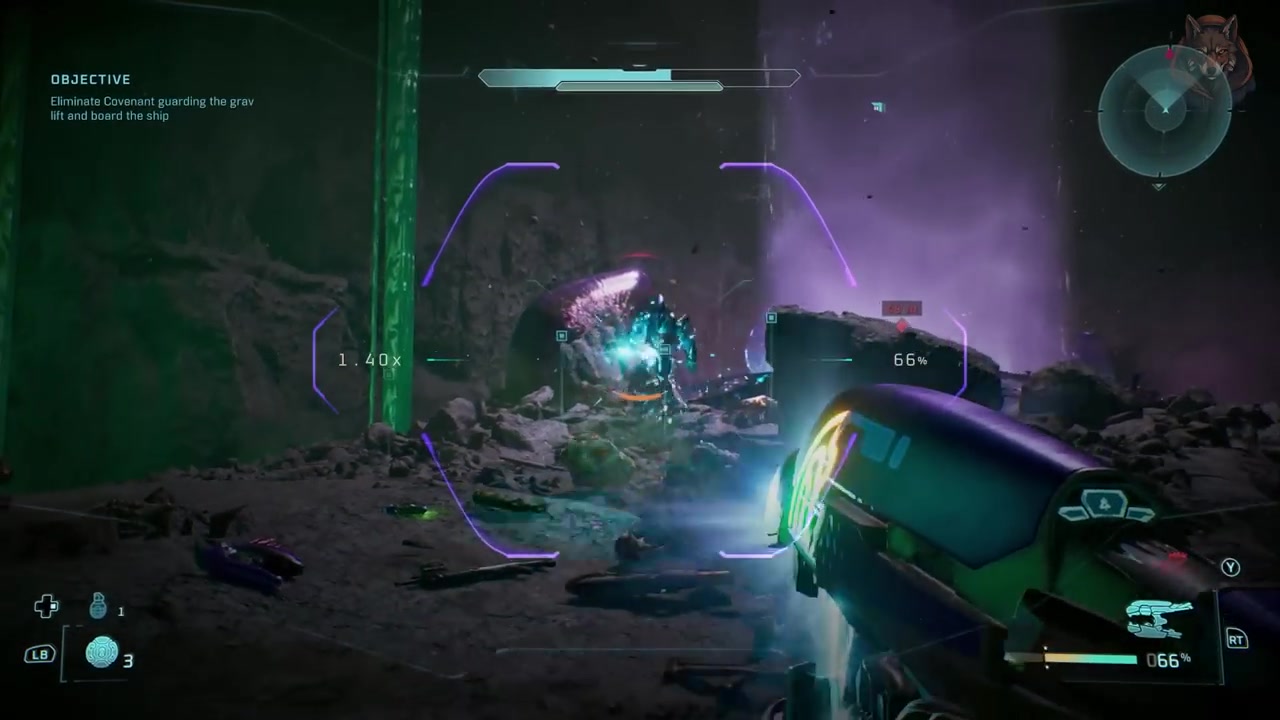
Use fuel rod cannon and eliminate elite with SAR
- Checkpoint
- After reaching the grav lift and heading upward
- Landmark
- Grav lift exit leading to next room
Do this
- 1Head up the grav lift.
- 2Look for the fuel rod cannon and use it to take out the elite with SAR.
Confirmation
Use fuel rod cannon and eliminate elite with SAR is available as described. After eliminating the elite, you can proceed to the ship’s control room. The guide notes the battleet is chaotic and schematics are inaccessible.
Target
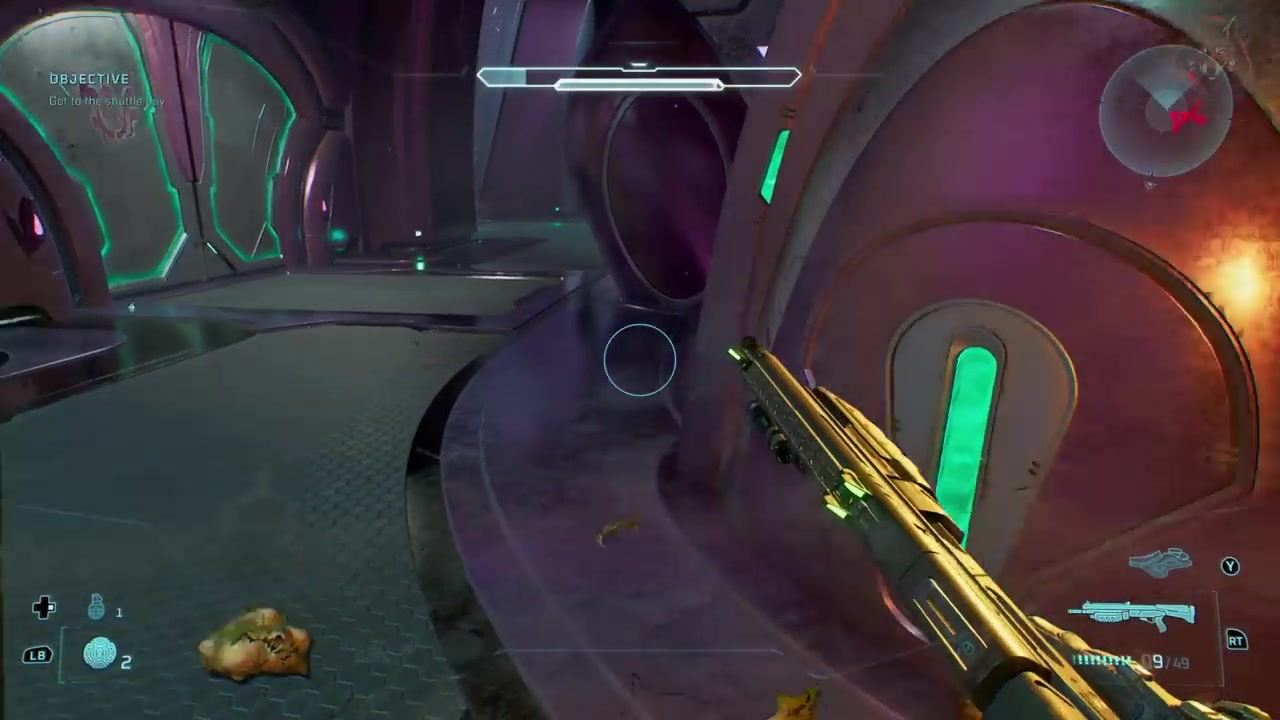
Drop down safely and navigate to the shuttle bay
- Checkpoint
- After dropping down into the lower section
- Landmark
- Lower corridor with flood enemies
Do this
- 1Drop down after reaching the upper level.
- 2Run past enemies to the next section.
Confirmation
Drop down safely and navigate to the shuttle bay is available as described. The guide states that once you drop down, you are safe from immediate threats. Use this to regroup before the next combat zone.
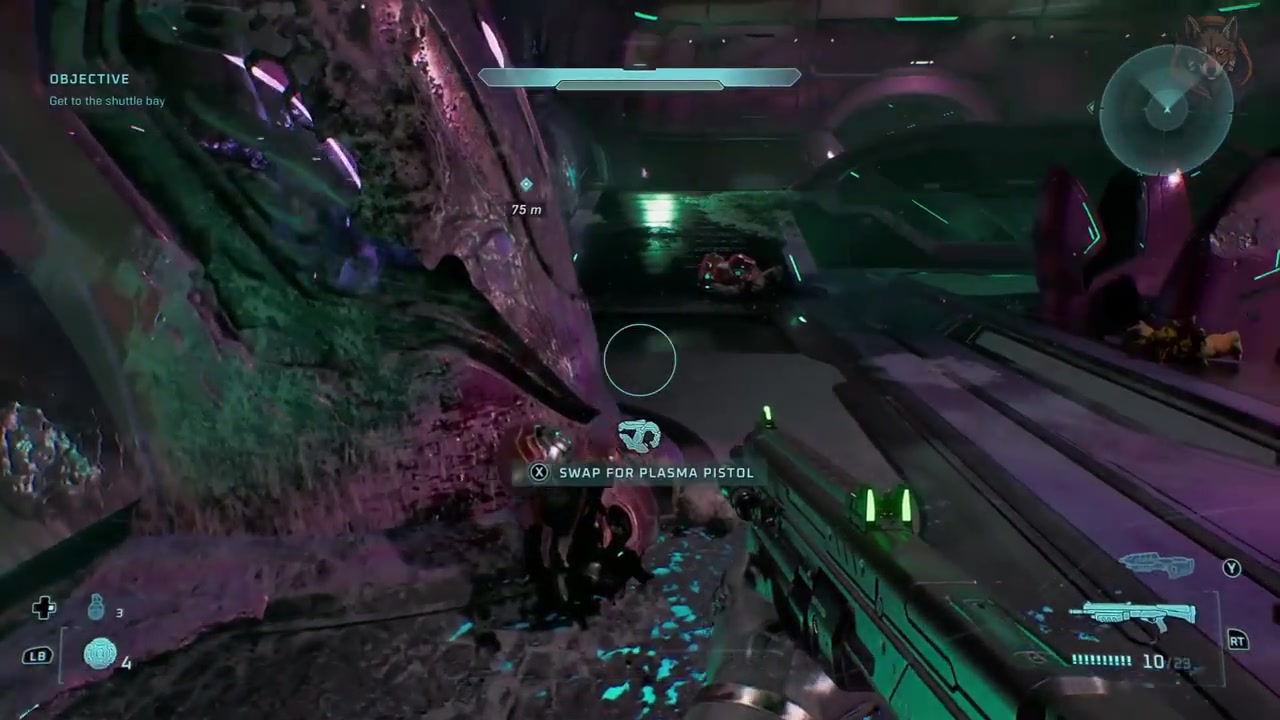
Target
Eliminate enemies in the next room and collect rocket launcher
- Checkpoint
- After clearing the room with elites and flood
- Landmark
- Room with elite with rocket launcher
Do this
- 1Enter the room and kill some enemies to draw attention.
- 2Take the rocket launcher from the elite after clearing the area.
Confirmation
Eliminate enemies in the next room and collect rocket launcher is available as described. The rocket launcher is useful for the upcoming wave of enemies. The guide advises finishing off remaining flood before proceeding.
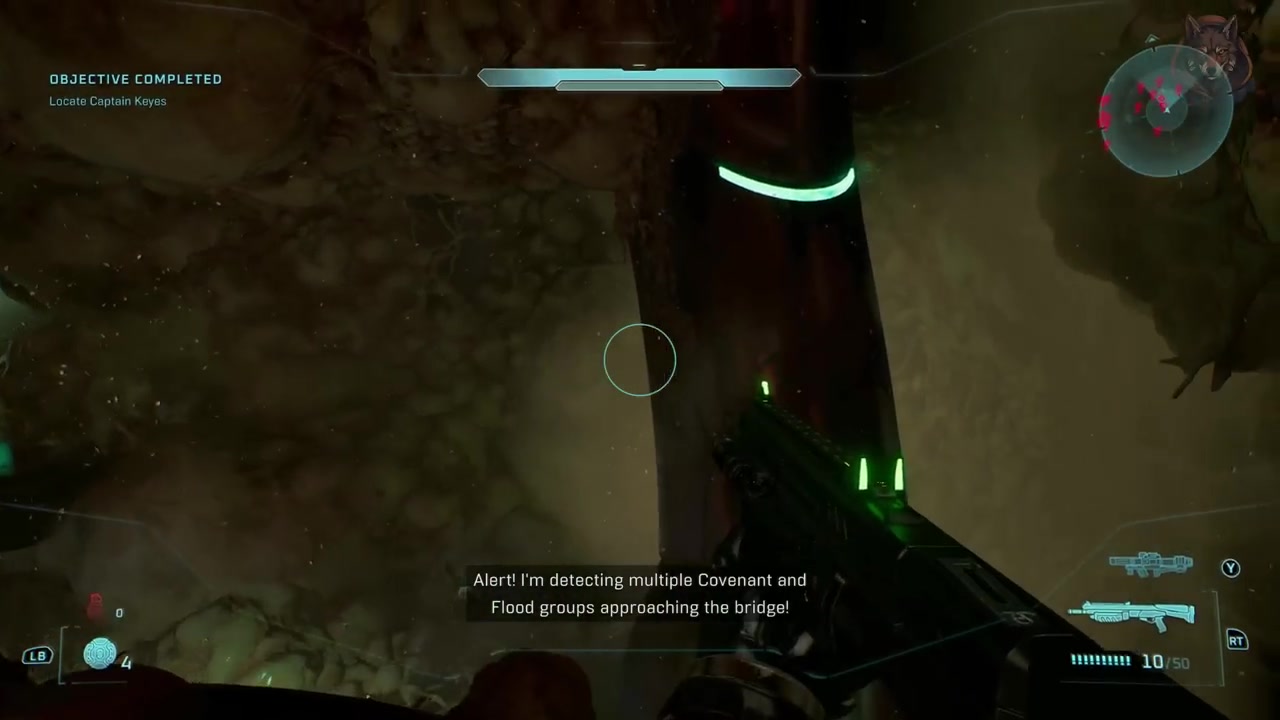
Target
Reach the end of the mission by boarding the ship
- Checkpoint
- End of the mission
- Landmark
- Shuttle bay with Pillar of Autumn
Do this
- 1Wait for doors to open and clear the path.
- 2Jump onto the ship as it stops and grab a Banshee.
Confirmation
Reach the end of the mission by boarding the ship is available as described. The guide recommends waiting for the ship to stabilize before jumping on. Once aboard, you can immediately grab a Banshee to finish the mission.