
Quick answer
Find all four skulls and the hidden terminal in The Library by following precise platforming and timing steps—avoid the quest objective terminal to unlock the secret path.
Guide briefing
Halo Campaign Evolved: The Library Skulls and Terminal Guide
Find all four skulls and the hidden terminal in The Library by following precise platforming and timing steps—avoid the quest objective terminal to unlock the secret path.
Applies to
- — Halo Campaign Evolved
- — The Library mission
- — Skull collection
- — Hidden terminal access
Target
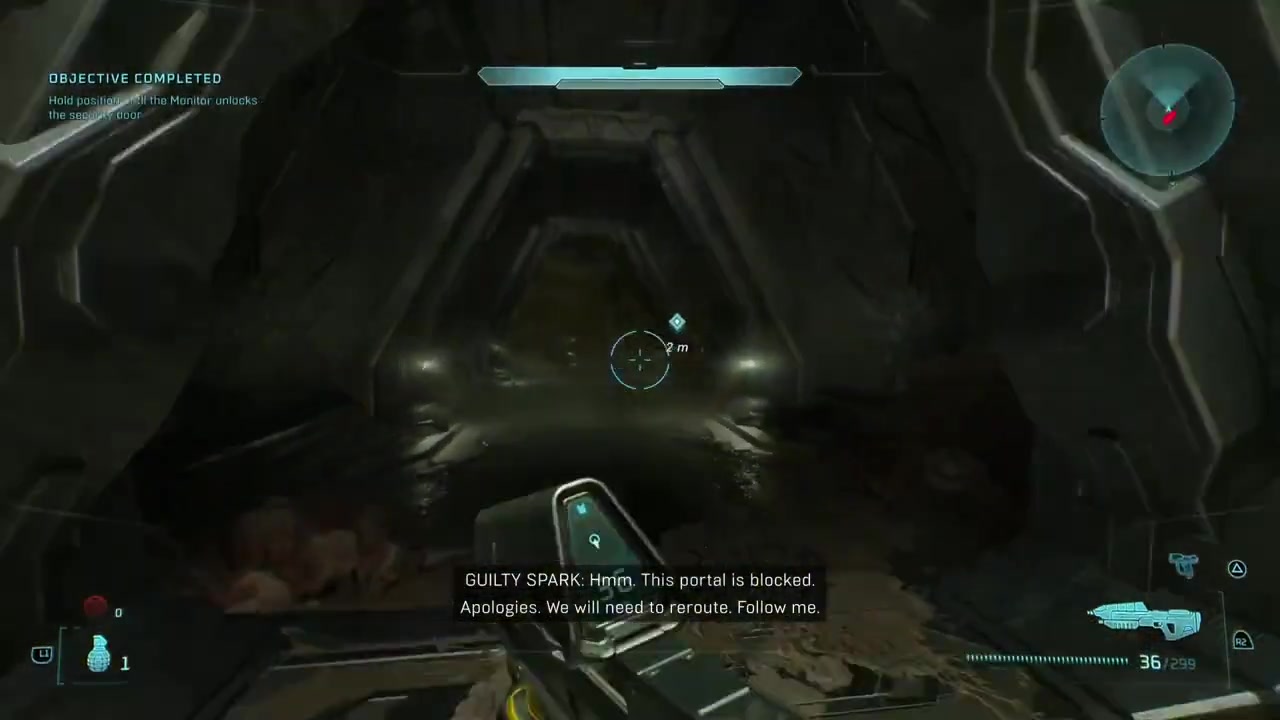
First Skull
- Checkpoint
- After first door unlocks, go down trench and back up
- Landmark
- First pillar on the far side of the trench
Do this
- 1After the first door unlocks, follow the waypoint to go down underneath the trench.
- 2Climb back up on the other side of the trench to reach the first pillar where the skull is located.
Confirmation
First Skull is available as described. The collectible is easy to grab once you reach the end of the trench. The skull appears after moving past the initial combat area.
Target
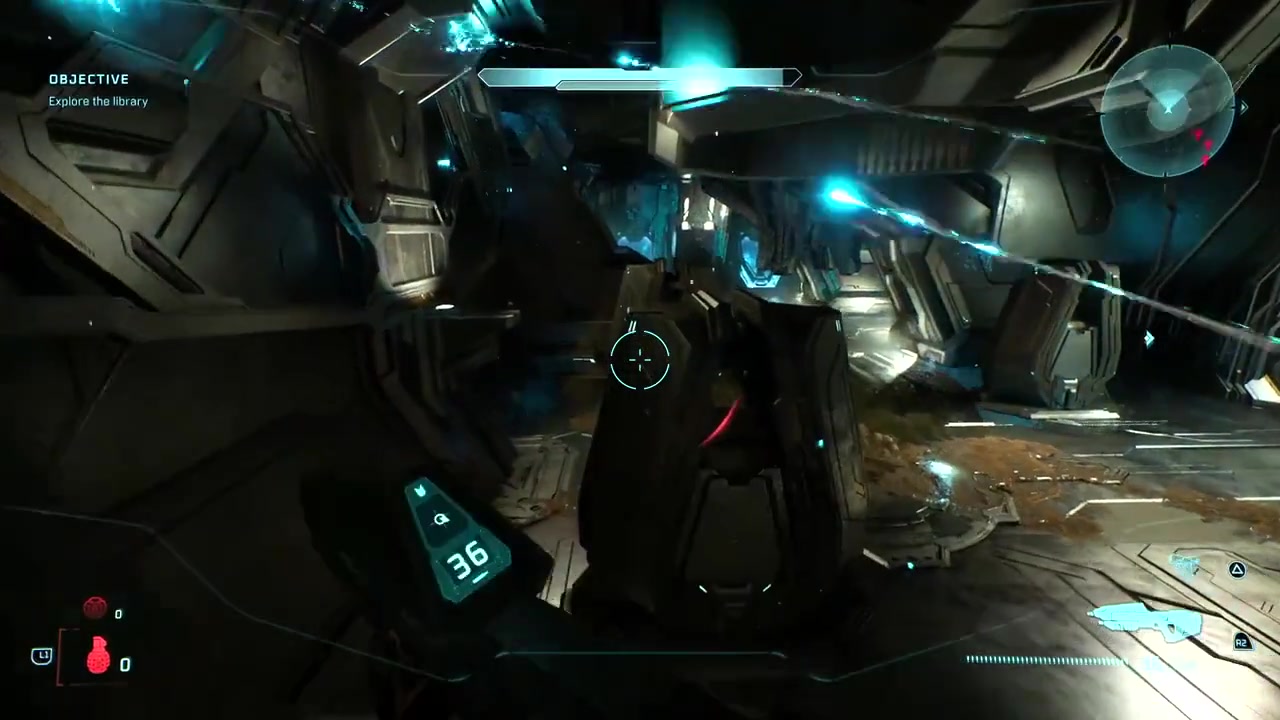
Second Skull
- Checkpoint
- Before second locked door, jump to second pillar and navigate right
- Landmark
- Top of second pillar, just before the locked door
Do this
- 1Before approaching the second locked door, jump onto the second pillar at the left turn.
- 2From the pillar, look right and jump across to reach the second skull positioned directly in front of the locked door.
Confirmation
Second Skull is available as described. The second skull is located just before the next objective marker. It requires precise jumping from the pillar to the adjacent platform.
Target
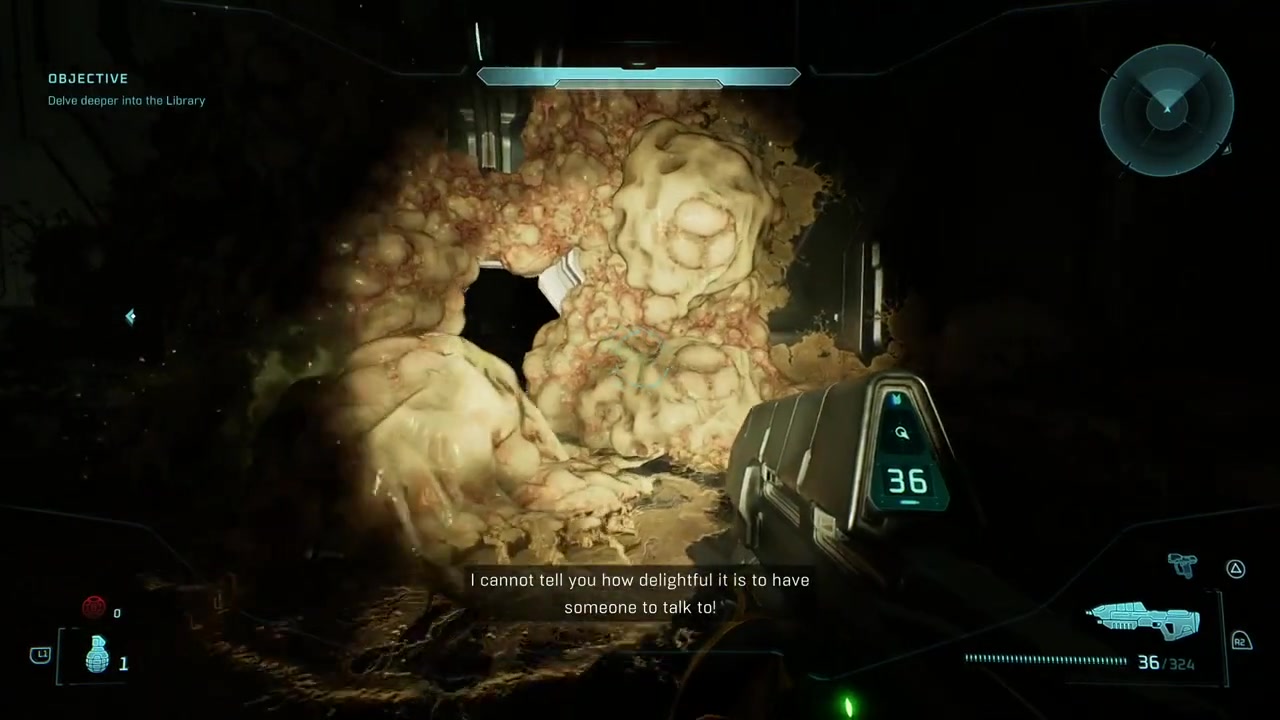
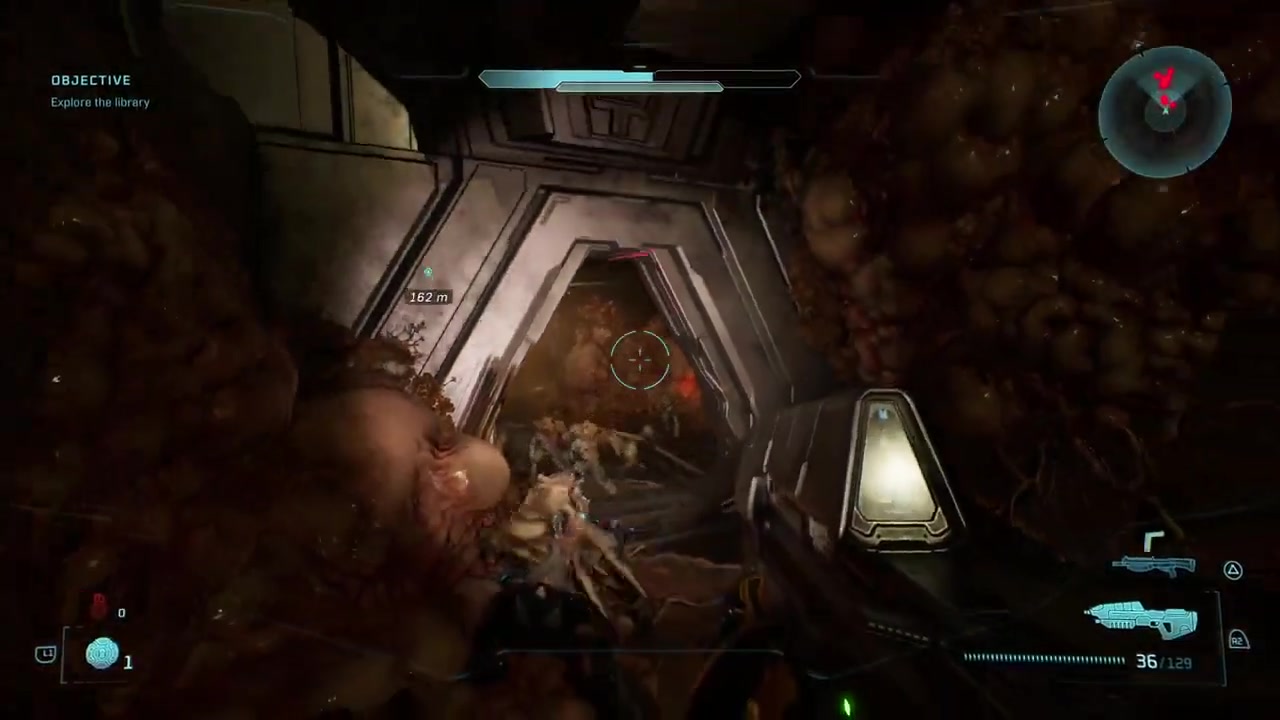
Third Skull
- Checkpoint
- After reaching fourth floor tools checkpoint
- Landmark
- Left side of the area after the 'fourth floor tools' pop-up
Do this
- 1After the pop-up appears indicating 'fourth floor tools', proceed to the checkpoint and wait for the prompt.
- 2Head toward the quest objective but make a first left turn before proceeding straight; the third skull is located in the muck area after the turn.
Confirmation
Third Skull is available as described. This skull is the final collectible in the mission and appears in a cluttered, low-light area near the end of the level.