
Quick answer
Head left from the LZ to the Warthog, activate the door switch by climbing the hill beside it, drive into the cliffside facility, bypass Hunters to reach the security override station, return to the beach, re-enter the correct facility, descend to the bottom floor, access the map room, retrieve the control center coordinates, then escape via dropship using an underground aerial insertion plan.
Guide briefing
Halo Campaign Evolved: Silent Cartographer Legendary Walkthrough
Head left from the LZ to the Warthog, activate the door switch by climbing the hill beside it, drive into the cliffside facility, bypass Hunters to reach the security override station, return to the beach, re-enter the correct facility, descend to the bottom floor, access the map room, retrieve the control center coordinates, then escape via dropship using an underground aerial insertion plan.
Applies to
- — Halo Campaign Evolved - Silent Cartographer mission
- — Legendary difficulty gameplay
- — Master Chief campaign progression
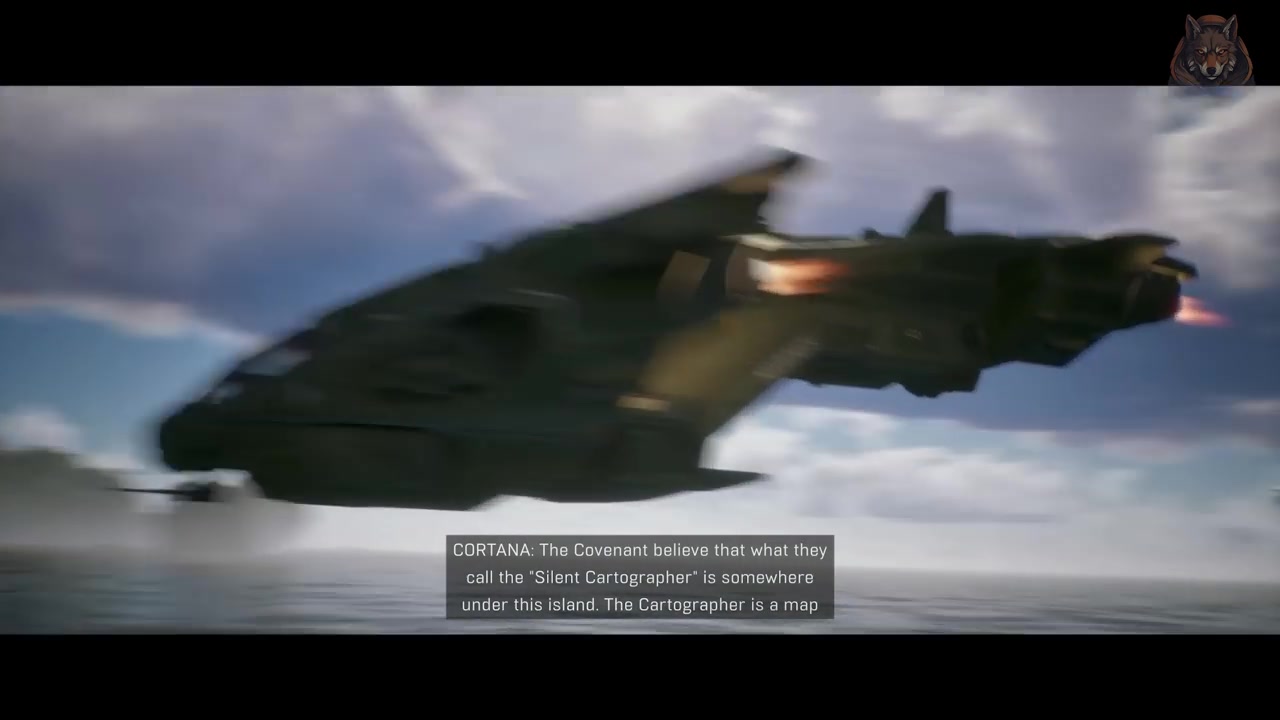
Target
Locate the Silent Cartographer map room
- Checkpoint
- Landing Zone (LZ) approach
- Landmark
- Landing Zone
Do this
- 1Approach the LZ as indicated by the audio cue at 19.87.
- 2Prepare for combat as the audio warns 'This is going to be hot. Get set to come out swinging.'
Confirmation
Locate the Silent Cartographer map room is available as described. The Cartographer is a map room that will lead to Halo's control center, per the briefing.
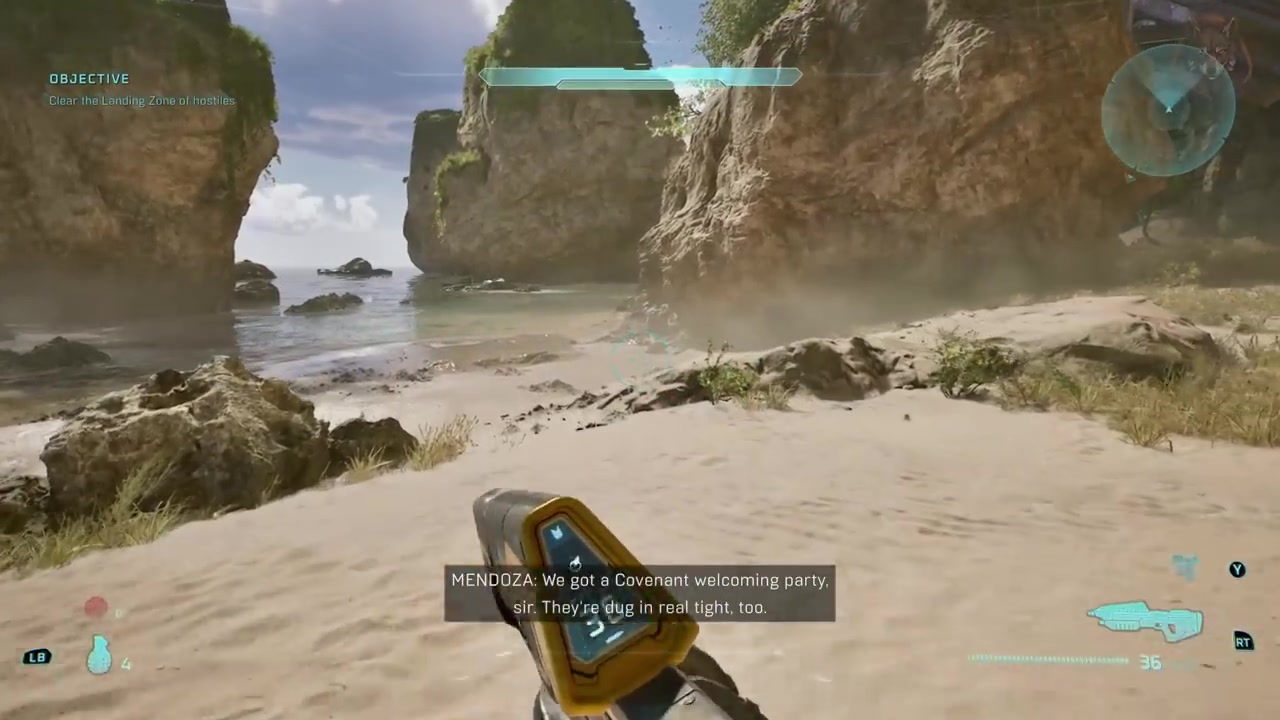
Target
Reach the Warthog and activate the door switch
- Checkpoint
- Initial path to Warthog
- Landmark
- Warthog spawn point
Do this
- 1From the start, head left toward the Warthog.
- 2Instead of circling, head up the hill next to the Warthog to reach the door switch.
Confirmation
Reach the Warthog and activate the door switch is available as described. The door switch opens the path to the main facility; failure to activate it blocks progression.
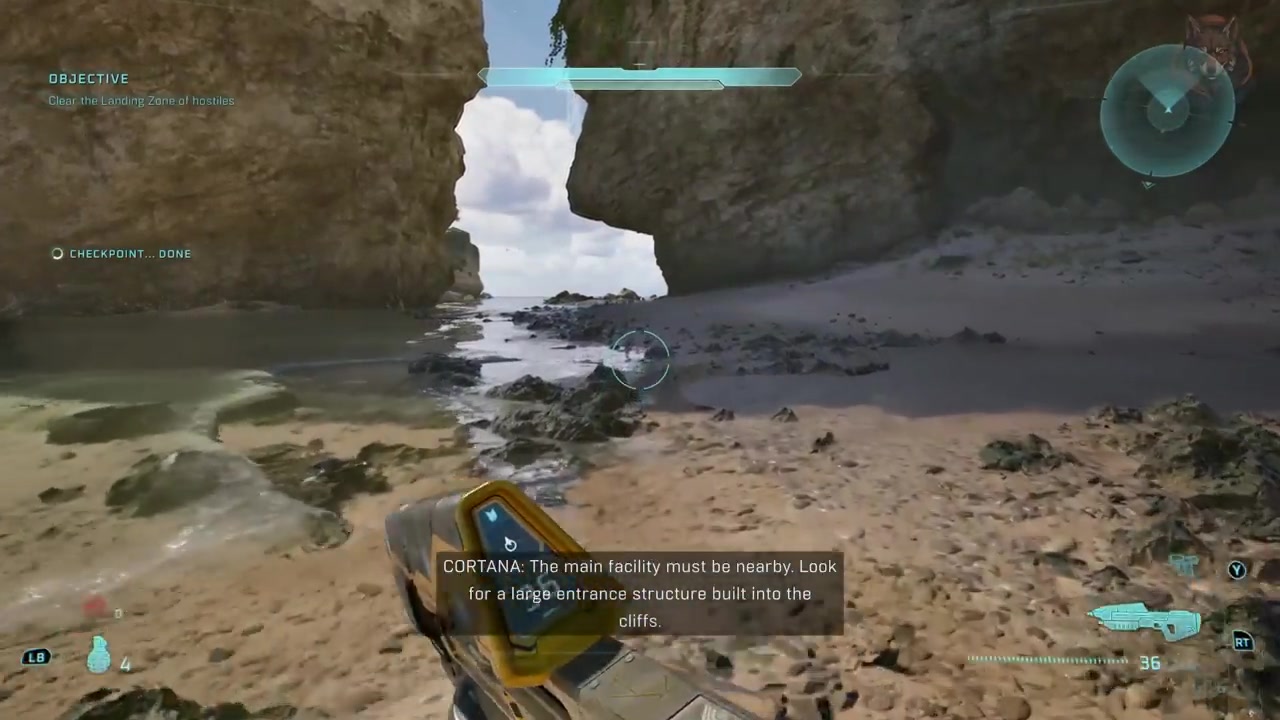
Target
Locate the main facility entrance
- Checkpoint
- Exterior approach to main facility
- Landmark
- Cliffside structure
Do this
- 1After exiting the initial area, scan for a large entrance structure built into the cliffs.
- 2Use the nav point marked by Cortana to confirm location accuracy.
Confirmation
Locate the main facility entrance is available as described. Cortana cross-references Covenant survey data and religious texts to pinpoint the facility.
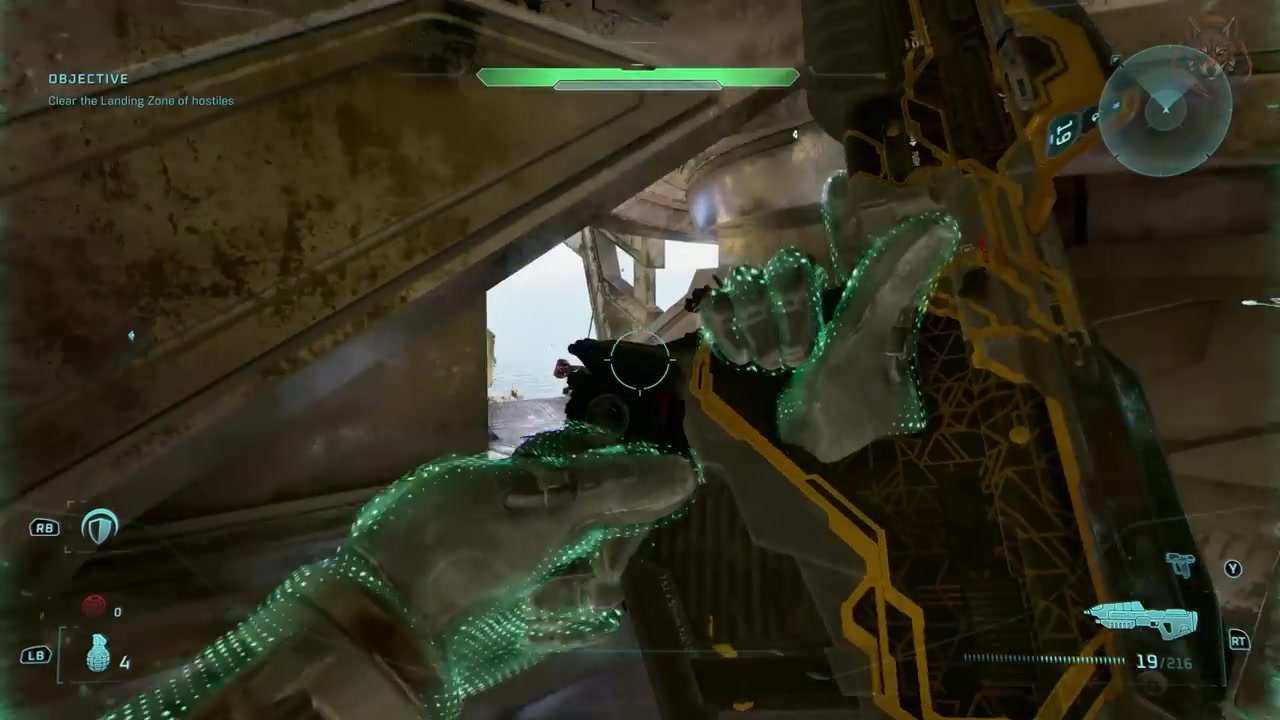
Target
Enter the main facility and locate the security override station
- Checkpoint
- Facility interior - first floor
- Landmark
- Security override station
Do this
- 1Drive the Warthog directly to the facility entrance.
- 2Head inside and run past the Hunters to reach the security door switch.
Confirmation
Enter the main facility and locate the security override station is available as described. The map room is located at the bottom floor of the main facility, not here.
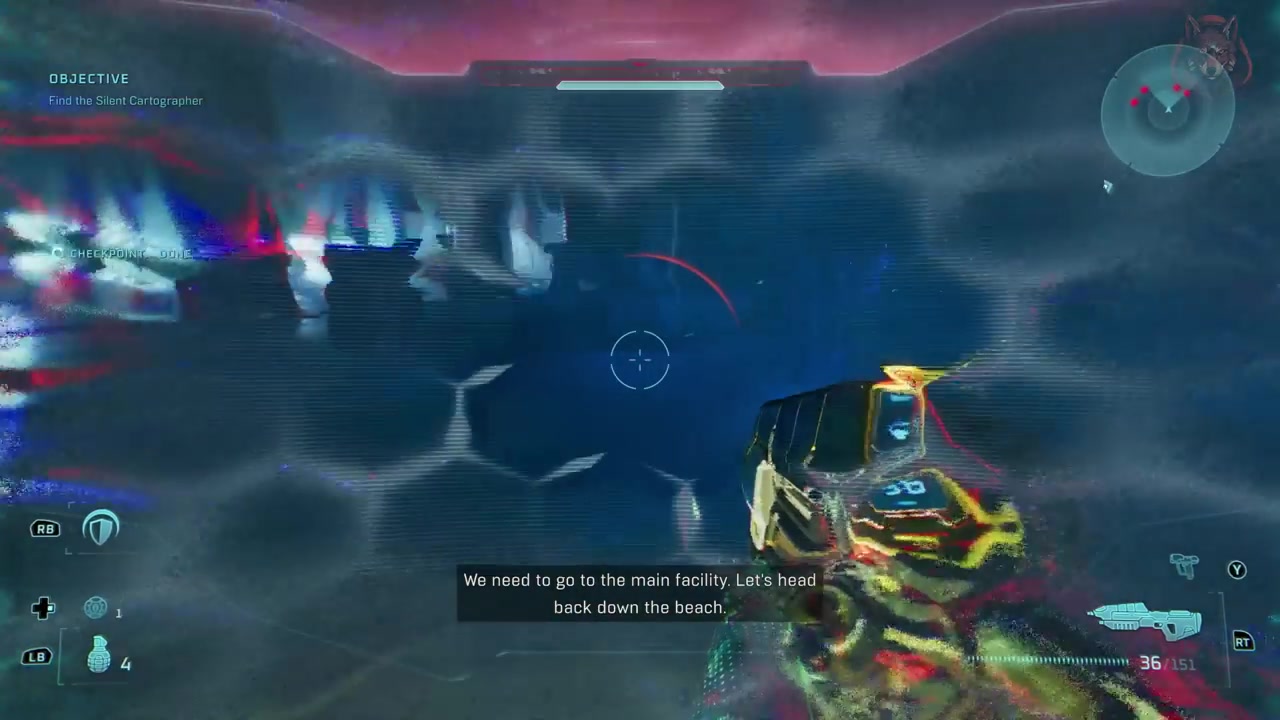
Target
Navigate back to the beach and re-enter the correct facility
- Checkpoint
- Beach exit and re-entry
- Landmark
- Beach path
Do this
- 1Exit the current facility and head back down the beach.
- 2Re-enter the correct facility after confirming the location via nav point.
Confirmation
Navigate back to the beach and re-enter the correct facility is available as described. The map room is at the bottom floor of the main facility, confirmed by Cortana’s analysis.
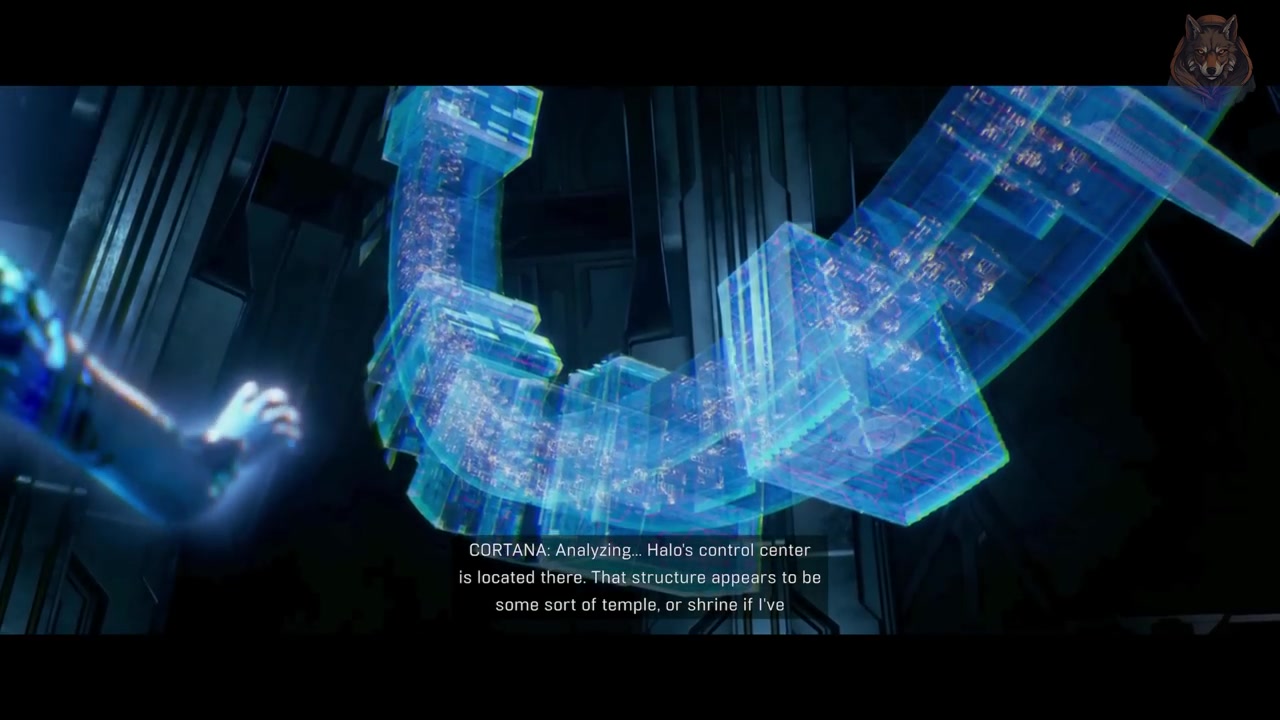
Target
Access the map room at the bottom floor of the main facility
- Checkpoint
- Bottom floor of main facility
- Landmark
- Map room entrance
Do this
- 1Drive through the facility without engaging enemies, as instructed.
- 2Proceed to the bottom floor where the map room is located.
Confirmation
Access the map room at the bottom floor of the main facility is available as described. The map room contains the coordinates to Halo’s control center, which is the ultimate objective.
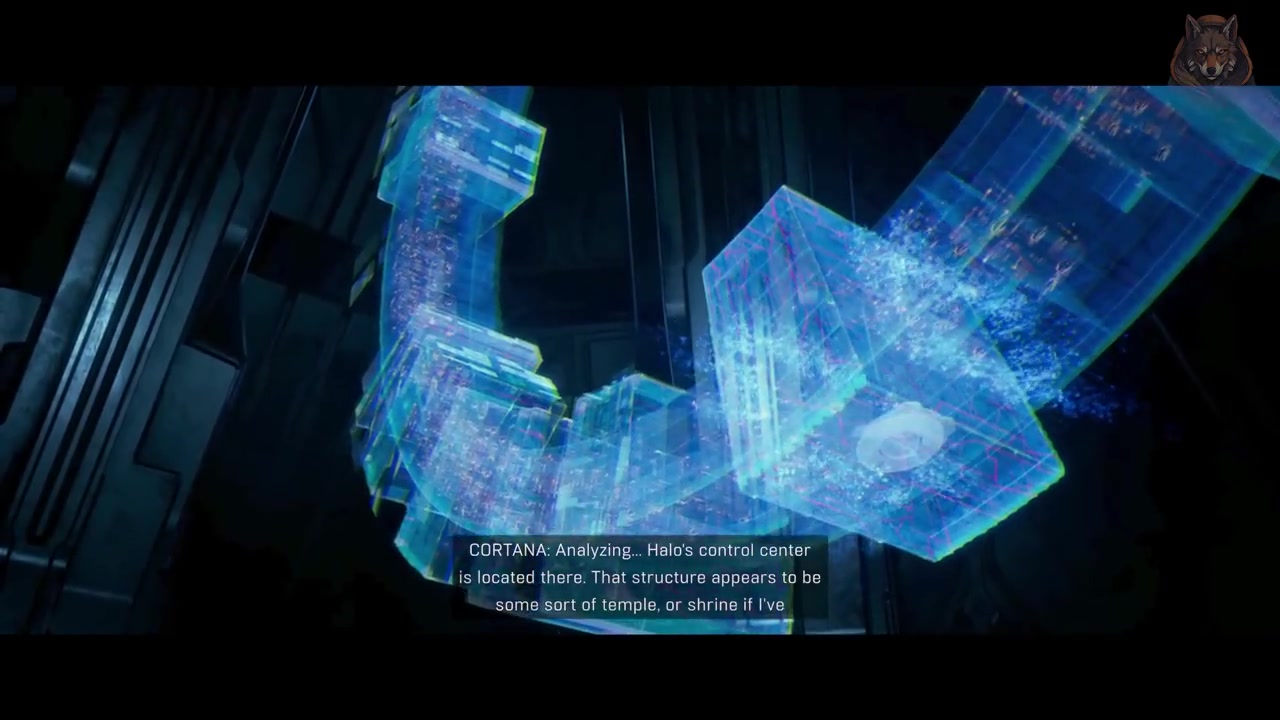
Target
Secure the map room and obtain the control center coordinates
- Checkpoint
- Map room interior
- Landmark
- Map room console
Do this
- 1Enter the map room and interact with the console to retrieve the coordinates.
- 2Confirm the location of the control center with Cortana.
Confirmation
Secure the map room and obtain the control center coordinates is available as described. Cortana confirms the control center is located at the coordinates obtained from the map room.
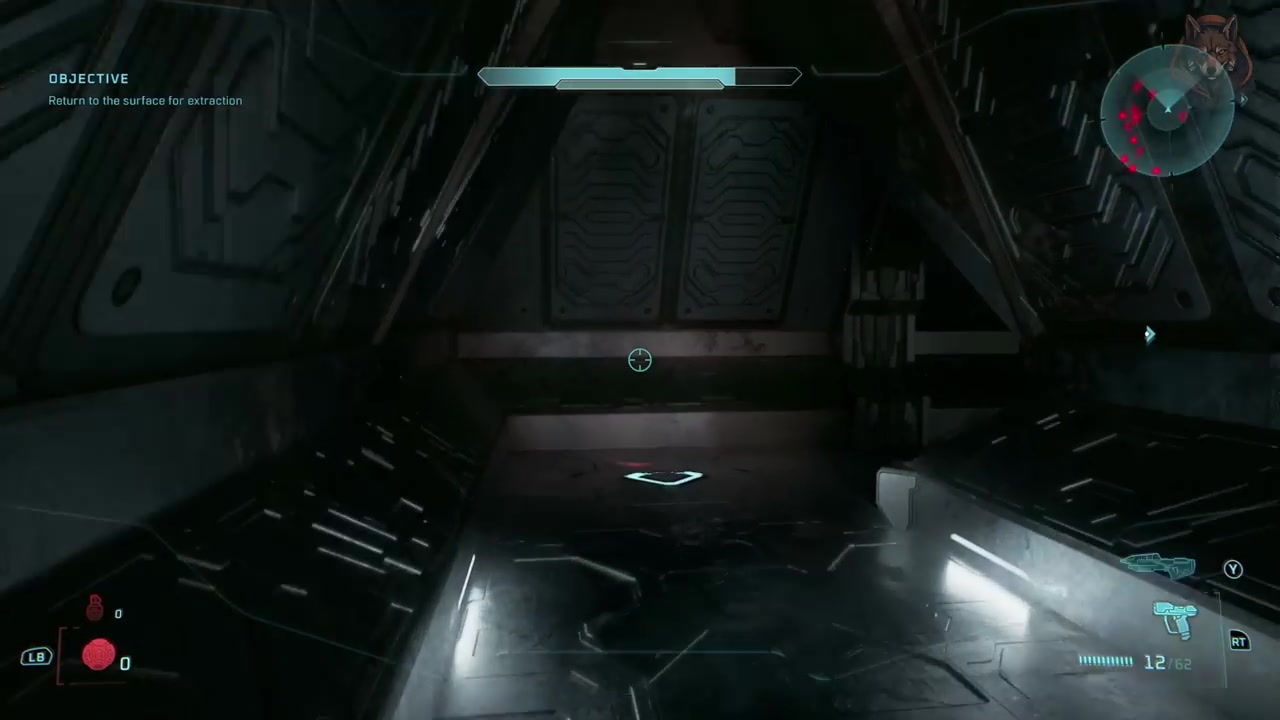
Target
Escape the facility and reach the top for extraction
- Checkpoint
- Extraction point
- Landmark
- Top-level room with dropship access
Do this
- 1Run back up to the top, avoiding most enemies by sprinting.
- 2Walk into the large room near the exit to reset spawn points.
Confirmation
Escape the facility and reach the top for extraction is available as described. Sneaking up the ramp facing backwards prevents ambushes from behind.
Target
Obtain flight plan and coordinate extraction
- Checkpoint
- Post-exit briefing
- Landmark
- Dropship landing zone
Do this
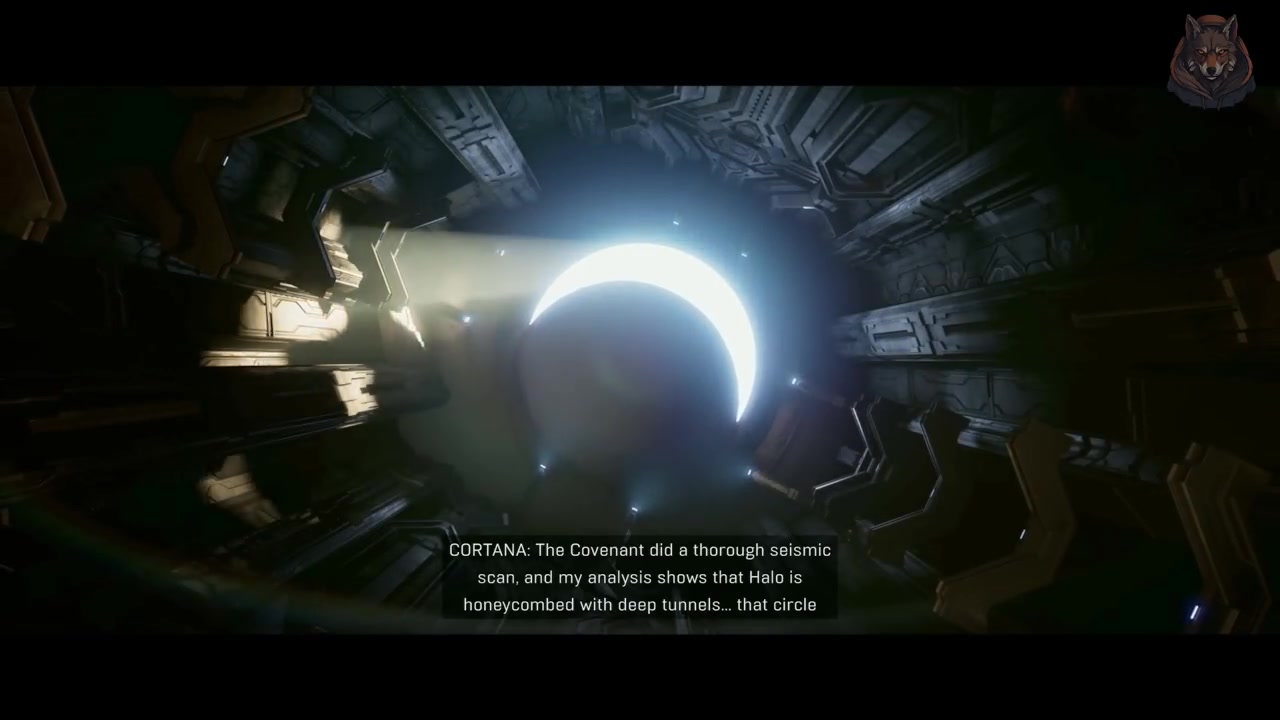
- 1Receive coordinates and flight plan from Cortana.
- 2Verify the coordinates are underground as per her analysis.
Confirmation
Obtain flight plan and coordinate extraction is available as described. The Covenant’s seismic scans reveal deep tunnels circling the ring—critical for extraction planning.
Target
Complete mission and initiate escape sequence
- Checkpoint
- Final extraction
- Landmark
- Dropship departure point
Do this
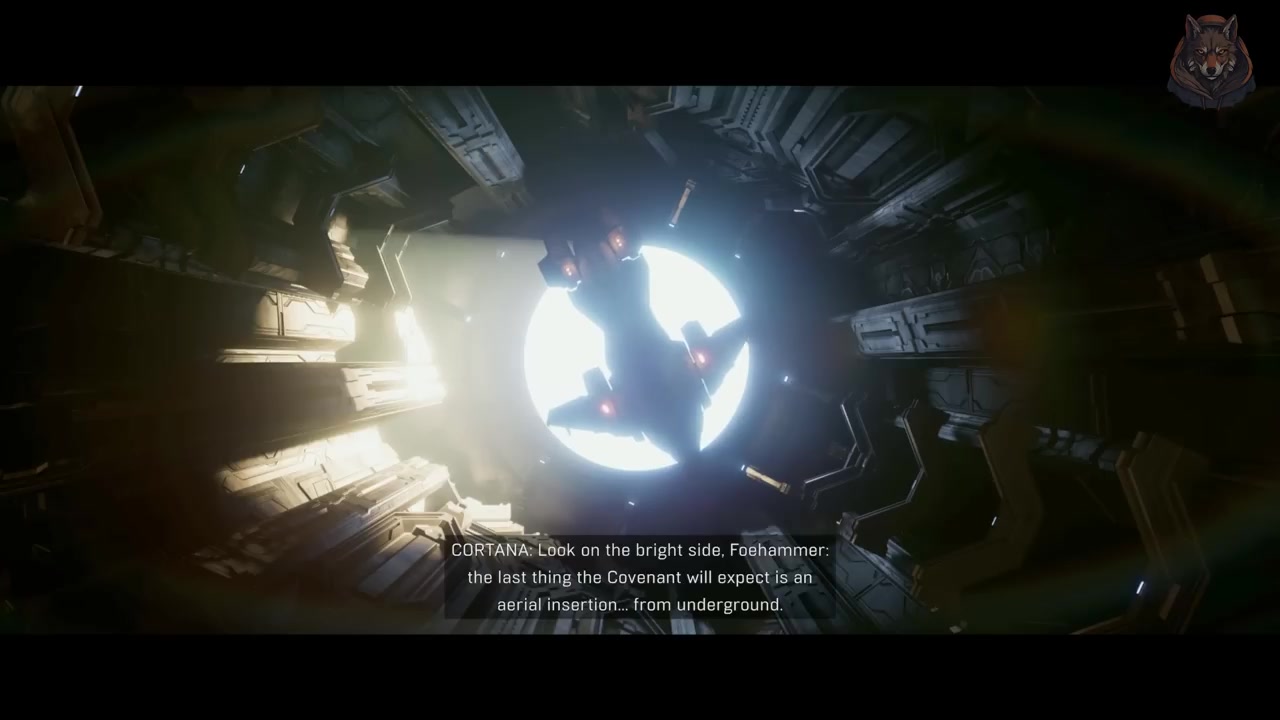
- 1Board the dropship after securing the map room.
- 2Execute the aerial insertion plan from underground as advised by Cortana.
Confirmation
Complete mission and initiate escape sequence is available as described. The mission ends with confirmation that the Master Chief and Cortana have located the control center.