
Quick answer
This is one of the most difficult missions on Legendary, requiring precise combat tactics, careful use of active camouflage and grenades, and strict avoidance of death to prevent repeated sequences.
Guide briefing
Halo Campaign Evolved: Truth and Reconciliation Legendary Walkthrough
This is one of the most difficult missions on Legendary, requiring precise combat tactics, careful use of active camouflage and grenades, and strict avoidance of death to prevent repeated sequences.
Applies to
- — Halo Campaign Evolved players seeking a Legendary-level walkthrough
- — Players struggling with the 'Truth and Reconciliation' mission
- — Those aiming to complete all 10 targets in the campaign
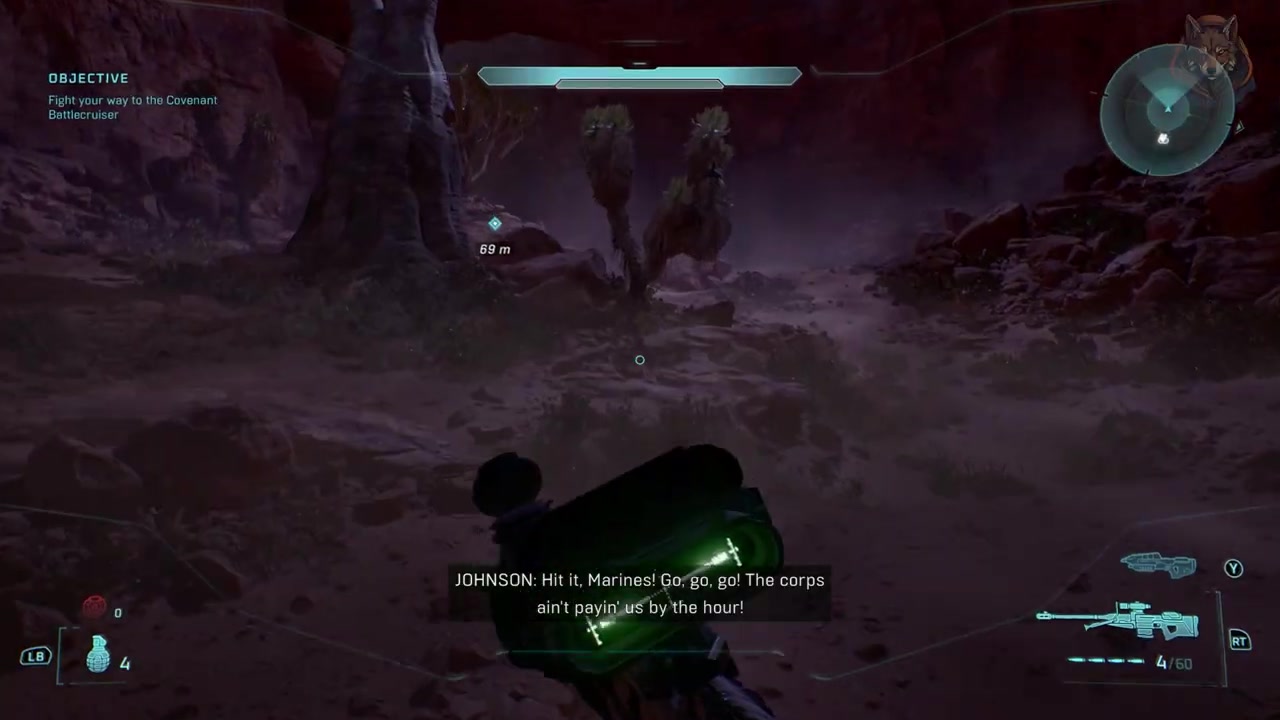
Target
Clear initial enemy positions and advance to the hill checkpoint
- Checkpoint
- Top of the hill
- Landmark
- Hill with multiple enemy groups
Do this
- 1Take out the first group of enemies near the starting position.
- 2Advance toward the next bend while using cover and flanking tactics.
Confirmation
Clear initial enemy positions and advance to the hill checkpoint is available as described. Keep sniper rifle bullets for later use; consider using it for long-range engagements.
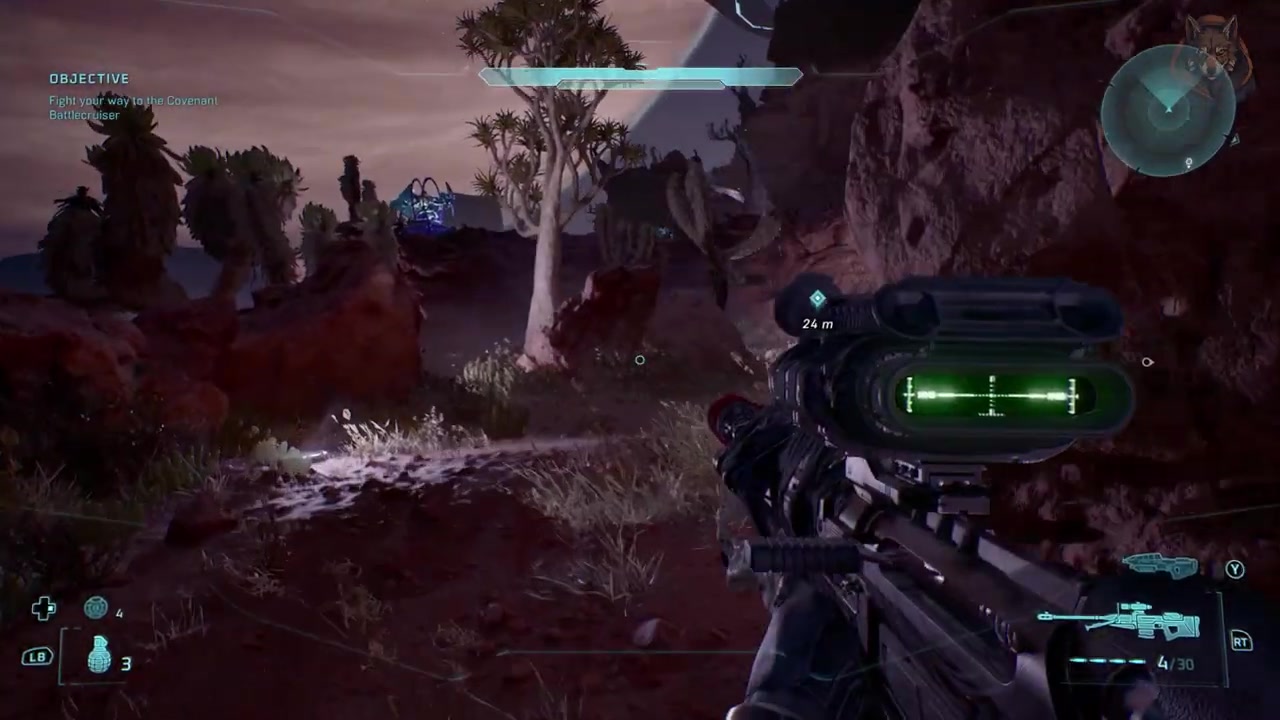
Target
Defeat enemies at the hill and proceed to the next area
- Checkpoint
- Top of the hill
- Landmark
- Hilltop with visible enemy spawn points
Do this
- 1After defeating the enemies at the hill, run past the next group of enemies.
- 2Use the motion tracker to detect movement around the next bend.
Confirmation
Defeat enemies at the hill and proceed to the next area is available as described. Cortana will direct fire team Charlie to flank left; follow her instructions.
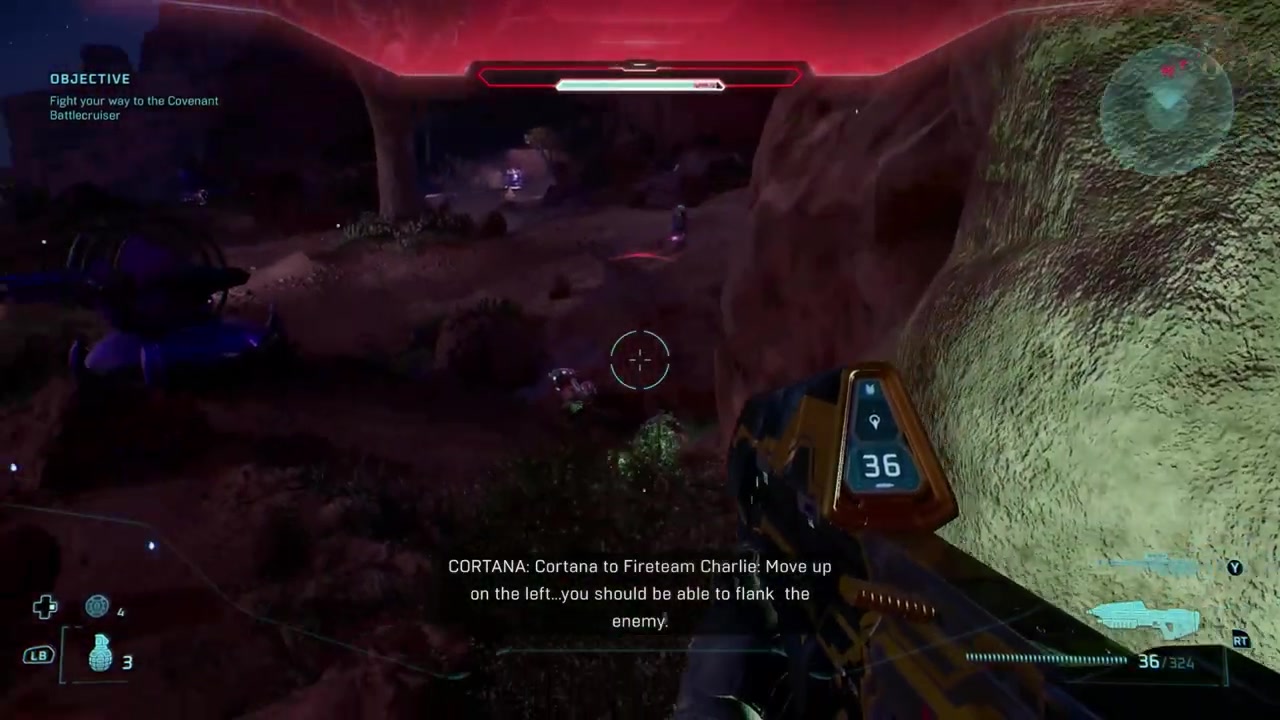
Target
Flank and eliminate enemies in the mid-section
- Checkpoint
- Left flank area
- Landmark
- Covered path with enemy encampment
Do this
- 1Move up on the left as directed by Cortana to flank the enemy.
- 2Engage and eliminate enemies in the open area before advancing further.
Confirmation
Flank and eliminate enemies in the mid-section is available as described. Active camouflage can be used briefly to avoid detection; use only when necessary.
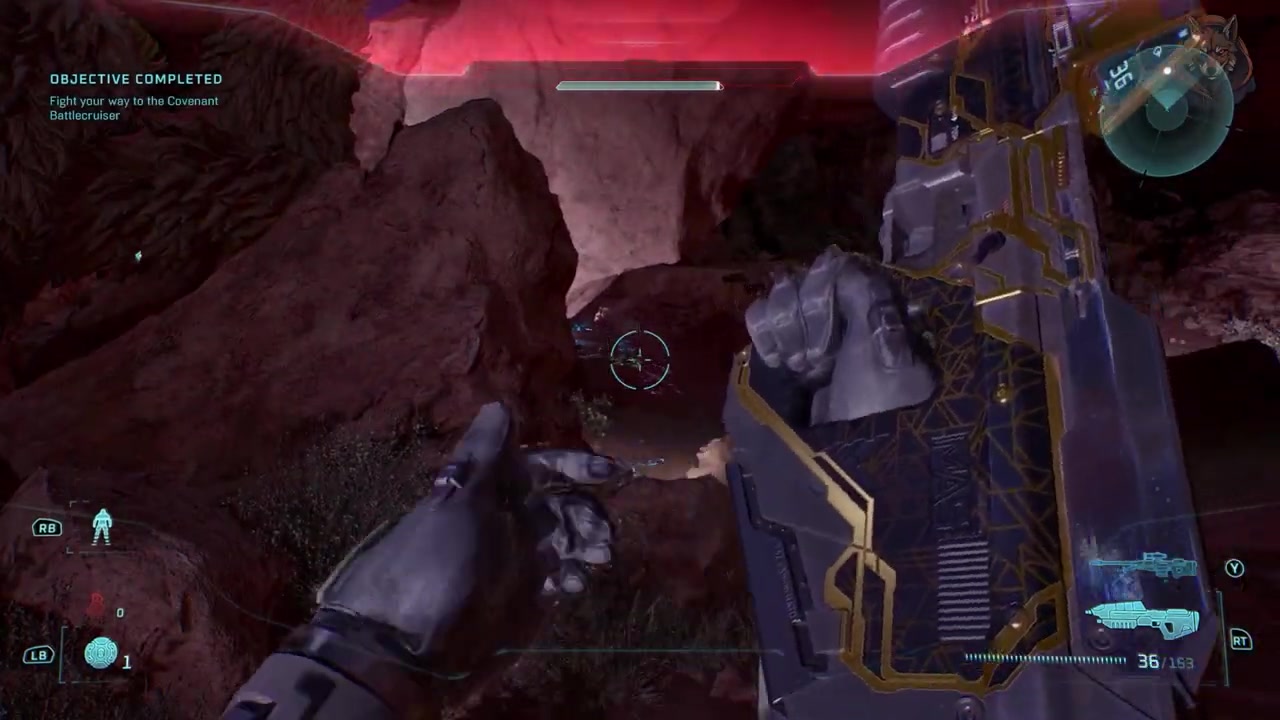
Target
Neutralize Covenant active camouflage units
- Checkpoint
- Grav lift loading zone
- Landmark
- Grav lift entrance with active camouflage devices
Do this
- 1Use active camouflage to move undetected through enemy lines.
- 2Open fire only after reaching the grav lift loading zone.
Confirmation
Neutralize Covenant active camouflage units is available as described. The device provides temporary invisibility; use it to bypass enemy patrols.
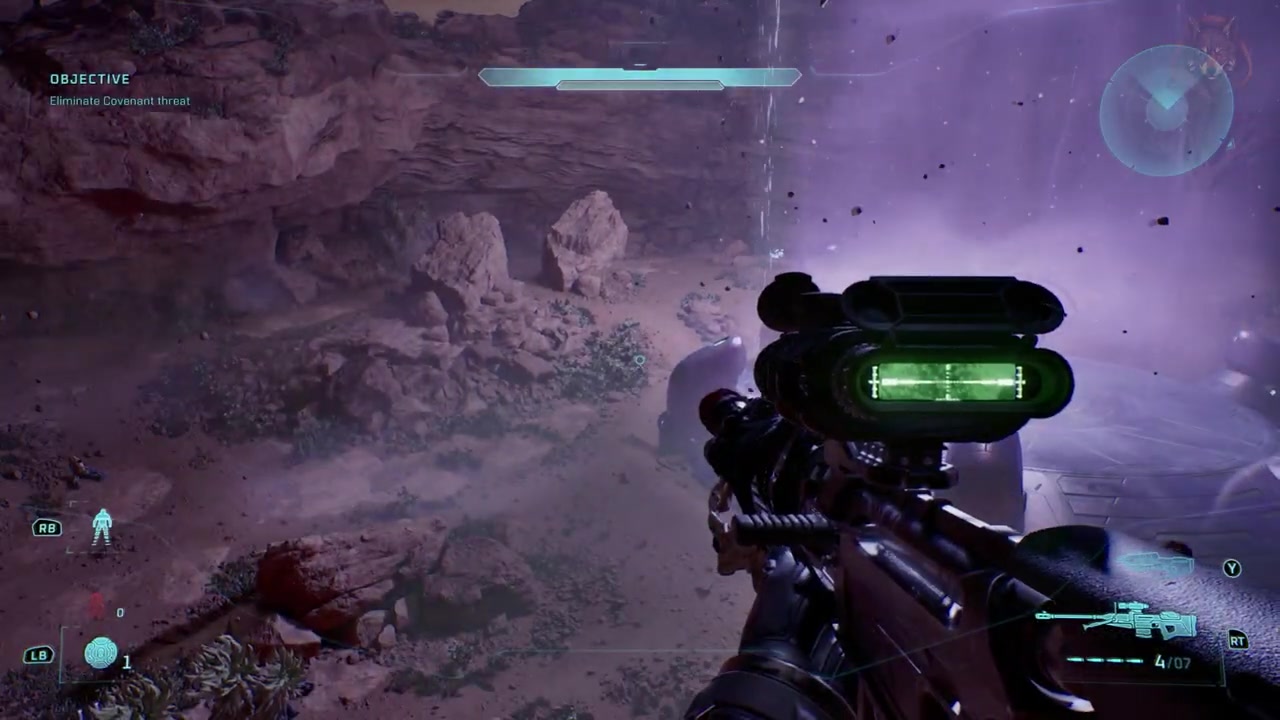
Target
Ambush at the grav lift loading zone and prepare for boarding
- Checkpoint
- Grav lift loading zone
- Landmark
- Back area with tree route and cover
Do this
- 1Jump over the tree route to reach cover behind the area.
- 2Pick off waves of enemies while managing ammo supply.
Confirmation
Ambush at the grav lift loading zone and prepare for boarding is available as described. Grenades are available nearby; use them to clear clusters of enemies.
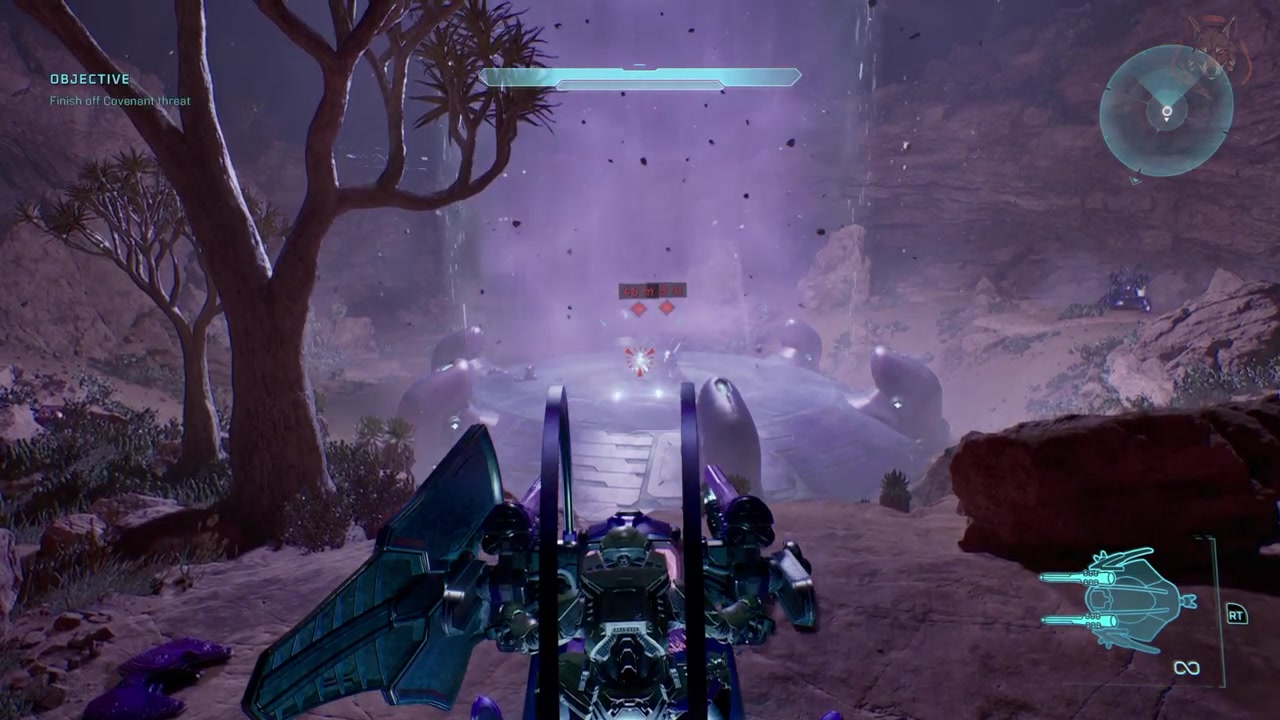
Target
Eliminate two Hunters and secure the grav lift
- Checkpoint
- Grav lift bay
- Landmark
- Grav lift with Hunter spawns nearby
Do this
- 1Use the grav lift for cover and circle around to attack Hunters from behind.
- 2Use grenades if available to assist in taking down Hunters.
Confirmation
Eliminate two Hunters and secure the grav lift is available as described. Sergeant Johnson can distract Hunters; use his presence for sneak attacks.
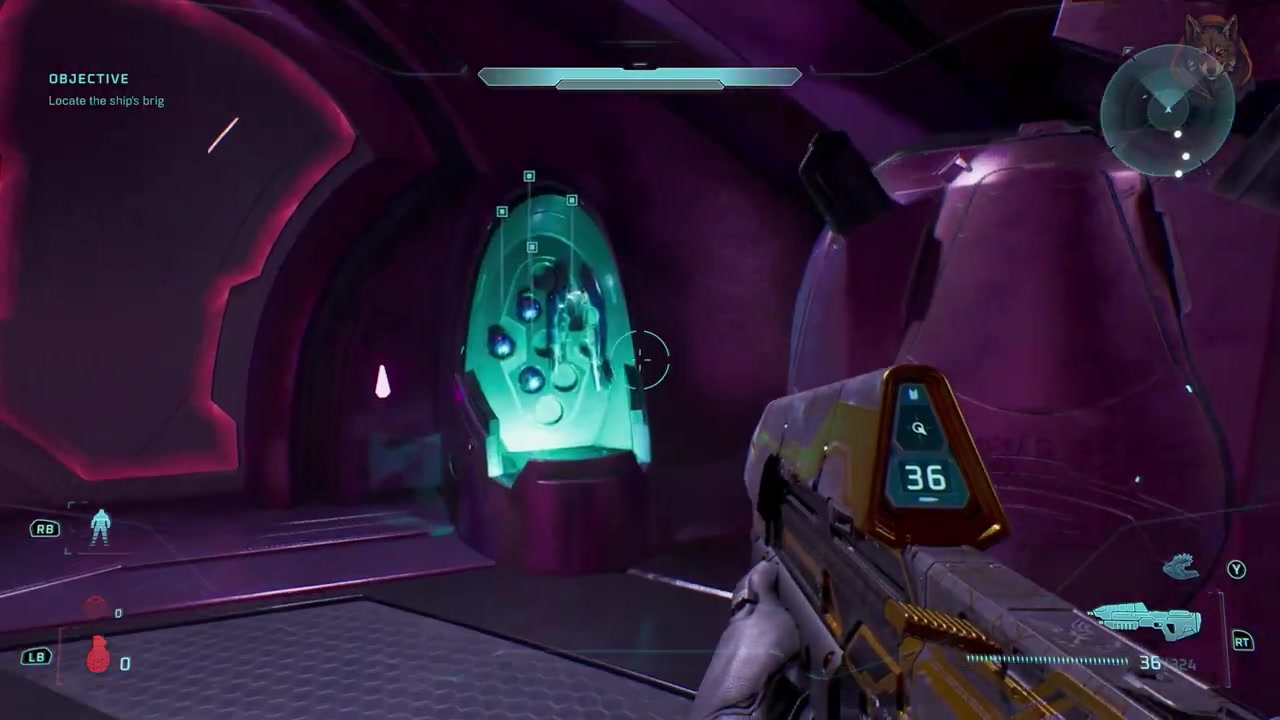
Target
Board the ship via the grav lift and locate the captain's neural interface
- Checkpoint
- Inside the ship corridor
- Landmark
- Ship corridor with door shields and narrow passage
Do this
- 1Once inside the ship, hide in the corridor that opens at the start.
- 2Use the door and corridor as shields to slowly pick off enemies.
Confirmation
Board the ship via the grav lift and locate the captain's neural interface is available as described. Keep weapons fully loaded; energy sword users should avoid charging into close quarters.
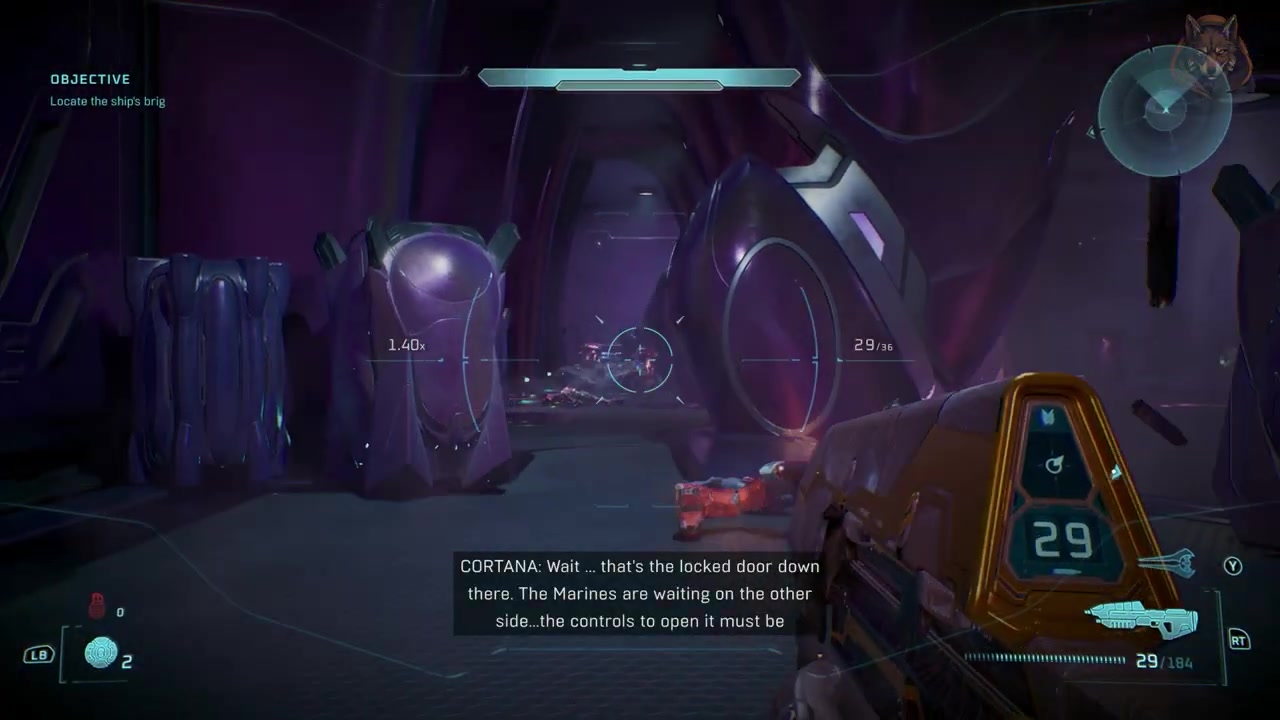
Target
Clear the hanger and open the lock door for Sergeant Johnson
- Checkpoint
- Hanger control room
- Landmark
- Side passages leading to lock door
Do this
- 1Head back to the grav lift bay and take side passages for alternate route.
- 2Locate and interact with the controls to open the lock door.
Confirmation
Clear the hanger and open the lock door for Sergeant Johnson is available as described. The skull in the right-hand room pushes enemies into one area, simplifying engagement.
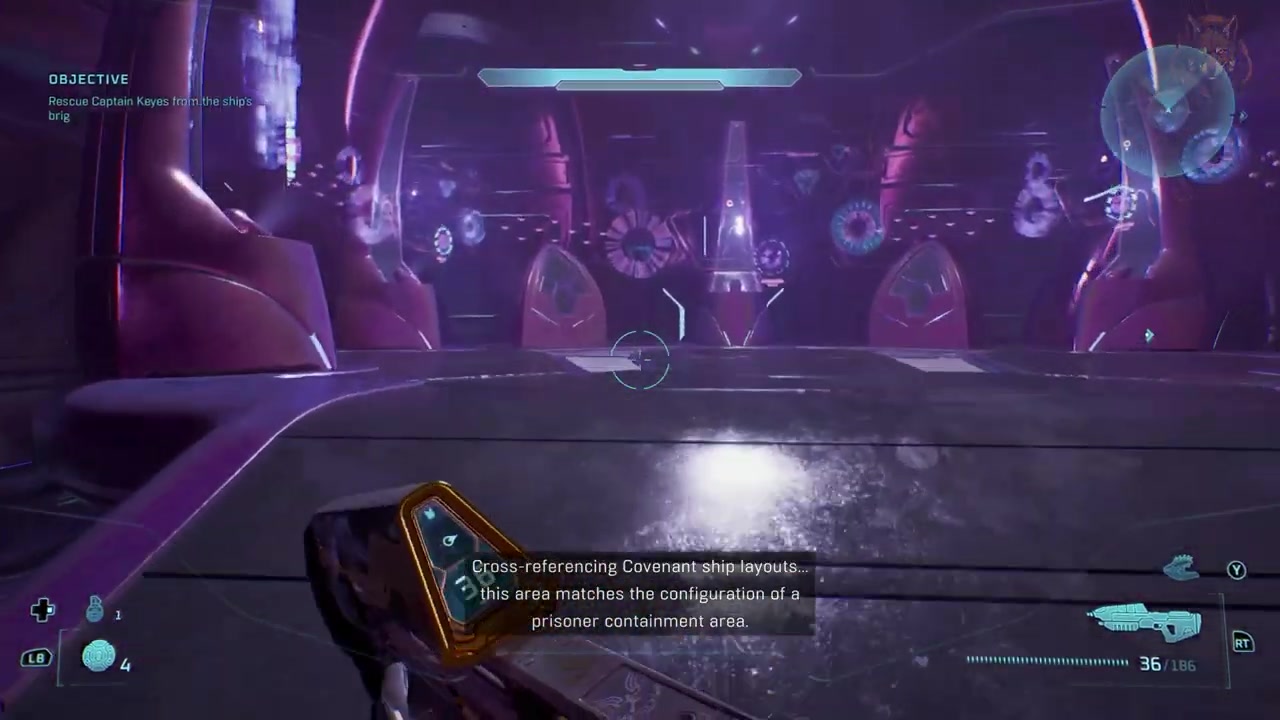
Target
Secure the ship’s command center and locate the captain
- Checkpoint
- Command center hallway
- Landmark
- Prisoner containment area with holding cells
Do this
- 1Cross-reference ship layouts to identify detention stations.
- 2Search holding cells for the captain’s location.
Confirmation
Secure the ship’s command center and locate the captain is available as described. Cortana accesses the Covenant battleet to locate an override code for doors.
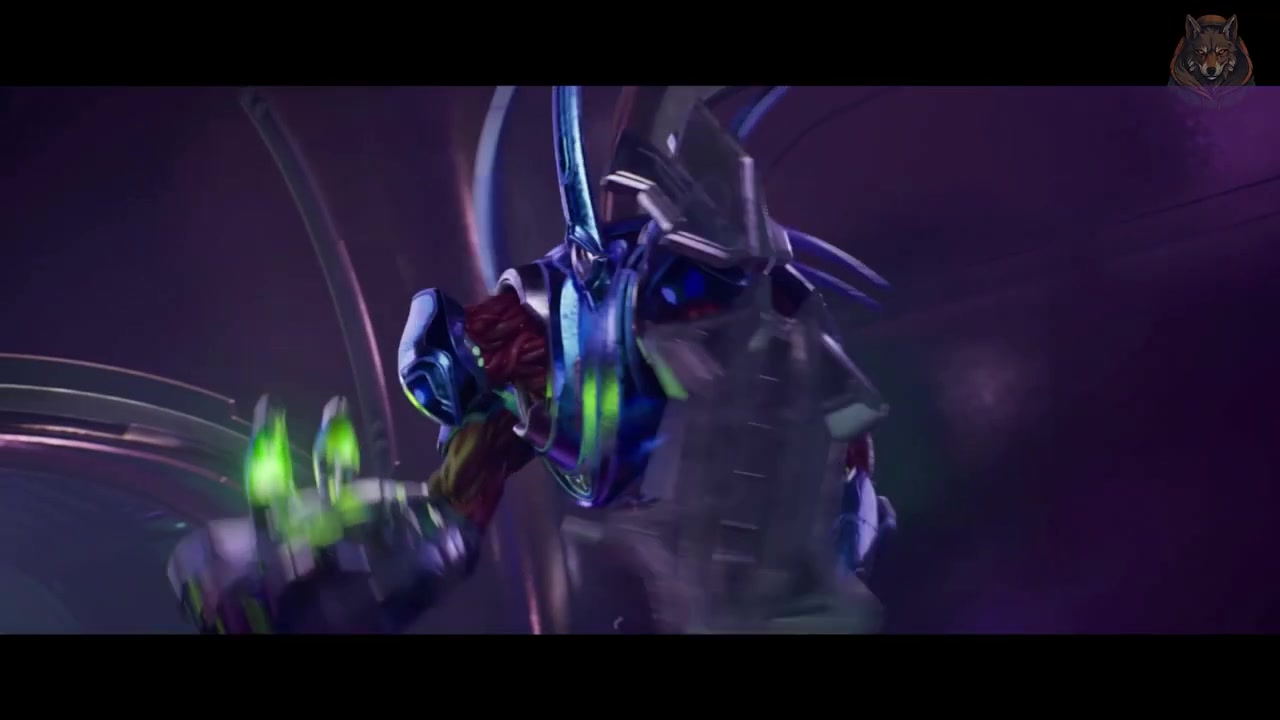
Target
Escape the ship and extract with the captain
- Checkpoint
- Drop ship bay
- Landmark
- Docked Covenant drop ship
Do this
- 1Use the panel to unlock the drop ship after clearing surrounding enemies.
- 2Mount up and board the drop ship to initiate escape.
Confirmation
Escape the ship and extract with the captain is available as described. Cortana and the chief can board a drop ship if extraction fails; use this option if needed.