
Quick answer
Destroy three pulse generators and the final generator, then escape via teleportation grid.
Guide briefing
Halo Campaign Evolved: Two Betrayals Legendary Walkthrough
Destroy three pulse generators and the final generator, then escape via teleportation grid.
Applies to
- — Halo Campaign Evolved
- — Legendary difficulty
- — Mission 8: Two Betrayals
Target
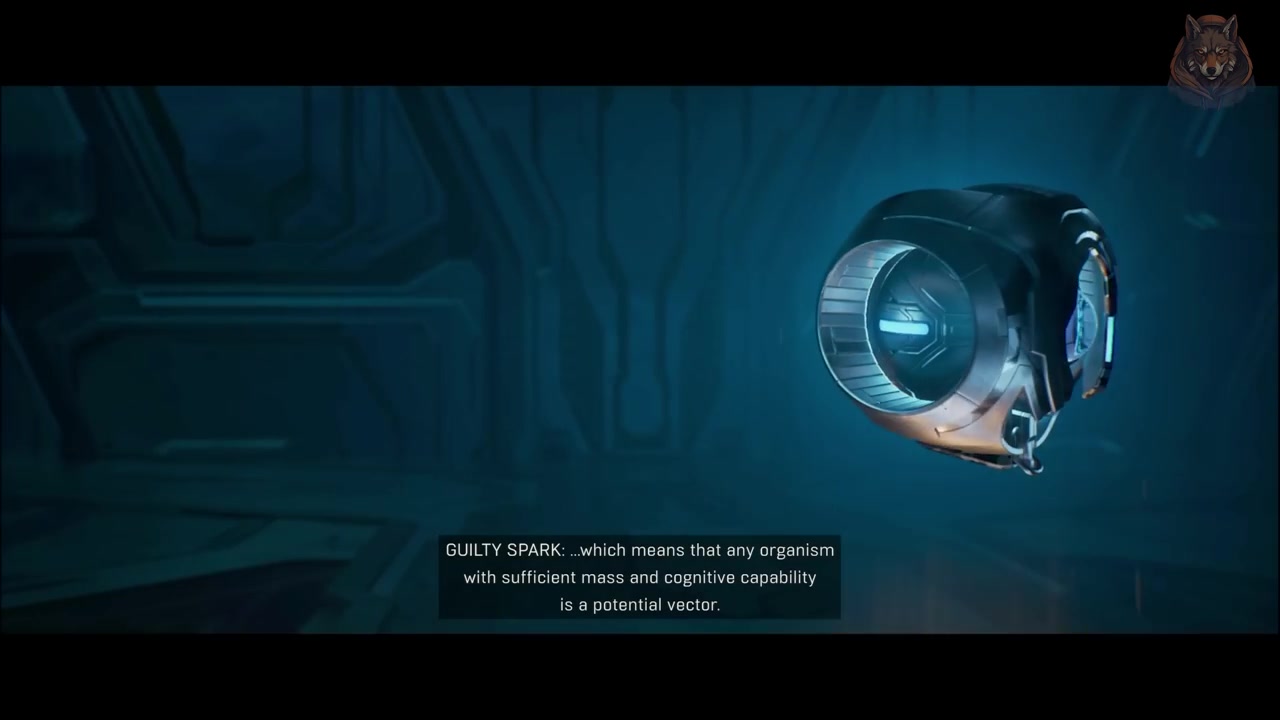
Initiate mission sequence and begin combat phase
- Checkpoint
- Start of mission briefing and initial drone encounter
- Landmark
- Control room entrance
Do this
- 1Listen to the initial dialogue between Cortana and the AI, establishing the mission context.
- 2Engage and destroy three drones with standard weapons, then kill the final drone over the platform to collect the laser weapon it drops.
Confirmation
Initiate mission sequence and begin combat phase is available as described. The laser weapon is critical for surviving later enemy waves. The mission begins with a scripted cutscene that sets up the betrayal narrative.
Target
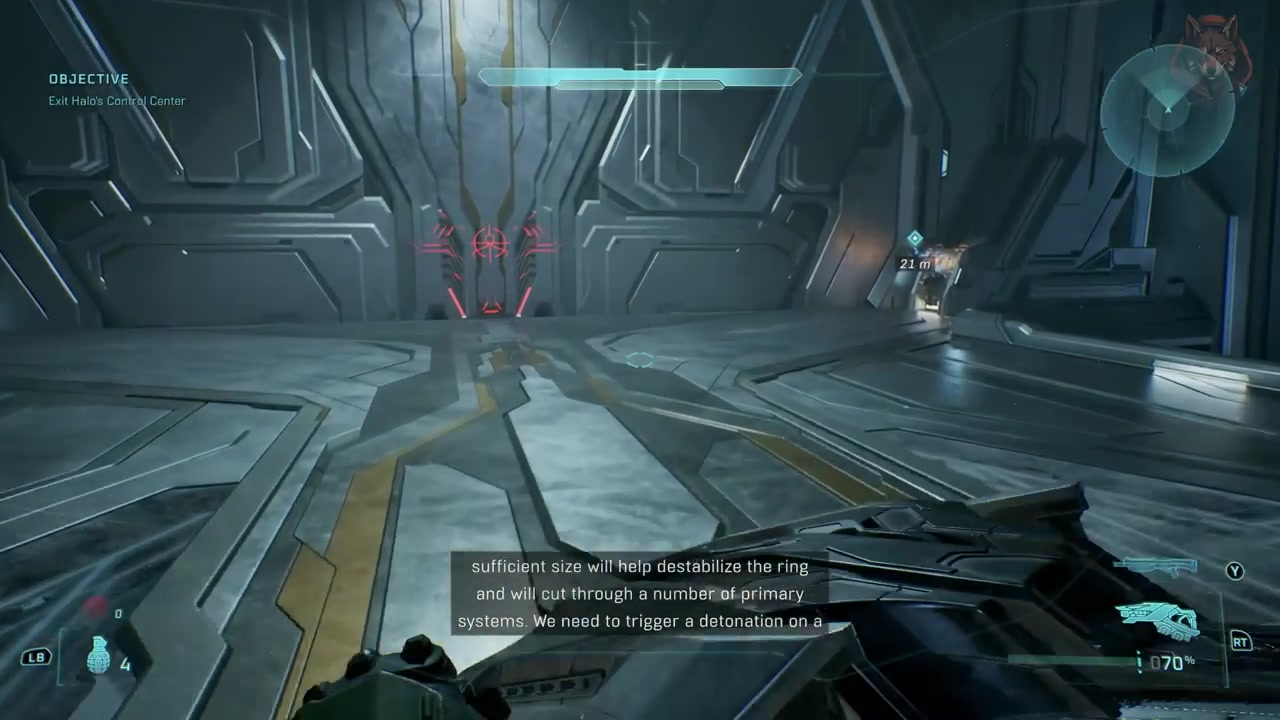
Destroy first pulse generator
- Checkpoint
- After initial combat, proceed to bridge and neutralize first generator
- Landmark
- Bridge leading to canyon entrance
Do this
- 1Use the sentinel beam to clear enemies outside the door, then enter and grab the new sentinel beam.
- 2Head up the tower to obtain the sniper rifle, then proceed to the bridge area to engage elites and destroy generators.
Confirmation
Destroy first pulse generator is available as described. The objective is to buy time by disabling the pulse generator. A Banshee is required to reach the generator location efficiently.
Target
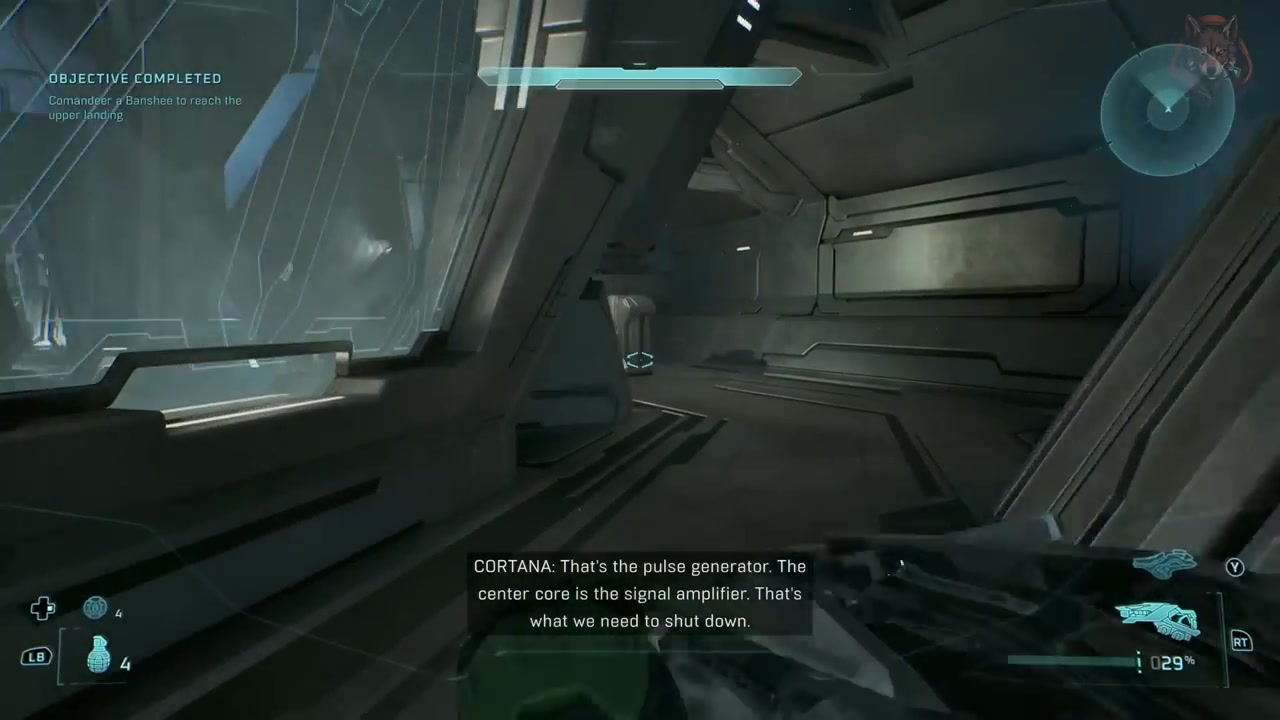
Neutralize second pulse generator
- Checkpoint
- After first generator destruction, move to adjacent canyon
- Landmark
- Adjacent canyon entrance
Do this
- 1Commandeer a Banshee and fly to the second pulse generator location.
- 2Destroy the relay points inside the structure, then exit and use the fuel rod cannon to eliminate remaining enemies.
Confirmation
Neutralize second pulse generator is available as described. The second generator’s central core must be offline for the mission to progress. The fuel rod cannon is highly recommended for efficiency.
Target
Destroy third pulse generator
- Checkpoint
- After second generator, proceed through canyon to final relay
- Landmark
- Final relay chamber
Do this
- 1Enter the final canyon section and use the beam weapon to clear enemies.
- 2Run past tanks and other tough enemies to the bridge, then engage elites and use grenades/shotgun to clear the area.
Confirmation
Destroy third pulse generator is available as described. The bridge section requires careful timing; running quickly past enemies is safer than engaging them head-on.
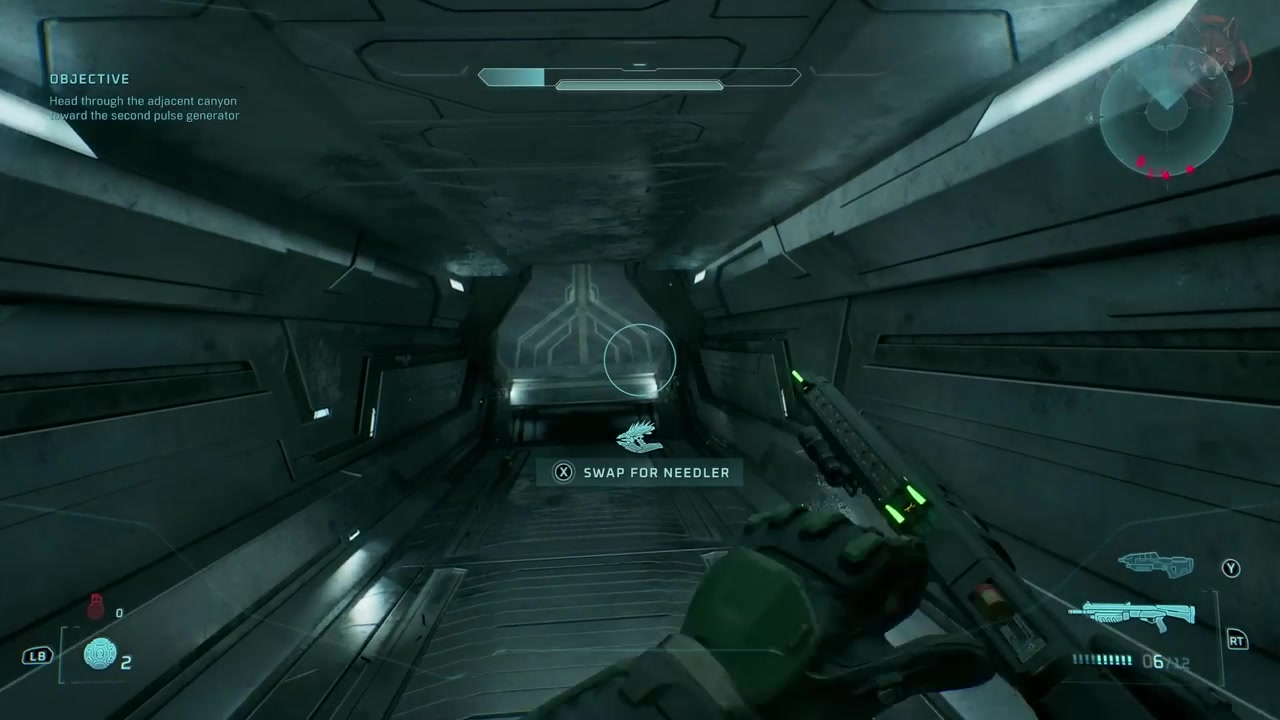
Target
Reach the Pillar of Autumn and access captain's neural implants
- Checkpoint
- After third generator, locate Pillar of Autumn and activate final relay
- Landmark
- Pillar of Autumn crash site
Do this
- 1Take a right into the energy bridge, stop at the small tunnel, and kill the shotgun-wielding enemy before entering the next room.
- 2Use grenades and shotgun to clear enemies in the next room, then take the elevator to the next section.
Confirmation
Reach the Pillar of Autumn and access captain's neural implants is available as described. This section is designed to prevent accidental entry into a high-risk area; stopping at the tunnel is essential.
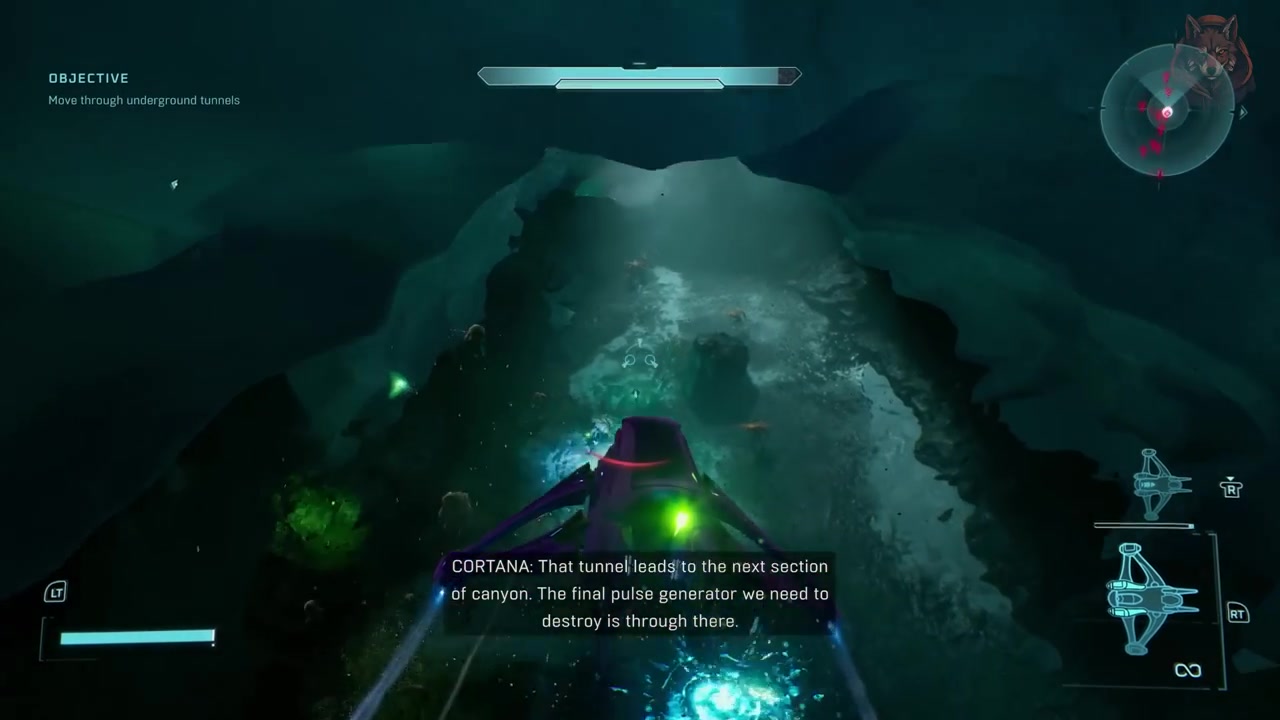
Target
Activate final relay and prepare for escape
- Checkpoint
- After accessing Pillar of Autumn, activate final relay
- Landmark
- Ice tunnel leading to final relay
Do this
- 1Fly the Banshee through the ice tunnel, activating the switch before the next door.
- 2Destroy the conduits and avoid fighting enemies; once done, blow your way out with the fuel rod cannon.
Confirmation
Activate final relay and prepare for escape is available as described. The final relay is the last major objective before escaping. The fuel rod cannon is useful for clearing obstacles quickly.
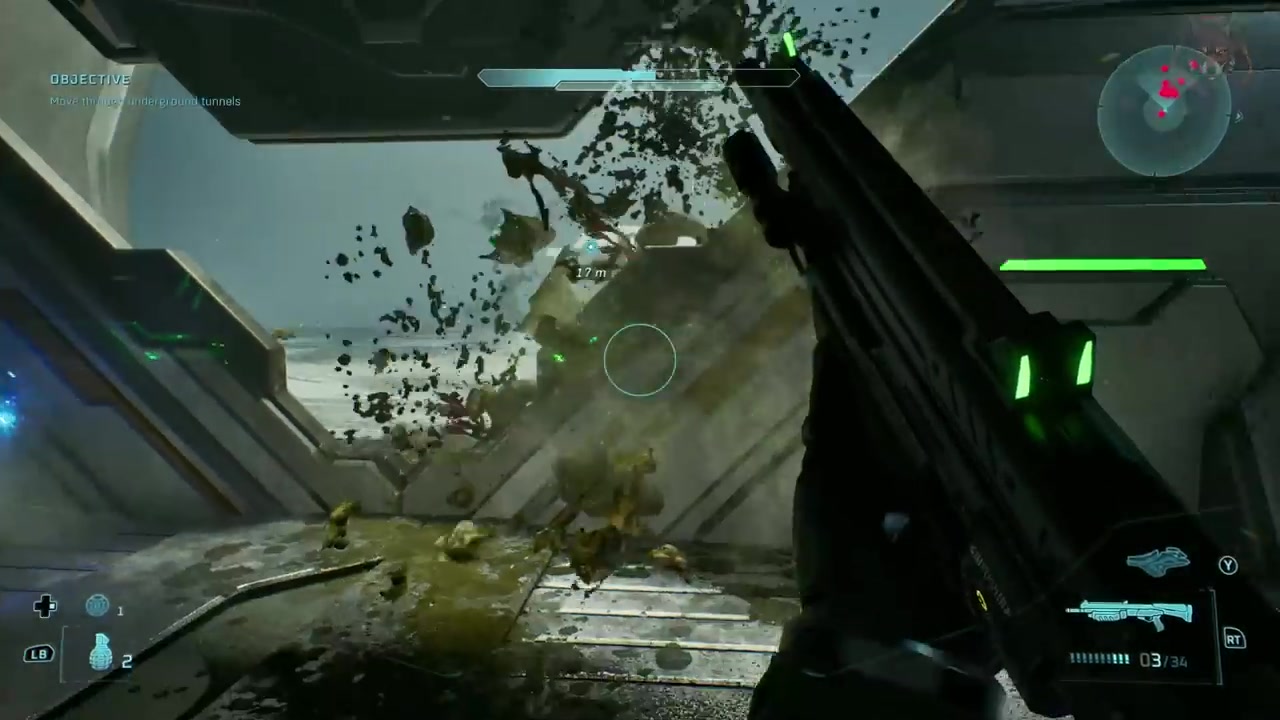
Target
Destroy final pulse generator and escape
- Checkpoint
- After final relay, reach the final generator location
- Landmark
- Final generator chamber
Do this
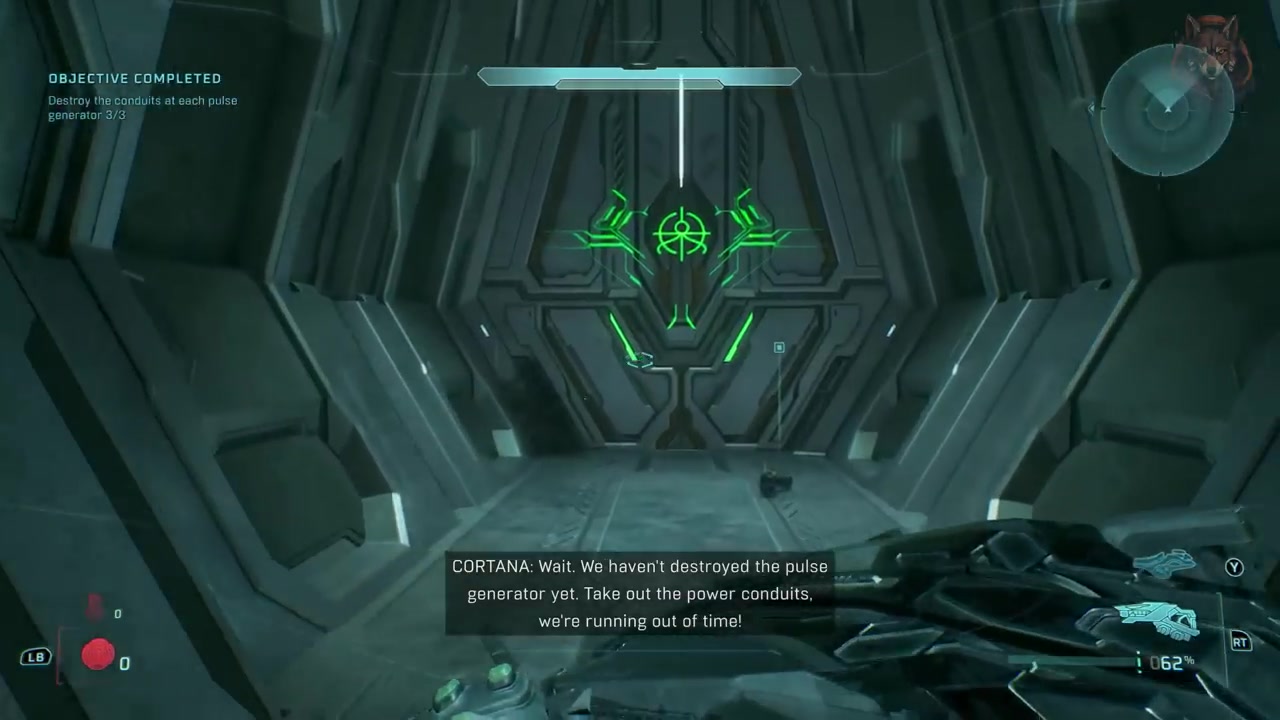
- 1Run across the platforms while avoiding enemies, using the fuel rod cannon if needed.
- 2Destroy the final relay and then the pulse generator itself, ensuring no enemies remain.
Confirmation
Destroy final pulse generator and escape is available as described. The final generator is located behind a set of platforms; the fuel rod cannon helps clear enemies quickly.
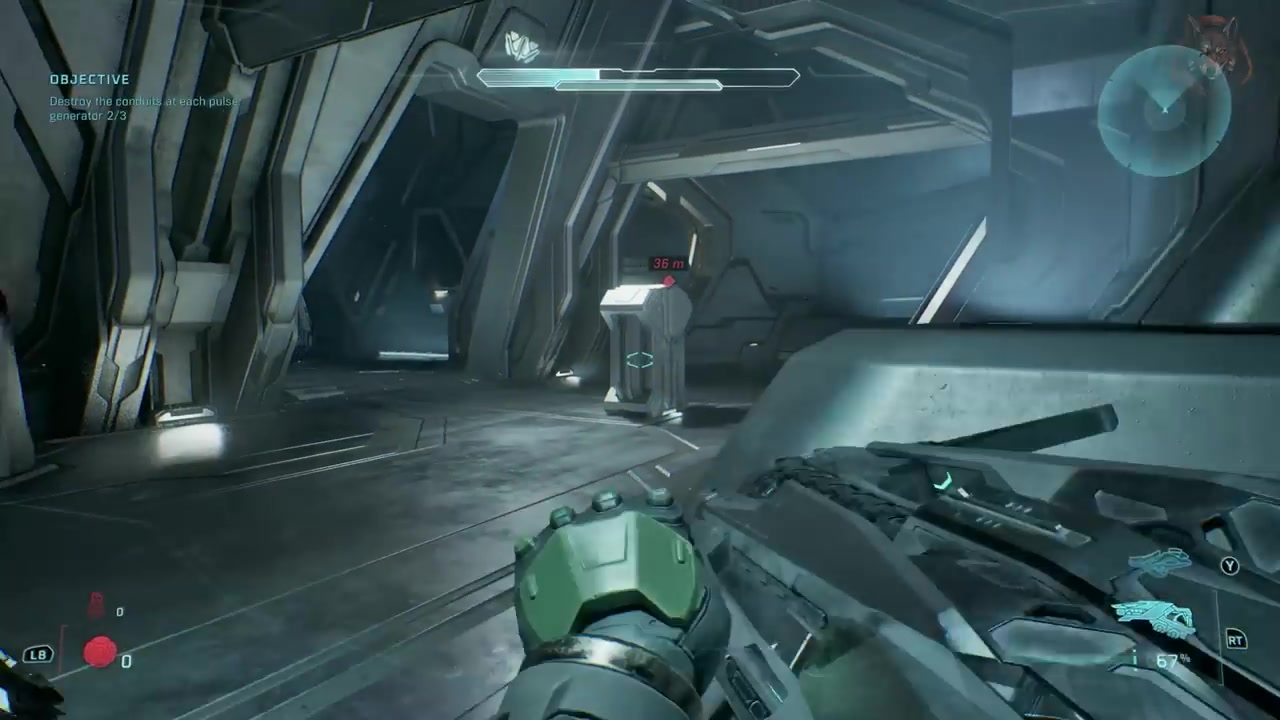
Target
Escape via teleportation grid
- Checkpoint
- After destroying final generator, initiate escape sequence
- Landmark
- Teleportation grid activation point
Do this
- 1Grab the final banshee and use it to clear drones and head inside the final chamber.
- 2Use the beam weapon to deal with remaining drones, then destroy the final relay from the exit to escape.
Confirmation
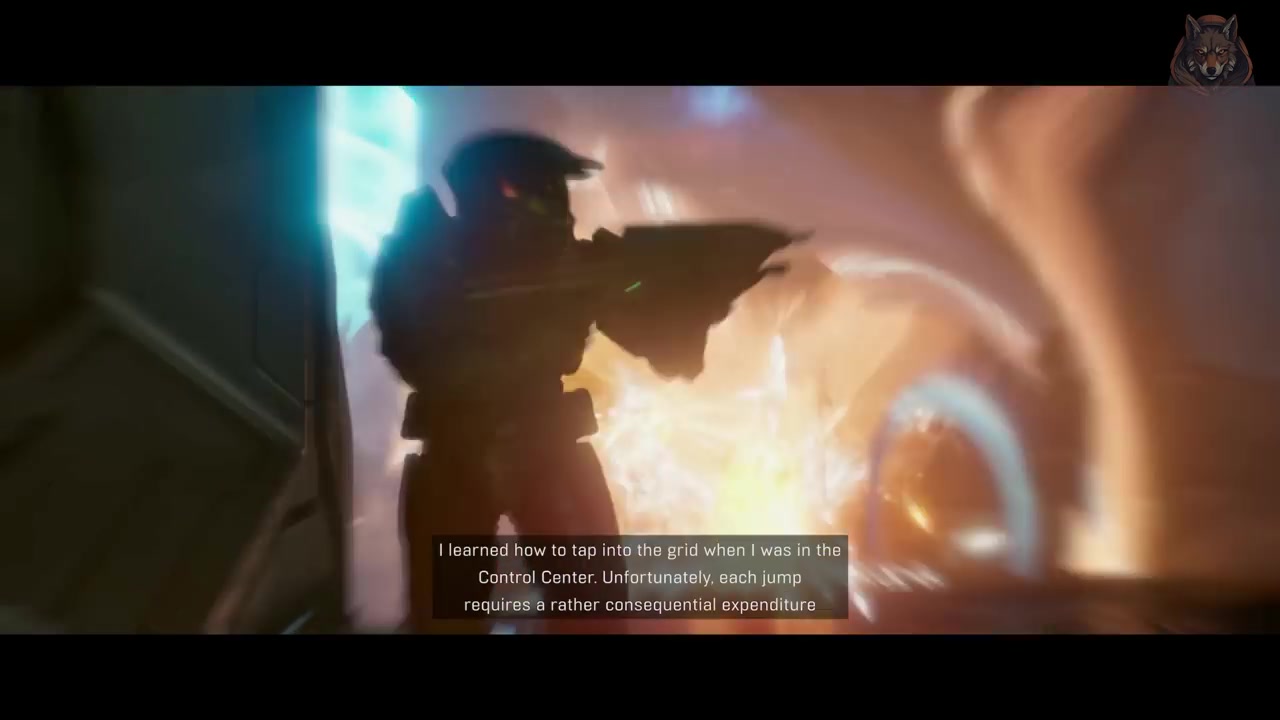
Escape via teleportation grid is available as described. The teleportation grid is the only viable escape method after the final generator is destroyed. Energy expenditure is high.
Target
End mission and transition to next content
- Checkpoint
- Post-mission summary and credits
- Landmark
- Mission end screen
Do this
- 1Wait for the final confirmation message indicating mission success.
- 2Proceed to the next video or mission as prompted.
Confirmation
End mission and transition to next content is available as described. The mission concludes with a brief dialogue exchange and a call to action for viewers.
Target
Complete mission and confirm success
- Checkpoint
- After escaping via teleportation grid
- Landmark
- Captain's location
Do this
- 1Use the teleportation grid to reach the captain, confirming mission completion.
- 2Confirm the final target is neutralized and exit the area.
Confirmation
Complete mission and confirm success is available as described. The teleportation grid is the final step; energy cost is significant but necessary for escape.