
Quick answer
Open the pause menu, enter Settings, scroll to Account Settings, and use the separate Audio Language and Text Language selectors. Back out when both choices are correct; the source says they save automatically and normally take effect immediately without restarting the game.
Guide briefing
Change Audio and Text Language from Account Settings
The language controls sit one level deeper than the general Settings page. This four-checkpoint route opens the pause panel, reaches Account Settings, changes interface text separately from spoken audio, and exits through the game's automatic-save path. Every step is tied to the single source's complete timed transcript and a matching 1080p frame.
Before you start
- — Reach the main menu or pause an active mission.
- — Use the controller's Options or Menu button shown by the source.
- — Decide whether you want to change interface text, spoken audio, or both.
Applies to
- — Players at the main menu or paused during a mission
- — Controller navigation using the Options or Menu button
- — Anyone who needs different spoken-audio and interface-text languages
Target
Open the Settings screen
- Checkpoint
- The game is at the main menu or paused during a mission.
- Landmark
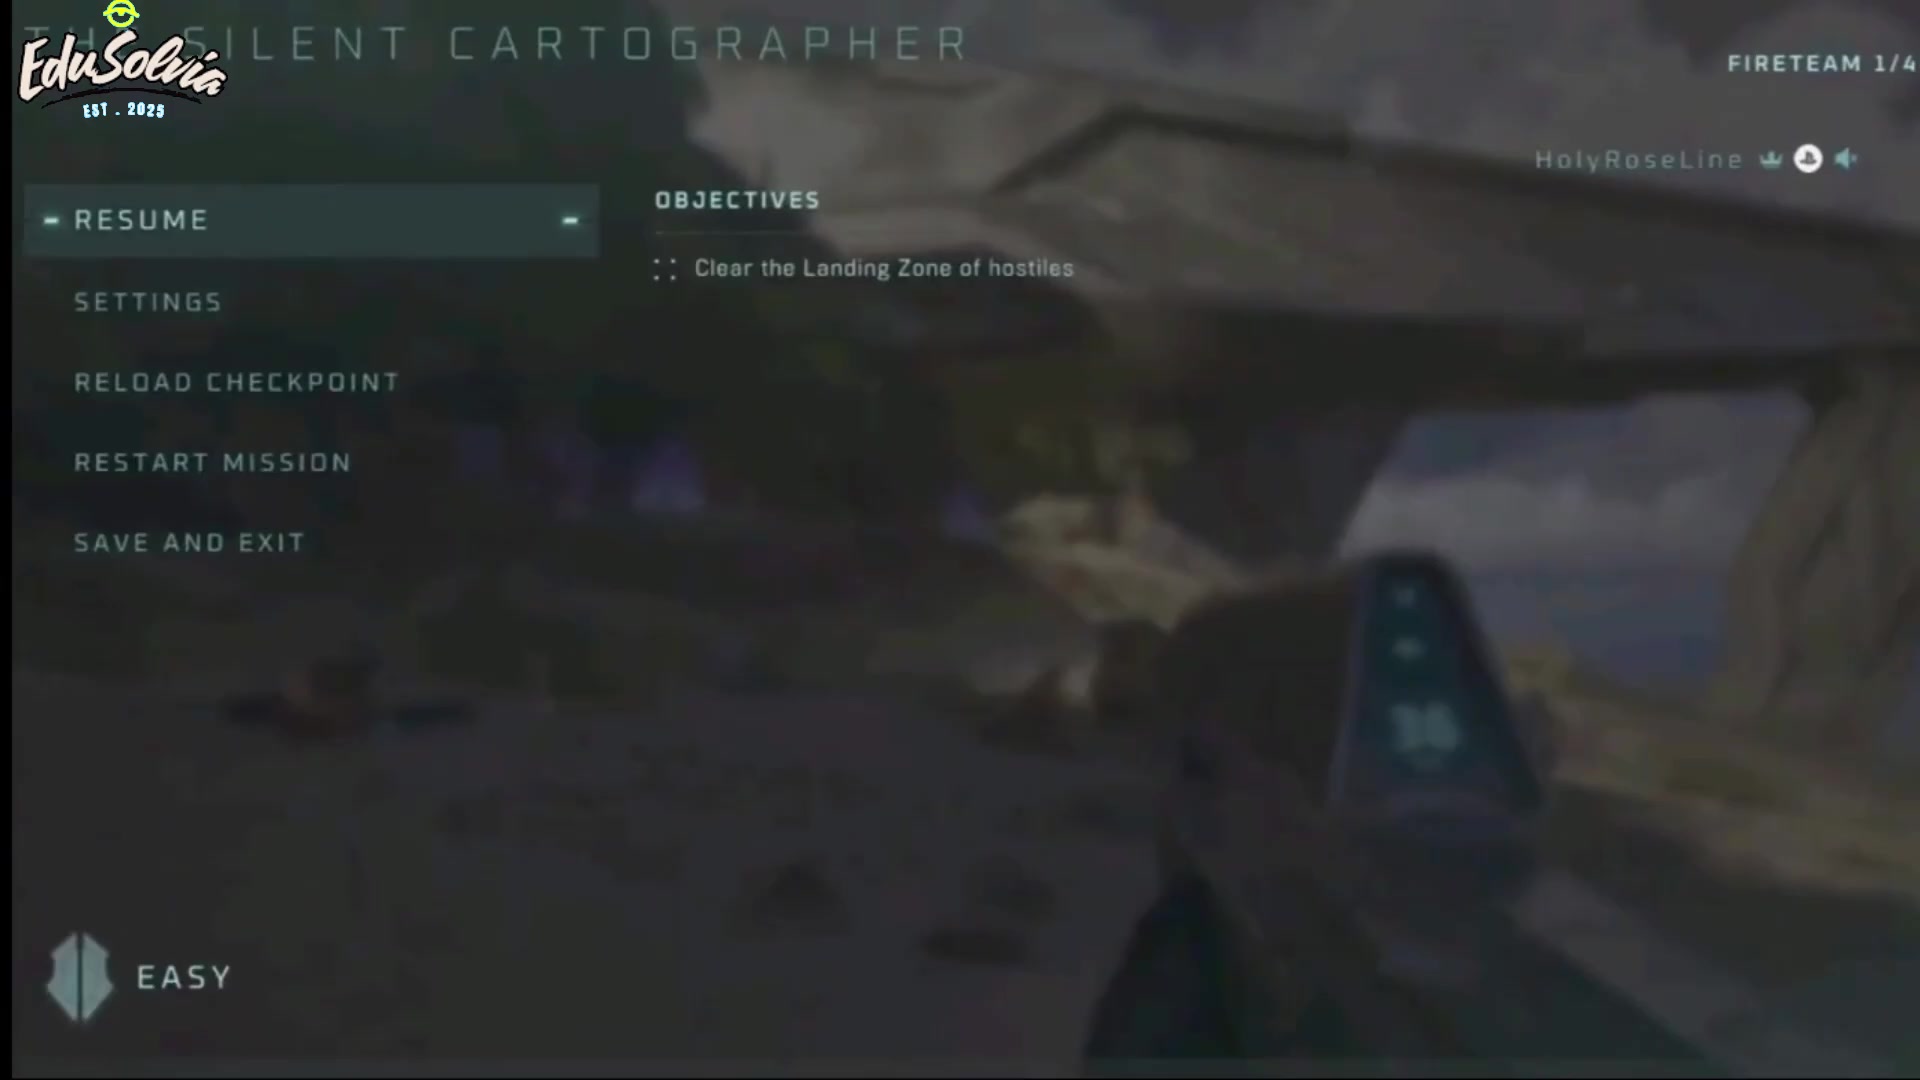
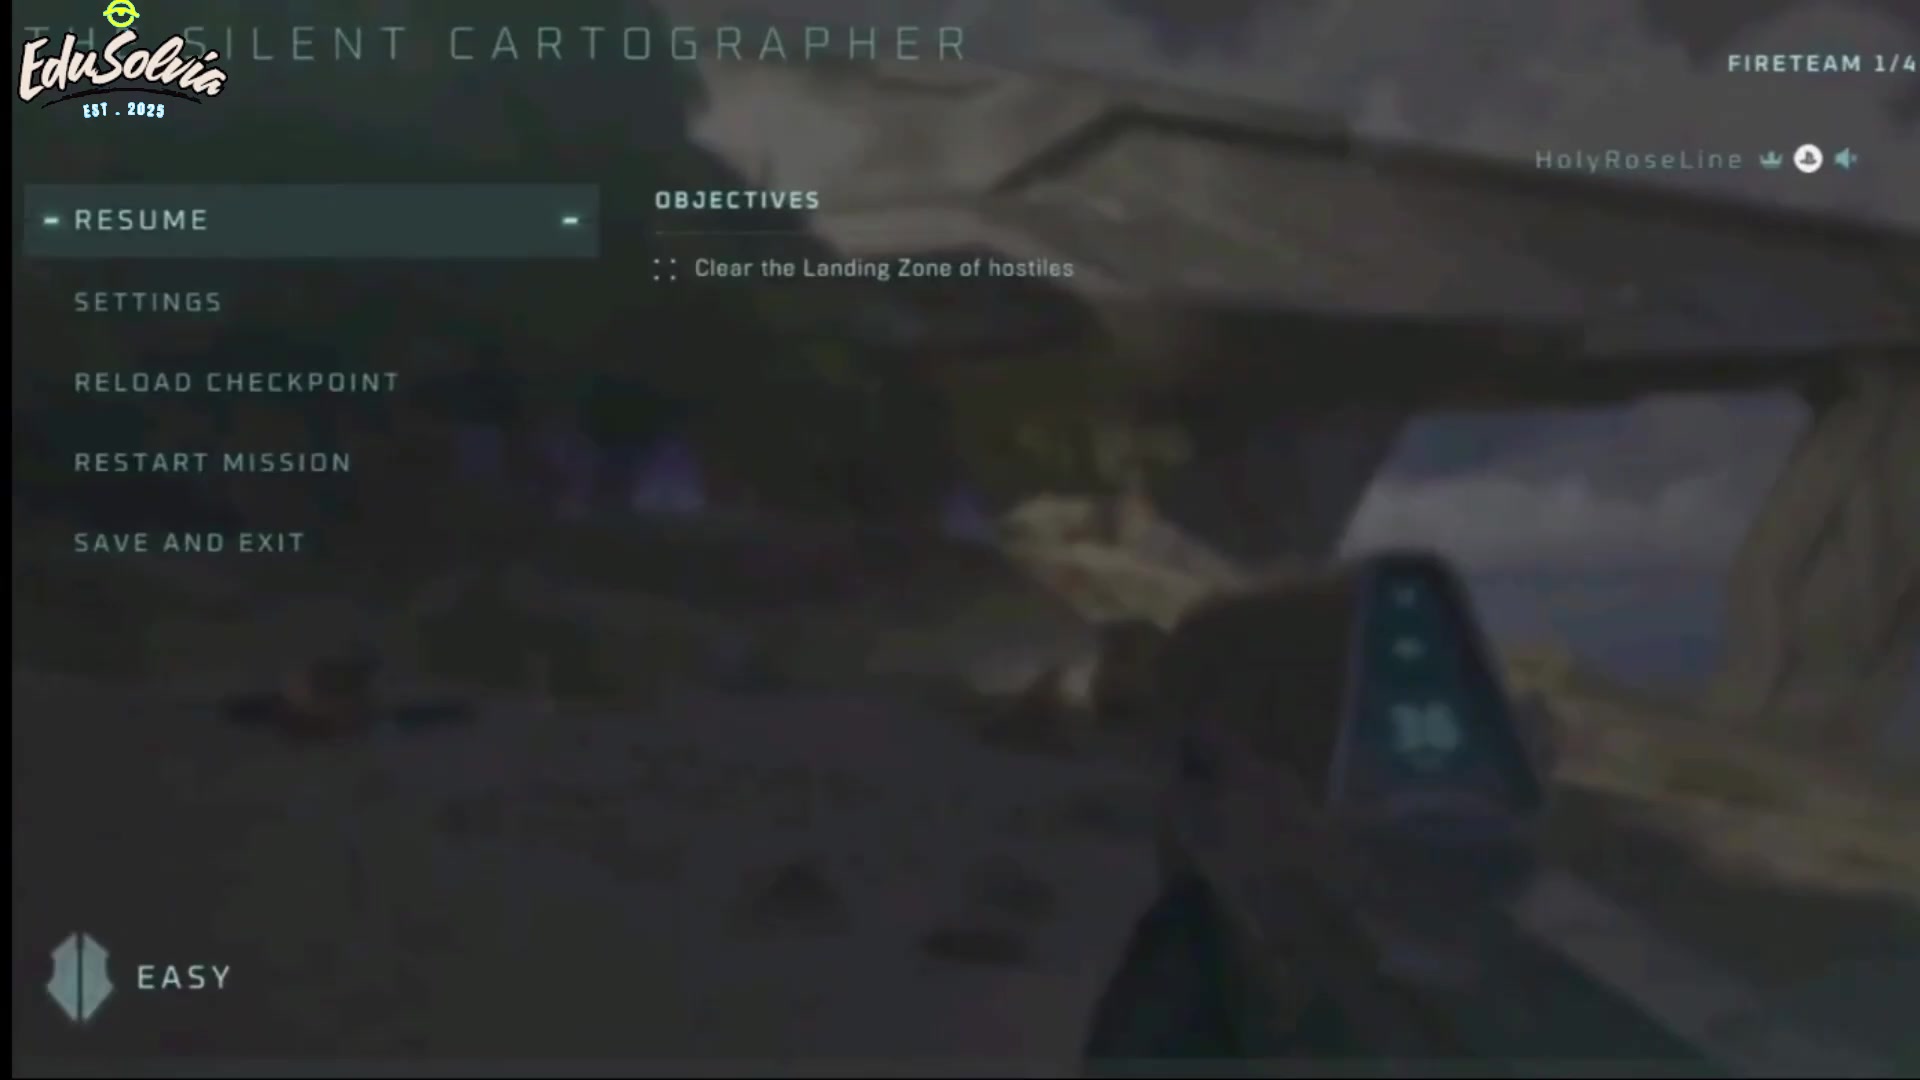
- The Silent Cartographer pause panel with Settings directly below Resume.
Do this
- 1Press the Options or Menu button on the controller to open the pause panel.
- 2Move from Resume to Settings and open that row.
Confirmation
The pause panel shows Settings directly below Resume before you enter the settings list.
Target
Reach the two language selectors
- Checkpoint
- The Settings screen is open.
- Landmark
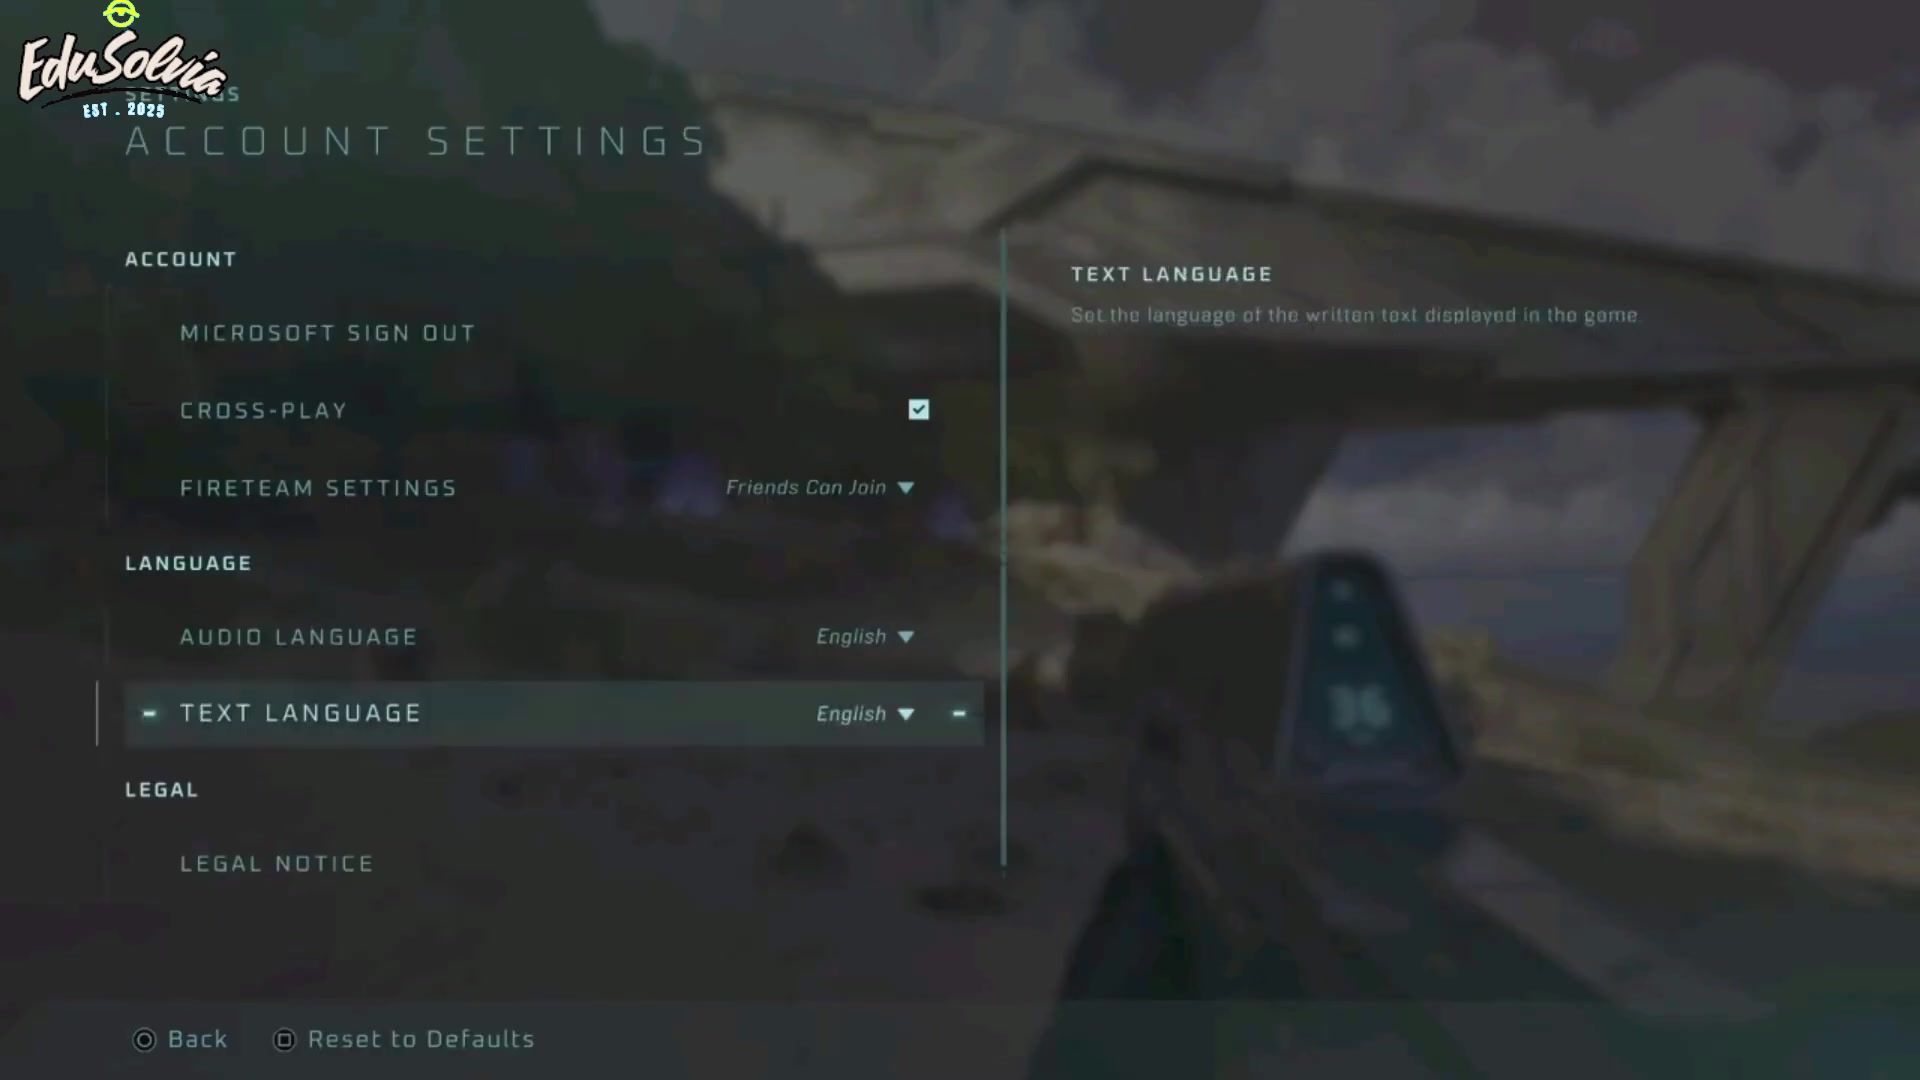
- The Account Settings page lists Microsoft Sign Out and Cross-play above a Language heading.
Do this
- 1Scroll down through Settings until Account Settings appears.
- 2Open Account Settings and confirm Audio Language and Text Language are both visible under Language.
Confirmation
The Account Settings page displays separate Audio Language and Text Language rows.
Target
Choose the interface text language
- Checkpoint
- Both language rows are visible under the Language heading.
- Landmark
- Text Language is highlighted while English is shown as the current choice.
Do this
- 1Highlight Text Language and open its selector.
- 2Choose the language you want for menus and other on-screen text.
Confirmation
The selected value appears on the Text Language row after the selector closes.
Target
Choose spoken audio and let the game save
- Checkpoint
- Text Language is set, or only spoken audio needs changing.
- Landmark
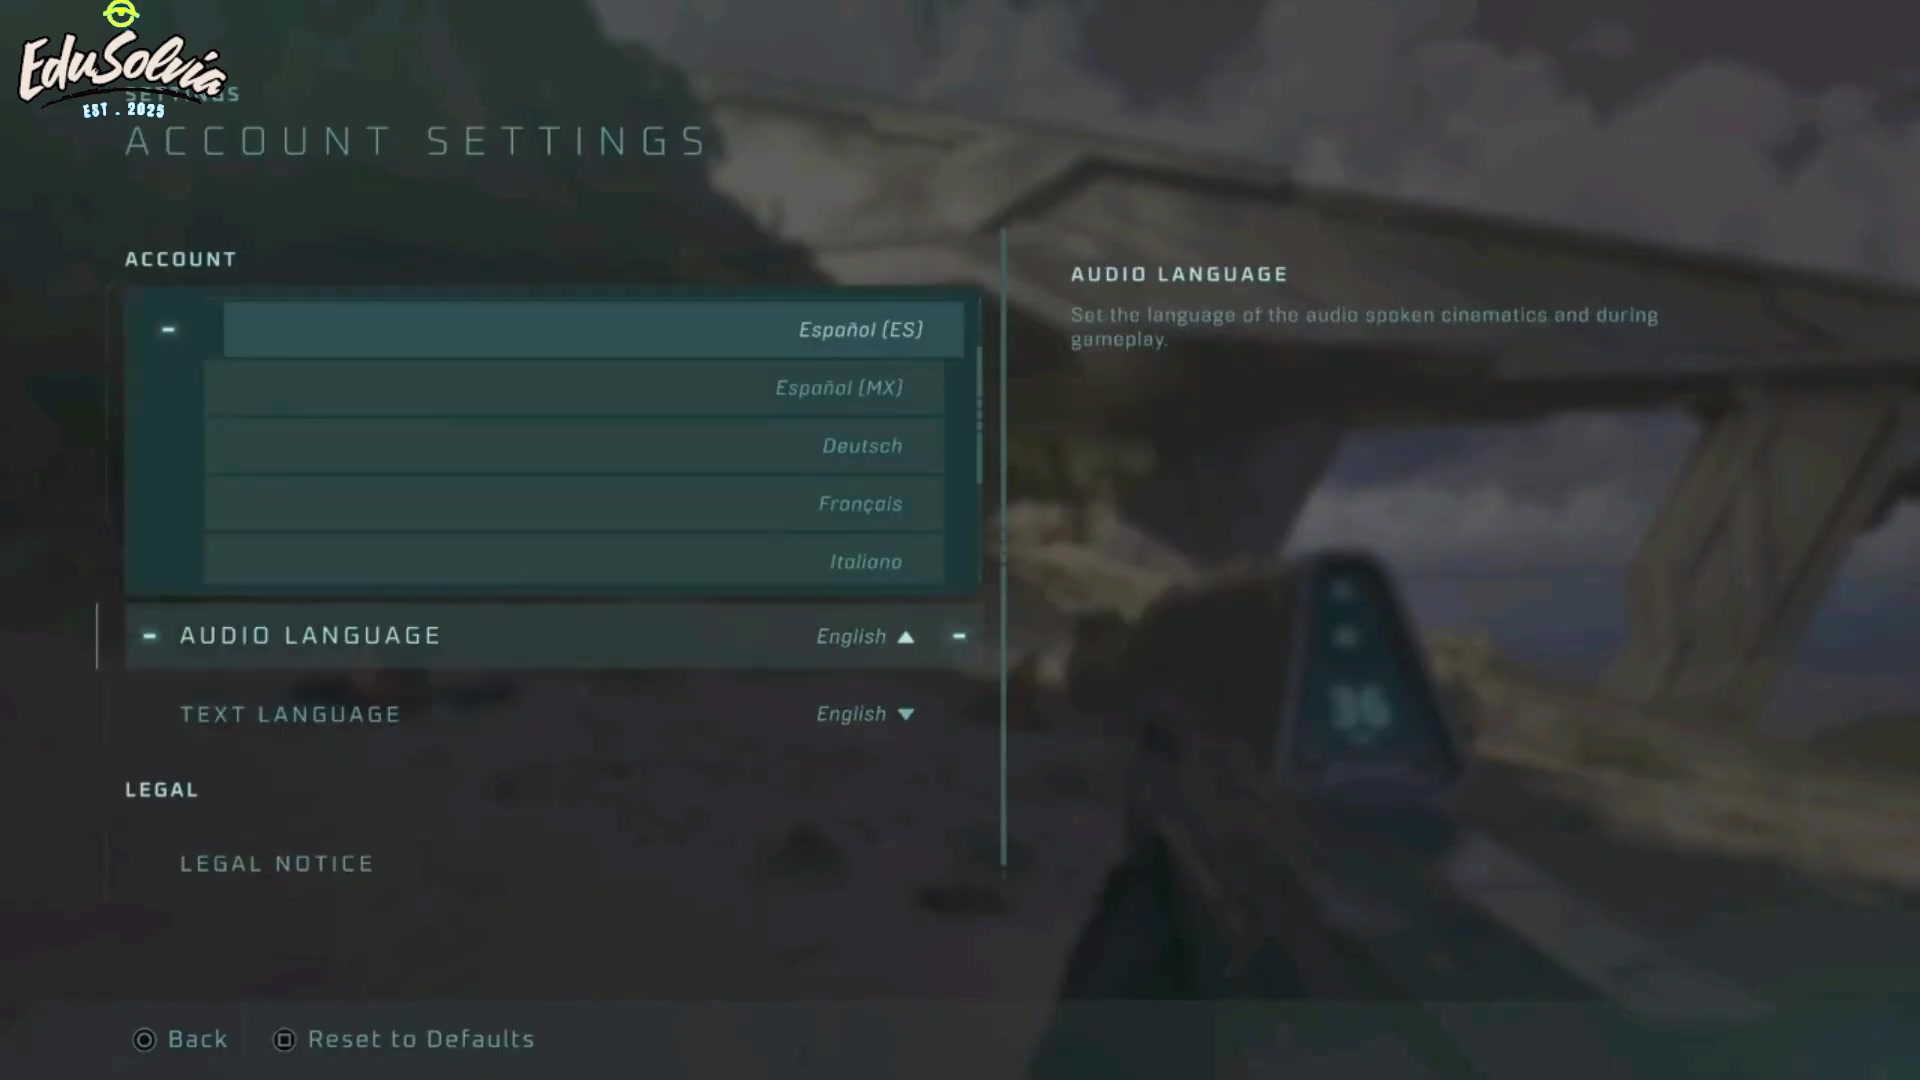
- The Audio Language dropdown shows choices including Español, Deutsch, Français, and Italiano.
Do this
- 1Open Audio Language and choose the preferred spoken language from the dropdown.
- 2Back out of Account Settings after both rows are correct; the source says the changes save automatically and normally take effect immediately.
Confirmation
The menu closes with the chosen audio and text values retained; a normal change does not require a game restart.