
Quick answer
All four skulls and the mission terminal in 'The Most Dangerous Game' are found by following a specific sequence: first, damage an enemy at the start; second, break two flaming barrels to unlock a skull; third, damage a golden enemy near a wraith before reaching the terminal; fourth, climb stalagmites beside a tree to reach the final skull above the last door.
Guide briefing
Halo Campaign Evolved: The Most Dangerous Game Skulls and Terminal Guide
All four skulls and the mission terminal in 'The Most Dangerous Game' are found by following a specific sequence: first, damage an enemy at the start; second, break two flaming barrels to unlock a skull; third, damage a golden enemy near a wraith before reaching the terminal; fourth, climb stalagmites beside a tree to reach the final skull above the last door.
Applies to
- — Halo Campaign Evolved
- — The Most Dangerous Game mission
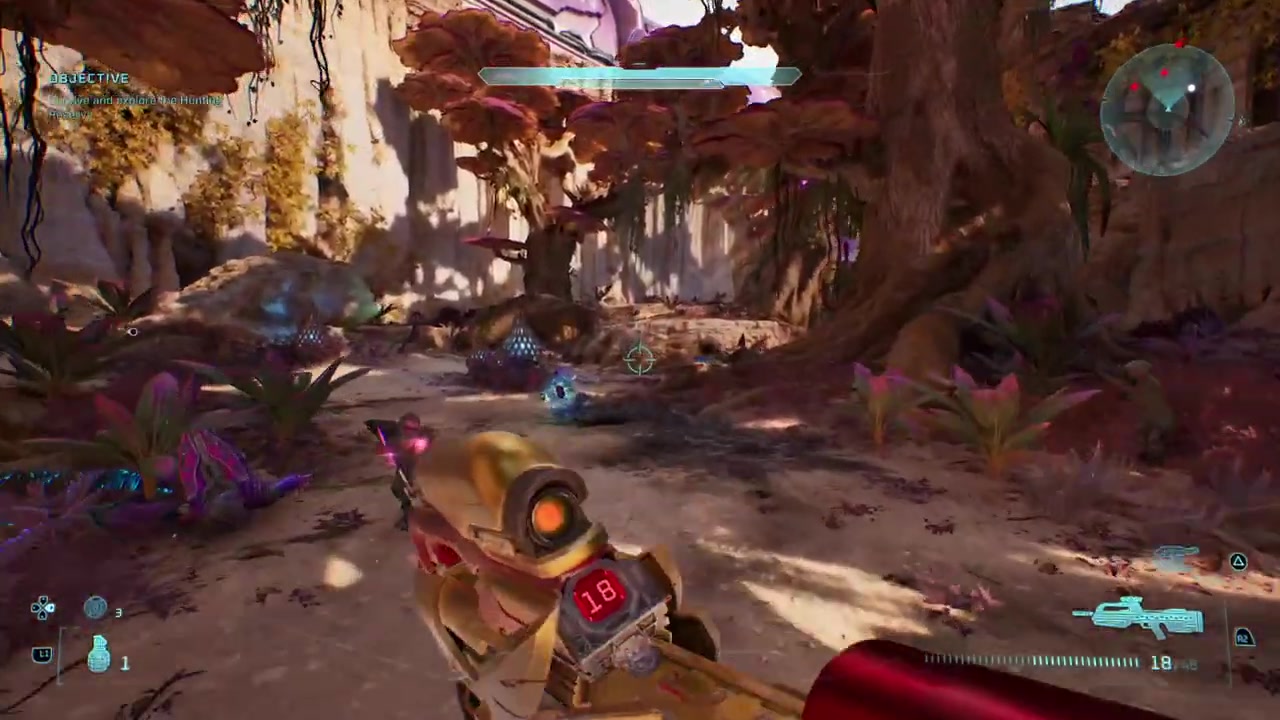
Target
First skull (three-step sequence)
- Checkpoint
- After rendezvous with fire team, before entering the hunting reserve area
- Landmark
- Enemy located up on the right side of the path after the fire team encounter
Do this
- 1After rendezvousing with the fire team, enter the area marked 'survive and explore in the hunting reserve'
- 2As soon as you enter, look off to the right and locate the enemy positioned up high
- 3Deal damage to this enemy immediately upon their arrival—only one hit is required
Confirmation
First skull (three-step sequence) is available as described. This enemy must be damaged once before proceeding; it cannot be eliminated, only damaged.
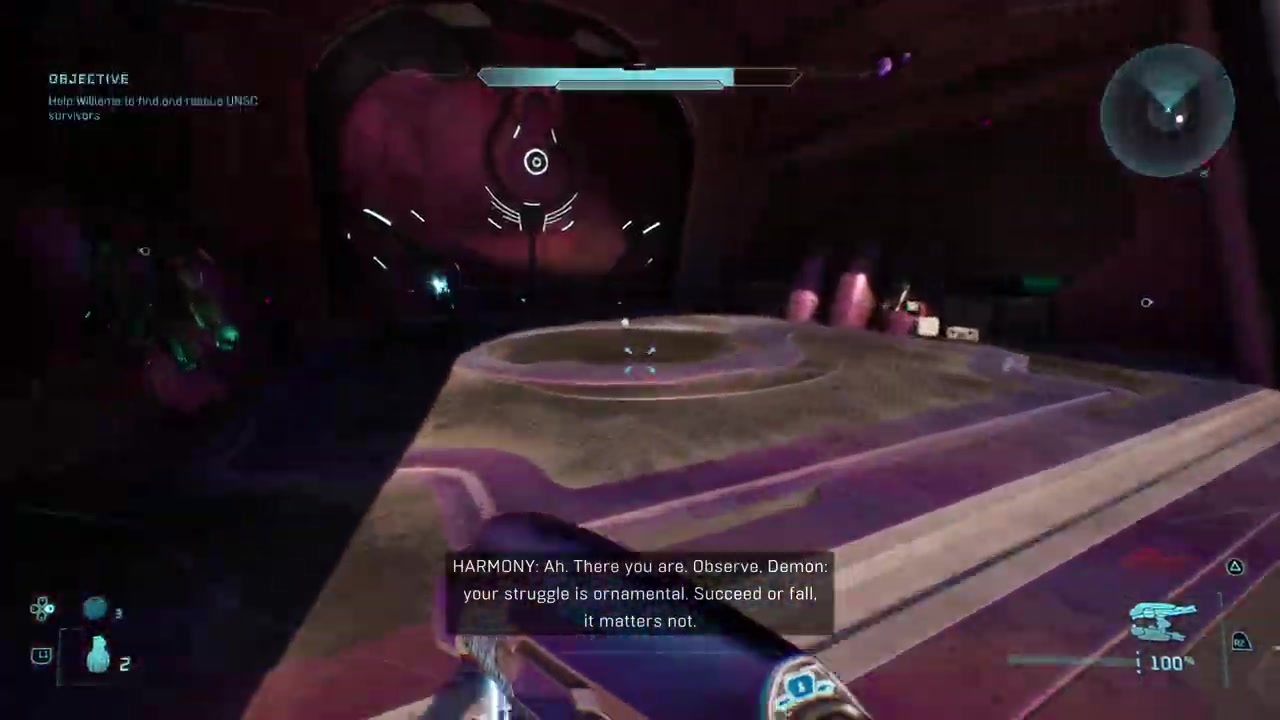
Target
Second skull (non-secret)
- Checkpoint
- After clearing the first room with the initial enemy encounter
- Landmark
- Two flaming barrels on the left side of the next area
Do this
- 1After clearing the first room, proceed through the right-side door
- 2In the next area, look to the left and locate two flaming barrels
- 3Break both flaming barrels to open a door containing the skull
Confirmation
Second skull (non-secret) is available as described. This skull does not require the three-step sequence and can be collected independently.
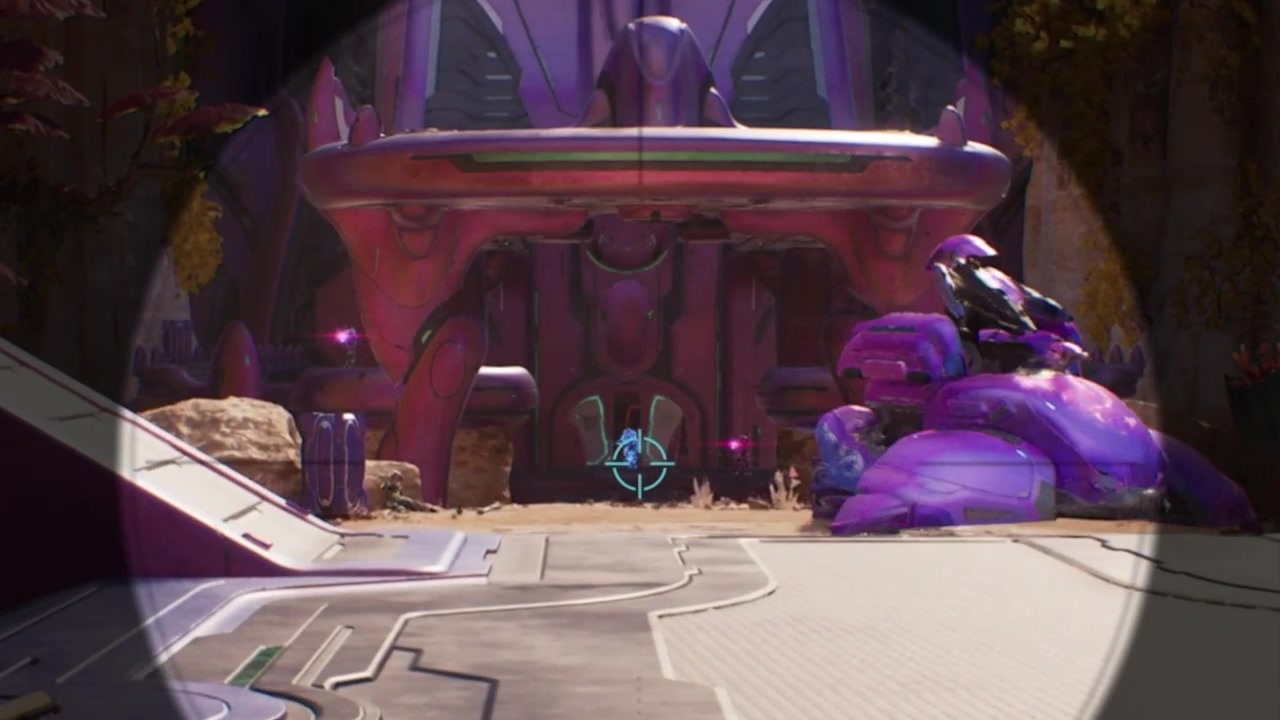
Target
Third skull (secret, three-step sequence)
- Checkpoint
- After reaching the terminal room and returning to the area with the wraith and golden enemy
- Landmark
- Golden enemy located in the back of the room with the wraith
Do this
- 1After reaching the terminal room, continue forward until you reach the open room with windows
- 2Look across to the left of the wraith and locate the golden enemy in the back of the room
- 3Damage this enemy once before moving on—this is step two of the three-step sequence
Confirmation
Third skull (secret, three-step sequence) is available as described. This is the second of three required steps; the third occurs after the terminal when the same enemy appears again.
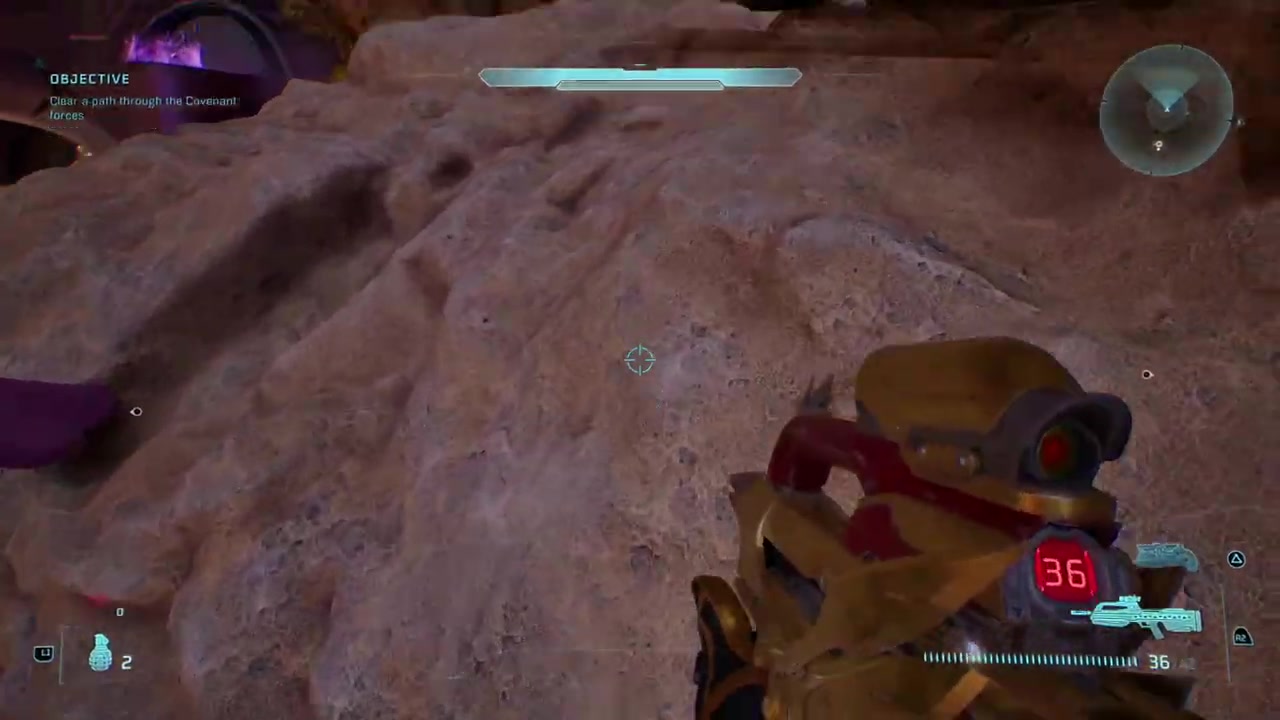
Target
Fourth skull (final)
- Checkpoint
- After opening the giant metal door following the main quest dialogue
- Landmark
- Tree on the left side of the map, with stalagmites leading upward
Do this
- 1After the dialogue and opening the giant metal door, clear any nearby enemies
- 2Climb the stalagmites on the left side of the map to reach the top
- 3Locate the burning block above the door and interact with it to retrieve the skull
Confirmation
Fourth skull (final) is available as described. This skull appears after the main quest dialogue and is tied to the mission's final objective.