
Quick answer
Restart the game and PC first, then invite co-op players through the Steam or Xbox overlay instead of the in-game menu. If stutter continues, lower the display refresh rate, turn off variable refresh rate, retune mouse polling and game priority, and finish with a clean graphics-driver install plus the NVIDIA hotfix driver.
Guide briefing
Halo Campaign Evolved Stuttering Fix
Work through the source's reversible Windows order for Halo Campaign Evolved stutter: restart first, invite co-op players through the overlay, lower refresh rate and disable VRR, retune polling and process priority, then finish with a clean driver install and the NVIDIA hotfix.
Before you start
- — Halo Campaign Evolved installed on a Windows PC
- — Access to the Steam or Xbox overlay for the co-op step
Applies to
- — PC players seeing stutter, co-op stutter, or cutscene stutter in Halo Campaign Evolved
- — Windows 10 and Windows 11 players who want a low-risk to driver-level fix order
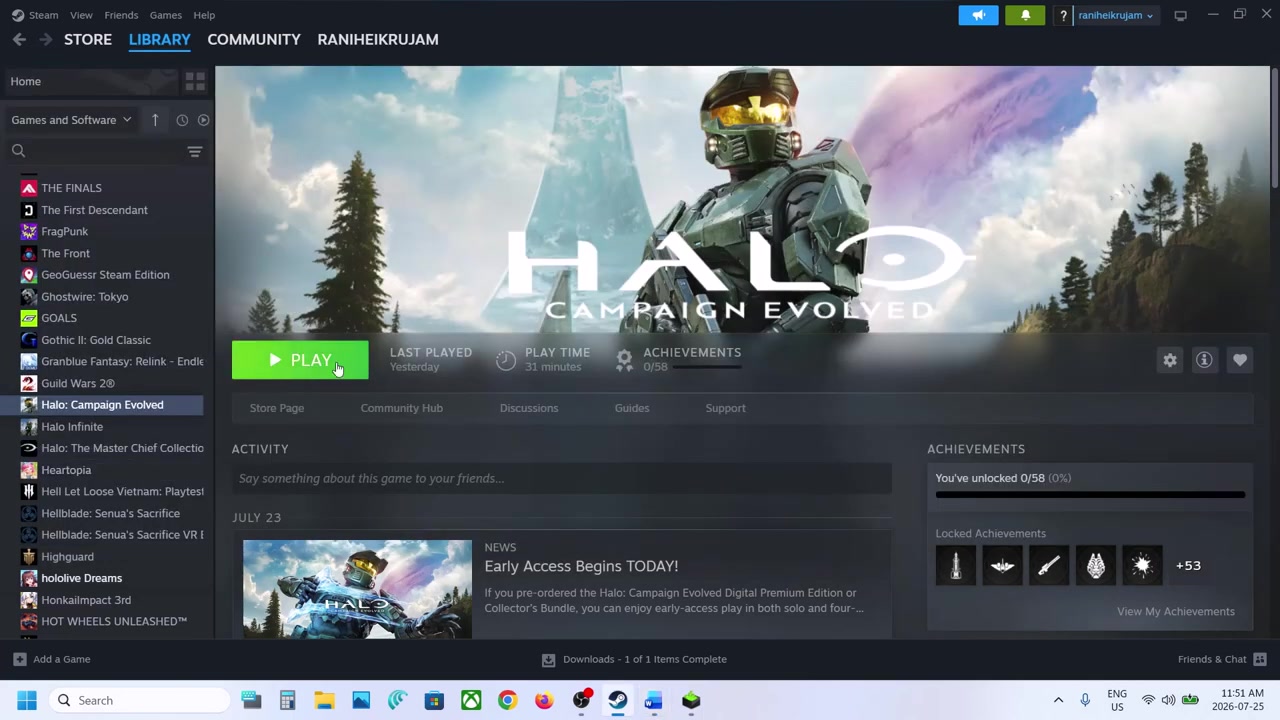
Restart the game and your PC
The source opens with the lowest-risk fix: close and relaunch Halo Campaign Evolved, then restart the computer if the stutter remains. A game restart clears a stuck render or memory state, and a full PC restart clears the same for the whole system.
How it works
- Close Halo Campaign Evolved completely and relaunch it from the Steam client, then play the same scene to check whether the stutter returns.
- If it still stutters, restart the computer, launch the game again, and retest before making any deeper change.
Source boundary: The source notes this works for many players but is not a guarantee; if stutter returns after both restarts, move to the next step instead of repeating it.
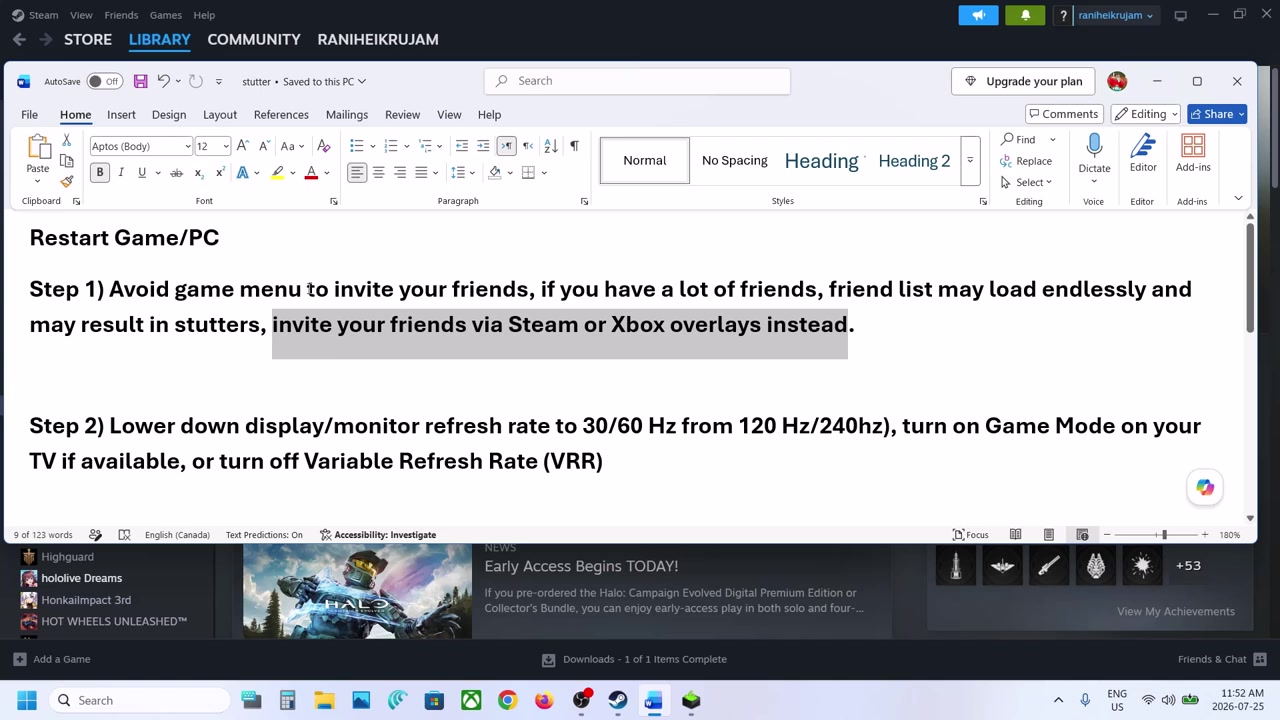
Invite co-op players from the Steam or Xbox overlay
When stutter appears in co-op, the source points at the in-game friend list: inviting from the game menu can make the friend list load endlessly and stutter. It recommends inviting through the Steam or Xbox overlay instead.
How it works
- Do not invite friends from the in-game co-op menu.
- Open the Steam overlay (or the Xbox overlay) and invite your co-op partners from there, then start the match.
Source boundary: The source frames this as a workaround that has worked for many players, not a fix for stutter that also appears in solo play.
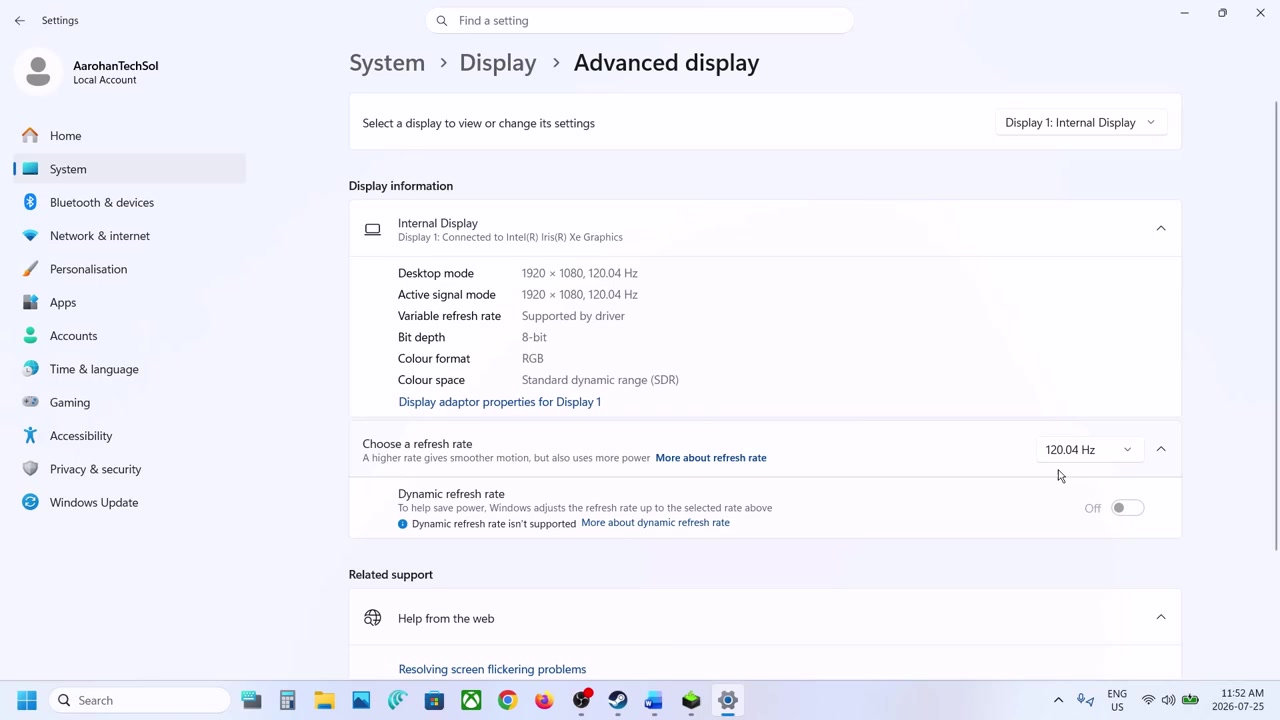
Lower the display refresh rate and enable game mode
A very high refresh rate can drive stutter. The source lowers 240 Hz or 120 Hz monitors to 60 Hz or 30 Hz and, for TV players, turns on the TV's game mode.
How it works
- Lower a high monitor refresh rate, for example from 240 Hz or 120 Hz, to 60 Hz or 30 Hz through the monitor's own options.
- On a TV, enable the TV's game mode, then retest the game.
Source boundary: The change is only available when the monitor or TV exposes those options; the source treats it as a trial rather than a guaranteed fix.
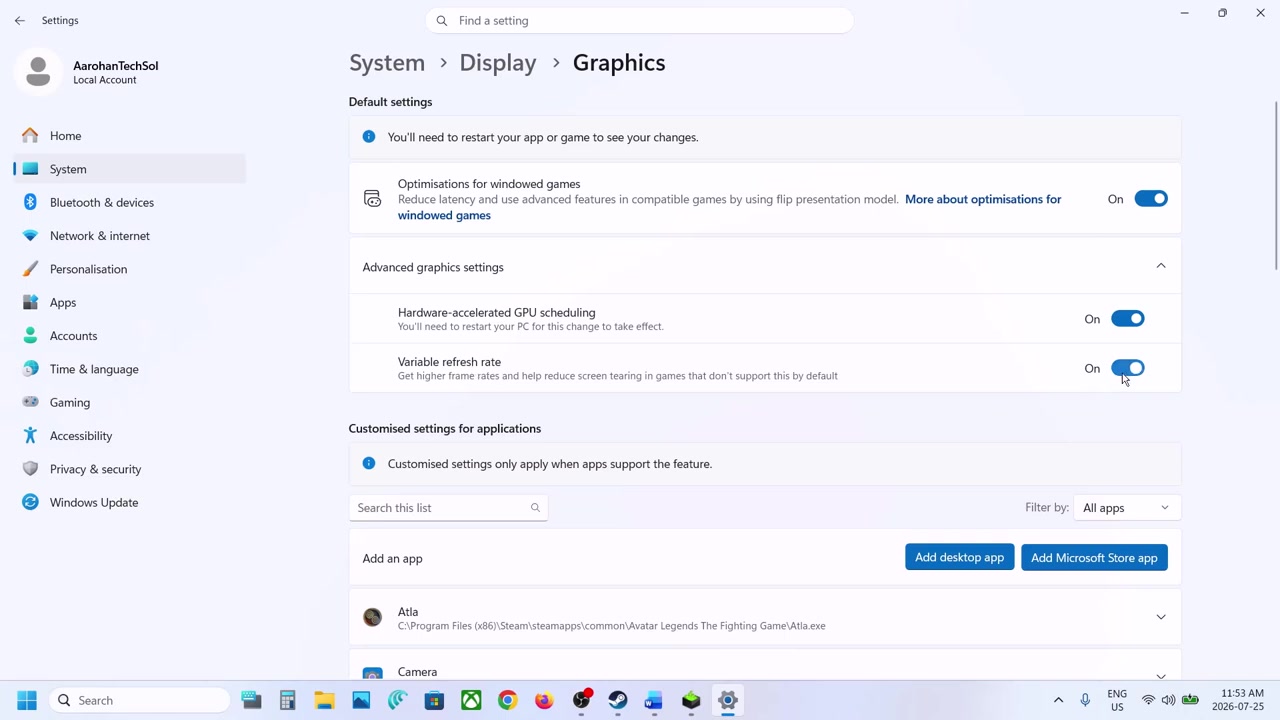
Turn off variable refresh rate in Windows
The source also disables variable refresh rate (VRR) in Windows graphics settings, and says to try it both on and off when the first choice does not help.
How it works
- Open Windows Settings, go to System > Display > Advanced display, and if the refresh rate is 120 Hz, try 60 Hz.
- Search for 'graphics settings', open it, and if Variable refresh rate is on, turn it off, or toggle it the other way, then retest.
Source boundary: The option appears only on displays that support VRR, and the source explicitly recommends trying both on and off.
Retune mouse polling and game process priority
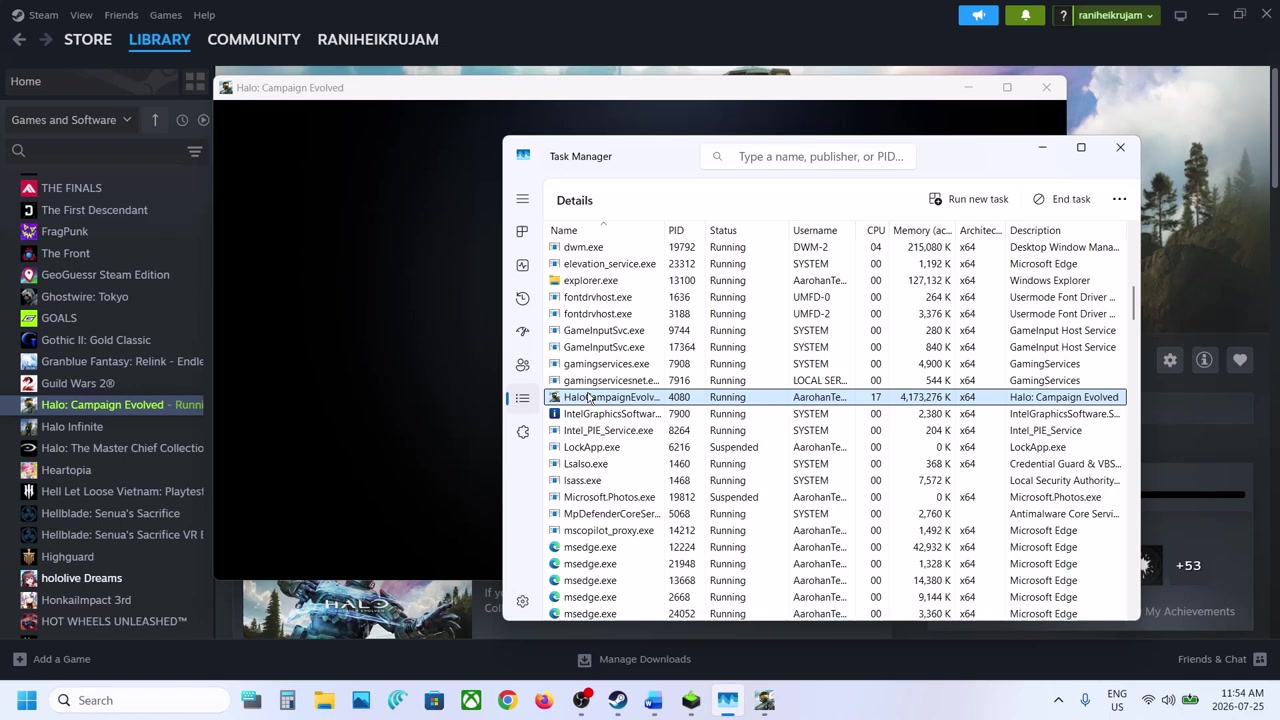
The source then adjusts two system-level inputs: it raises or lowers a high-polling gaming mouse's polling rate, and it sets the game's process priority to real time or high in Task Manager.
How it works
- If the mouse polls very fast, for example 8,000 Hz, change the polling rate higher or lower, for example to 1,000 Hz, and check the result.
- Launch the game, open Task Manager, find the game executable, right-click it, choose Go to details, then Set priority to real time or high and confirm Change priority.
Source boundary: The source treats the priority change as a per-launch adjustment and later demonstrates only the NVIDIA driver path; it does not show AMD or Intel mouse software.
Clean-install the graphics driver and apply the hotfix driver
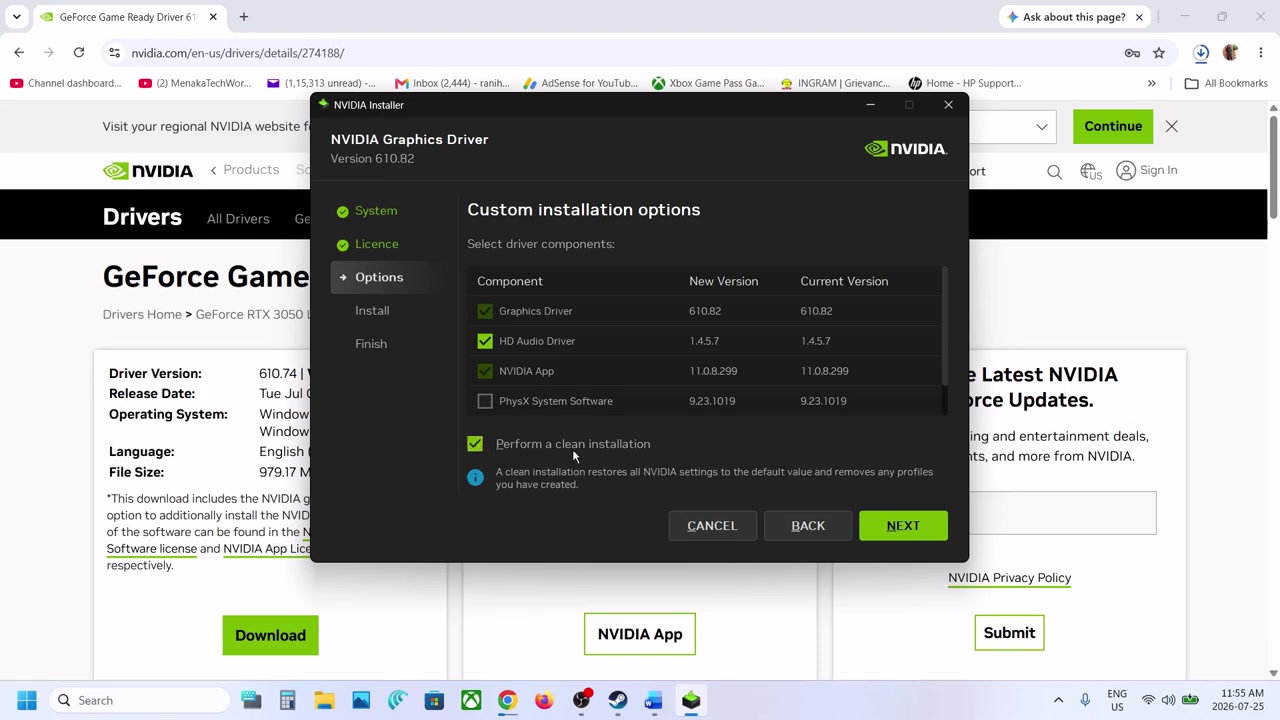
As the final fallback, the source performs a clean installation of the graphics driver from the vendor site, then applies the NVIDIA GeForce hotfix display driver (version 610.82) that includes a specific Halo Campaign Evolved fix.
How it works
- Go to the NVIDIA or AMD website, find the latest Game Ready driver, download and run the installer, choose Custom, tick 'Perform a clean installation', and restart the PC.
- If stutter persists, open the hotfix link in the source description, download GeForce hotfix display driver 610.82, install it the same way with Custom plus clean installation, restart, and retest.
Source boundary: The hotfix is specific to Windows 10 and 11, and the source only demonstrates NVIDIA; AMD users should use the matching AMD clean-install path.